 EVERY CROCHET
 Accessories 10 rounds No account, no download
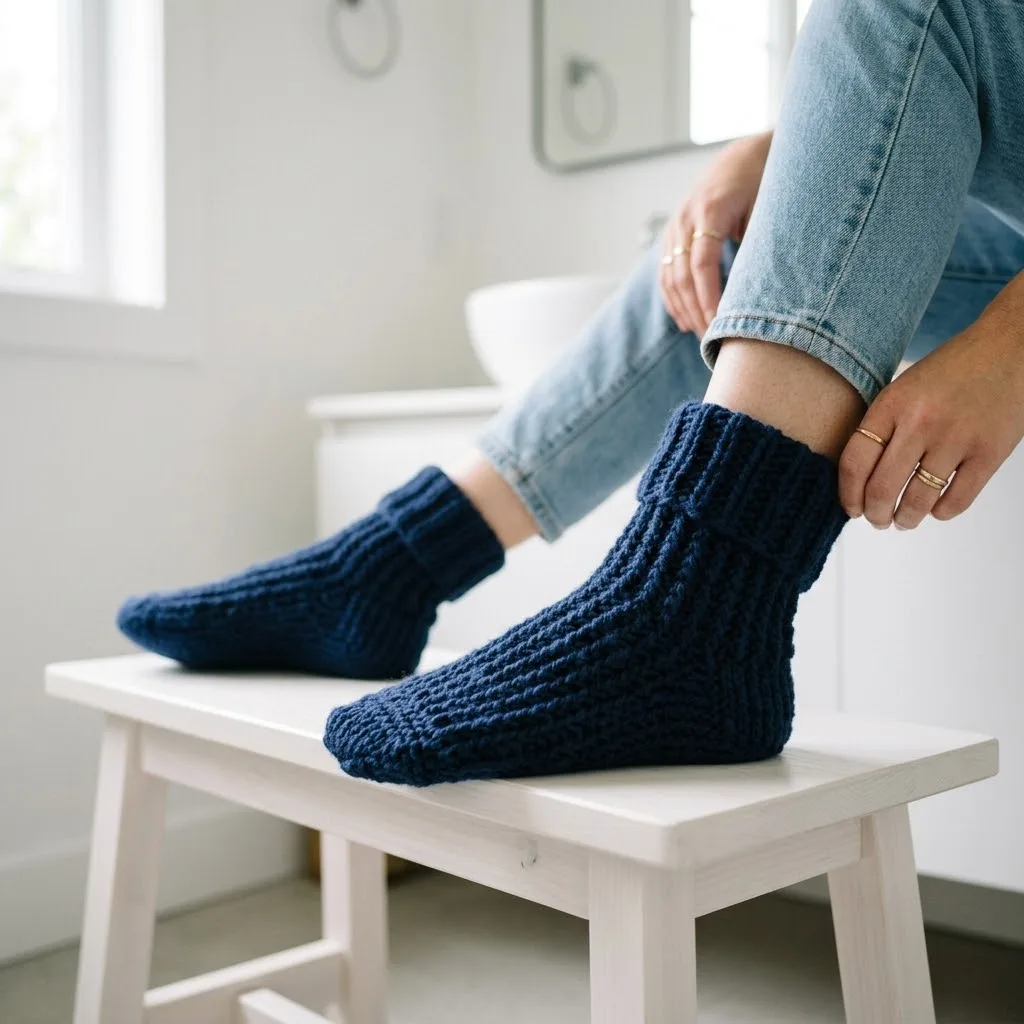
Navy blue classic cuff socks crochet pattern
Navy blue cuff socks worked in single crochet (UK double crochet); both US and UK stitch terms are given.
- Skill
- Intermediate
- Time
- 4-6 hours
- Yarn weight
- Worsted
- Hook
- 5.0 mm

Intermediate
What the original write-up called it. Nothing here is graded again.

Worsted
What the sample was worked in. Any weight works; the size moves with it.

4-6 hours
What the original page reckoned. Your own pace is the one that matters.
About this pattern
This pattern makes a pair of navy blue socks with a ribbed cuff, worked mainly in single crochet (UK double crochet) with worsted-weight wool-blend yarn on a 5.0mm (US H/8) hook. Each sock takes about 200 yards; gauge is 16 stitches and 18 rows to 4 inches. The pattern includes a heel flap and gusset decrease rounds, and a locking stitch marker is recommended.
These navy blue cuff socks are worked almost entirely in single crochet (UK: double crochet), the firm, close stitch that gives the fabric its warmth and durability. The ribbed cuff begins as a flat strip worked back and forth through the back loop only, which creates the stretchy vertical ribs typical of hand-knit-style socks. From there the piece turns a corner and continues as a tube, so the whole sock relies on one stitch family rather than a mix of textures.
Construction starts with a ribbed rectangle rather than a cast-on tube: the Foundation rows build a strip that becomes the cuff, after which stitches are picked up along its edge to begin the foot. A Heel Flap is then worked back and forth across sixteen stitches with slip-stitch selvedges, and a Setup round picks up stitches along both flap edges and across the waiting instep stitches before gusset decrease rounds bring the stitch count back down around the heel turn.
Materials
Yarn
- Worsted weight yarn (weight category 4) , approximately 200 yards per sock (400 yards total for the pair)
- The sample uses a wool blend in navy blue for warmth and durability
- Look for a yarn with some nylon content if you want extra strength in the heel and toe
Hook
- 5.0mm (US H/8) crochet hook for the main sock body
- 4.5mm (US 7) crochet hook for the ribbed cuff (optional, creates a snugger fit)
Notions
- Stitch marker (locking style works best)
- Tapestry needle for weaving in ends
- Scissors
- Gauge
- 16 stitches and 18 rows = 4 inches in single crochet worked in continuous rounds.
The list is the pattern's own wording.
Instructions
Every round is printed as the pattern wrote it, brackets and all. Open the key beside a round to see only the short forms that round uses.
Foundation
- Round 1
Sc in 2nd ch from hook and in each ch across. Turn. (10 sts)
Key3
- sts
- stitches
- ch
- chain
- sc
- single crochet
- Round 2
Ch 1 (does not count as a stitch here and throughout), sc BLO in each st across. Turn. (10 sts)Rows 3 through 32: Repeat Row 2. (10 sts per row) You should now have a ribbed rectangle approximately 3.5 inches wide and 8 inches long.
Key5
- sts
- stitches
- blo
- back loops only
- ch
- chain
- st
- stitch
- sc
- single crochet
Heel Flap
You’ll work back and forth over 16 stitches.
- Round 1
Sc in next 16 sts. Turn. Leave remaining 16 sts unworked. (16 sts)
Key2
- sts
- stitches
- sc
- single crochet
- Round 2
Ch 1, sl st in first st, sc in each st across to last st, sl st in last st. Turn. (14 sc plus 2 sl sts = 16 sts total)
Key5
- sl st
- slip stitch
- sts
- stitches
- ch
- chain
- st
- stitch
- sc
- single crochet
- Round 3
through 14: Repeat Row 2. (16 sts) The slip stitches at each edge create a nice chain selvage that makes picking up stitches easier later.
Key1
- sts
- stitches
Setup round
Sc 8 sts evenly along the left side of the heel flap Sc in each of the 16 waiting instep stitches Sc 8 sts evenly along the right side of the heel flap
Sc in each of the 5 heel center stitches Place marker. You should have 37 stitches total.
Gusset decrease rounds:
- Round 1
Sc in first 4 sts, sc2tog, sc in next 16 sts (instep), sc2tog, sc to end of round. (35 sts)
Key3
- sc2tog
- single crochet 2 stitches together (decrease)
- sts
- stitches
- sc
- single crochet
- Round 2
Sc in each st around. (35 sts)
Key3
- sts
- stitches
- st
- stitch
- sc
- single crochet
- Round 3
Sc in first 3 sts, sc2tog, sc in next 16 sts, sc2tog, sc to end of round. (33 sts)
Key3
- sc2tog
- single crochet 2 stitches together (decrease)
- sts
- stitches
- sc
- single crochet
- Round 4
Sc in each st around. (33 sts)
Key3
- sts
- stitches
- st
- stitch
- sc
- single crochet
- Round 5
Sc in first 2 sts, sc2tog, sc in next 16 sts, sc2tog, sc to end of round. (31 sts)Continue alternating decrease rounds and plain rounds until you have 32 stitches remaining.
Key3
- sc2tog
- single crochet 2 stitches together (decrease)
- sts
- stitches
- sc
- single crochet
Finished dimensions
Foot length: 9 inches (adjustable)
Cuff height: 3.5 inches Foot circumference: 8 inches (unstretched)
The ribbed cuff stretches significantly, so these will fit a range of ankle sizes comfortably.
Hook
5.0mm (US H/8) crochet hook for the main sock body 4.5mm (US 7) crochet hook for the ribbed cuff (optional, creates a snugger fit)
Notions
Stitch marker (locking style works best)
Tapestry needle for weaving in ends Scissors
Transition round
Place your stitch marker in the first stitch. From here, you’ll work in continuous rounds.
Contrast heel and toe
Thank you so much for choosing this pattern for your next cozy project. I truly hope you love making these socks as much as I loved designing them. If you give them a try, I would absolutely love to see your finished pair. Tag me on Instagram or share a photo in my Facebook group. Nothing makes my day like seeing your beautiful creations.
If this pattern is calling your name, go ahead and save it to your Pinterest boards so you can find it whenever you’re ready to cast on. And please drop a comment below if you make these. I read every single one, and I’m always cheering you on.
Notes from the pattern
- The main hook is 5.0mm (US H/8) for the body of the sock; the 4.5mm (US 7) hook is only for the cuff and is optional, used when a snugger fit is wanted.
- Place the locking stitch marker once the Setup round is complete, after the 37 stitches are established, to keep track of the round start through the gusset decreases.
- Check gauge before starting, since 16 stitches and 18 rows to 4 inches determines whether the ribbed rectangle finishes at the stated 3.5 inches wide by 8 inches long for the cuff.
- If extra durability at the heel and toe matters, choose a wool blend with some nylon content rather than a pure wool, as the sample yarn is wool-based without built-in reinforcement fibre.
The essentials
- Rounds
- 10
- Parts
- 8
- Level
- Intermediate
- Time
- 4-6 hours
- Hook
- 5.0 mm
- Yarn
- Worsted
Stitches you will use
- Working in the back loop only (BLO) Used through all 32 Foundation rows to build the ribbed cuff; keep the loop choice consistent row to row so the ribs stay straight.
- Slip-stitch selvedge edges Appears in every Heel Flap row, where a slip stitch bookends each side; work these slightly loose so the chain selvedge is easy to pick stitches up into later.
- sc2tog gusset decreases Used in the Gusset decrease rounds on either side of the instep; keep the decrease placed exactly at the marked points so the gusset narrows evenly.
Troubleshooting
The cuff feels stiff rather than stretchy once the ribbed rectangle is finished.
This usually means the back loop only was missed on some rows, flattening the rib; check each row of the Foundation section was worked BLO, not through both loops.
The edges of the heel flap look loose or gappy where stitches need to be picked up later.
The slip stitches at the start and end of each Heel Flap row were likely worked too loosely; tighten them slightly so the selvedge forms a firm chain edge.
The gusset area puckers or sits unevenly around the heel.
This points to an uneven pickup along the heel flap sides in the Setup round; recount to confirm exactly 8 stitches were picked up along each side before continuing.
Substituting yarn
- Cotton-blend, worsted weight (category 4)
- Produces a firmer, less elastic rib than the wool blend; the hook size can usually stay the same, but the cuff will stretch less over the ankle.
- Wool-nylon blend, fingering or sock weight
- Makes a noticeably thinner sock; the hook would need to drop well below 5.0mm, and the row and round counts given here would no longer match the stated gauge or finished length.
- Acrylic, worsted weight (category 4)
- Keeps the same 5.0mm hook and gauge as the wool blend but gives a less breathable fabric; without nylon content, reinforce the heel and toe separately if durability is a concern.
Washing and care
- Hand wash the finished socks in cool water with a wool-safe detergent, then press out excess water without wringing, since the wool blend can felt under heat or agitation.
- Reshape the socks flat to their finished dimensions and dry them laid out rather than hung, then store folded flat to keep the ribbed cuff from stretching out of shape.
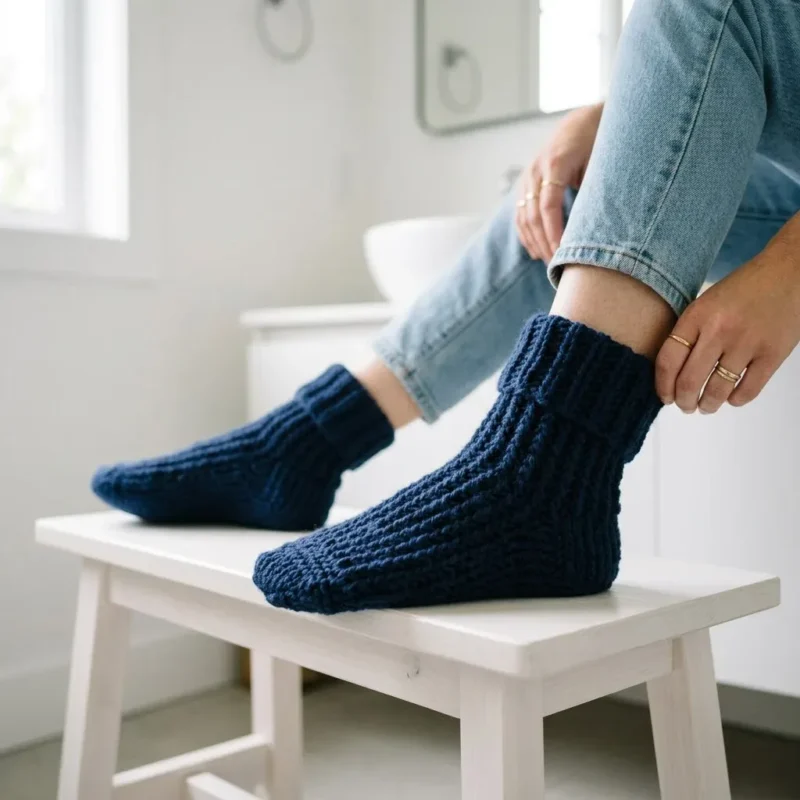
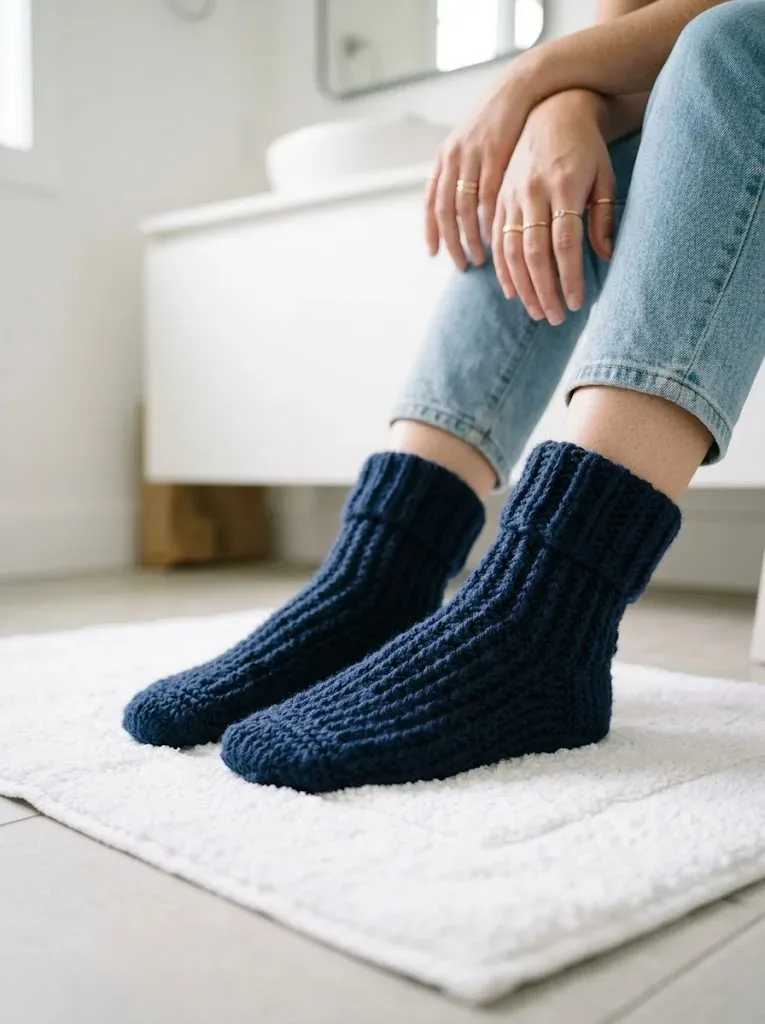
The photographs taken while this was being made
Every one was taken by whoever published the pattern, in the order the source listed them.
FAQs
Questions
How much yarn is needed to make both socks?
The pattern calls for about 200 yards per sock, so roughly 400 yards total for the pair. One large skein with at least that yardage can usually complete both socks without a second ball.
Why is the cuff made as a flat ribbed rectangle instead of worked in the round?
Working the Foundation rows back and forth through the back loop only is what creates the vertical ribbing; this flat strip later forms the cuff before the sock continues as a tube. It is a standard way to get knit-style ribbing in crochet.
What is the stitch marker used for in this pattern?
A locking stitch marker is recommended once the Setup round reaches its full 37 stitches, to mark the start of the round through the gusset decrease rounds. This makes it easier to track where each decrease round begins and ends.
Is nylon-content yarn required, or is the wool blend shown enough?
The sample is made in a plain wool blend and works fine for warmth and general wear. Nylon content is only suggested as an option for extra strength specifically at the heel and toe, not as a requirement for the rest of the sock.
These answers came from whoever first published the pattern, kept word for word.