 EVERY CROCHET
 Amigurumi 9 rounds No account, no download
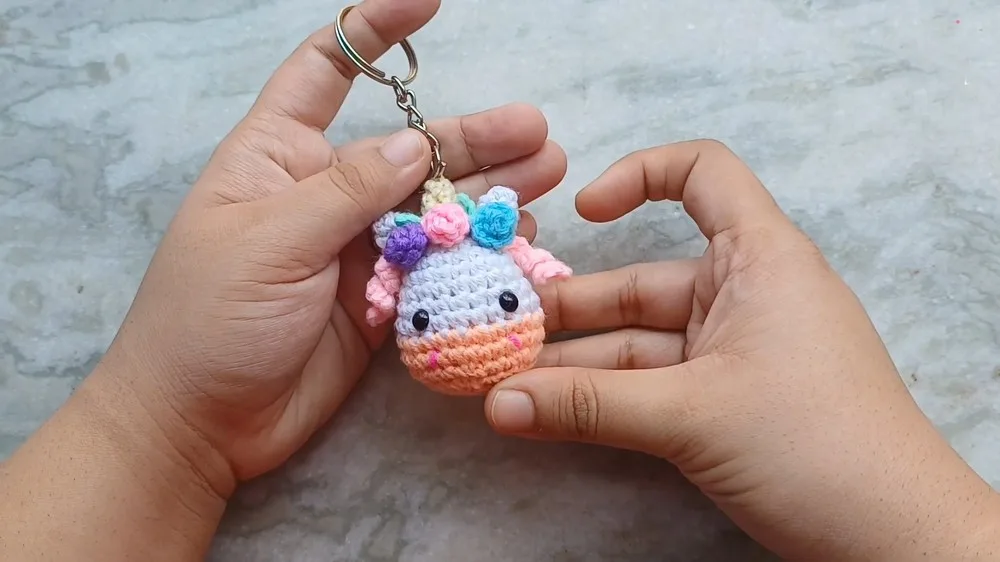
Mini unicorn amigurumi keychain pattern in single crochet
Crochet a mini unicorn keychain in single crochet (UK double crochet); both US and UK stitch terms given.
- Skill
- Intermediate
- Time
- 4-6 hours
- Yarn weight
- DK

Intermediate
What the original write-up called it. Nothing here is graded again.

DK
What the sample was worked in. Any weight works; the size moves with it.

4-6 hours
What the original page reckoned. Your own pace is the one that matters.
About this pattern
This is a mini amigurumi unicorn made as a keychain, worked in single crochet (UK double crochet) in continuous rounds from a magic circle. The body increases to 30 stitches, then decreases back to 6 before stuffing and closing. Ears, horn, mane, flowers and leaves are crocheted separately in contrasting colours and attached after the body is finished.
The body starts from a magic circle and increases steadily to a 30-stitch round before the shaping reverses through four decrease rounds back down to 6 stitches, at which point it is stuffed and closed. Separate small pieces, the ears, horn, mane tendrils, flowers and leaves, are crocheted on their own in contrasting colours and attached afterwards, so the main body can be finished and stuffed before any of the decorative elements are made.
Materials
- Yarn needle
- Stitch marker (or a paper clip)
- Scissors
The list is the pattern's own wording.
Instructions
Every round is printed as the pattern wrote it, brackets and all. Open the key beside a round to see only the short forms that round uses.
Body (using white yarn)
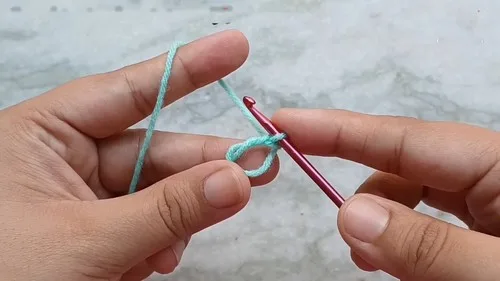
Create a magic circle.
Chain 1 (does not count as a stitch).
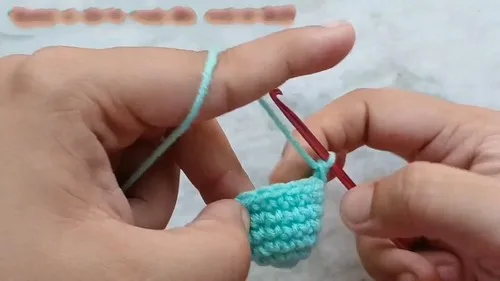
Make 6 single crochets (sc) into the magic circle. Pull tail to tighten the circle.
Work in continuous rounds using a stitch marker.
- (18)Round 2
Increase by making 2 sc in each stitch around (12 sc total). For Round 3: 1 sc in next stitch, 2 sc in the following stitch repeat around (18 sc total).
Key1
- sc
- single crochet
- (18)Round 4
Sc in each stitch around (18 sc total).
Key1
- sc
- single crochet
- (21)Round 5
1 sc in next 5 stitches, 2 sc in the next stitch repeat twice (21 sc total). For Round 6: Sc in each stitch around (21 sc total).
Key1
- sc
- single crochet
- (24)Round 7
1 sc in next 6 stitches, 2 sc in the next stitch repeat twice (24 sc total).
Key1
- sc
- single crochet
- Round 8
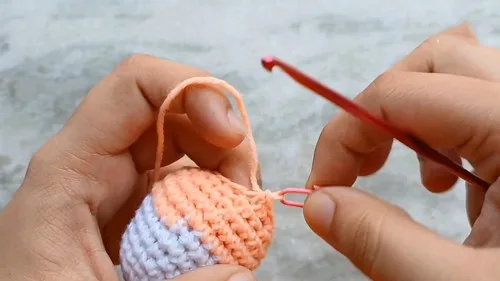
Sc in each stitch around (24 sc total). Insert safety eyes between Rounds 7 and 8, or embroider eyes with black yarn. Place the second eye 4 stitches apart.Change to orange yarn: Undo the last stitch of Round 8, and prepare to change color.For Round 9:1 sc in next 3 stitches, increase in the next stitch repeat until the end of the round. Cut the white yarn if needed (30 sc total).
Key1
- sc
- single crochet
- (30)Round 10
Sc in each stitch around (30 sc total).
Key1
- sc
- single crochet
Begin decreasing
- (18)Round 11
1 sc in next 3 stitches, invisible decrease repeat around (24 sc total). In Round 12: 1 sc in next 2 stitches, invisible decrease repeat around (18 sc total).
Key1
- sc
- single crochet
- Round 13
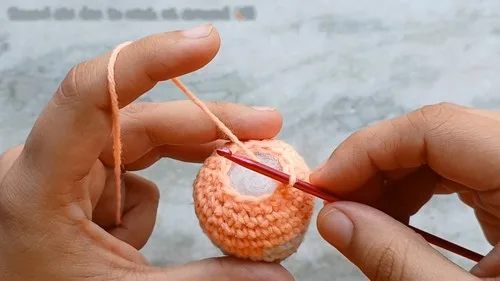
1 sc in next stitch, invisible decrease repeat around (12 sc total). Stuff the amigurumi with pillow stuffing until firm and well-shaped.
Key1
- sc
- single crochet
- Round 14
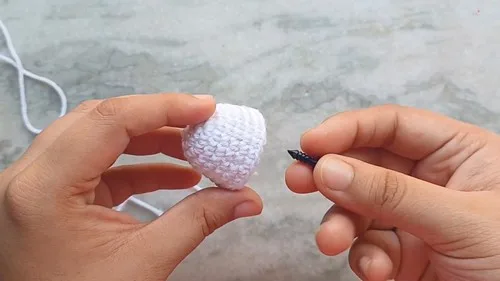
Decrease in each stitch around (6 sc total). Finish off, leaving a long tail. Ears, Horn, Flowers, Leaves, Hair Tendrils (using different colors): Crochet two ears with white yarn, following the pattern from the video for each round.
Key1
- sc
- single crochet
Create a horn using yellow yarn, as detailed in the video.
Craft flowers and leaves using colored yarn, as explained.
Make hair tendrils with chains and sc as demonstrated.
Notes from the pattern
- The pattern calls for both a 2.5mm and a 3mm hook; use the smaller hook for the tightest sections so stuffing does not peek through the stitches, and reserve the 3mm for looser, faster rounds where gauge is less critical.
- Continuous rounds have no join point, so a stitch marker (or a paper clip) on the first stitch of each round is essential to track the increase and decrease sequences accurately, especially through rounds 11-14.
- Work the increase rounds snugly rather than loosely; a tight, even tension across the 30-stitch body round keeps the fabric opaque enough to hide the pillow stuffing underneath.
- Stuff firmly and evenly before round 14 closes the body, working small amounts in at a time so the shape stays round rather than lumpy once the final decrease pulls the opening shut.
The essentials
- Rounds
- 9
- Parts
- 2
- Level
- Intermediate
- Time
- 4-6 hours
- Yarn
- DK
Stitches you will use
- Magic circle start Used to begin the body with 6 single crochets into a closed loop; pull the tail firmly so no hole remains at the centre once stuffed.
- Invisible decrease Used throughout the four decrease rounds of the body (rounds 11-14); keeps the shaping smooth so the closing rounds do not pucker before the final cinch.
- Small-piece colour changes Needed for the ears, horn, flowers, leaves and hair tendrils, each worked in a separate colour; carry or weave in ends neatly since these pieces are too small to hide bulky tails inside.
Troubleshooting
The body cups or curls instead of sitting round
This usually means the increase rounds were worked too tightly for the stitch counts given; check that each increase round reaches its target total (12, 18 and onward) before moving on, and relax tension slightly if the fabric is pulling inward.
The stitch count drifts away from the number given at the end of a round
A missed or doubled stitch in a spiral round is easy to lose track of without a marker; stop at the point the marker sits each round and recount before continuing rather than waiting until the round feels wrong.
Gaps or loose loops appear where a new colour starts on the ears, horn or flowers
This happens when the new colour is joined with too much slack in the first stitch; pull the first stitch of a new colour snug and weave the tail through a few stitches on the wrong side before trimming.
Substituting yarn
- Cotton DK (8-ply)
- Produces crisper, more defined stitches and a slightly stiffer finished keychain; pair with the same 2.5mm/3mm hooks, though cotton's lower give means stuffing may need to be packed a touch looser to avoid distorting the rounds.
- Acrylic worsted/aran
- A heavier yarn than the pattern's gauge implies will produce a noticeably larger unicorn than a keychain-scale piece; drop to the 2.5mm hook throughout and expect to use less stuffing per round to keep proportions small.
- Fingering or sock-weight wool blend
- Gives a finer, more detailed miniature at a smaller finished size than the pattern's stitch counts suggest; move both hooks down a size or two (for example 2mm and 2.5mm) and stuff more sparingly to avoid overfilling the thinner fabric.
Washing and care
- The materials list does not specify a fibre, so treat the finished keychain as if it were the more delicate of the likely choices: hand wash in cool water only if washing is unavoidable, and reshape gently while damp rather than wringing.
- Air dry flat away from direct heat so the stuffed body keeps its round shape, and store the finished piece away from damp or friction (such as the bottom of a bag) where the small attached pieces like the horn and ears could snag or flatten.
The photographs taken while this was being made
Every one was taken by whoever published the pattern, in the order the source listed them.
FAQs
Questions
Are safety eyes necessary, or can the eyes be embroidered instead?
Either option works: 4mm safety eyes give a quick, secure finish, while black yarn embroidery is a suitable substitute if the keychain is intended for a household with small children, since embroidered eyes carry no small-part risk. Both are listed as equal alternatives in the materials.
What size will the finished unicorn be?
No finished measurement is given in the pattern, but the 30-stitch body round worked with a 2.5mm/3mm hook and standard DK-weight yarn produces a small, palm-sized piece suitable for attaching to a keyring. Substituting a heavier or finer yarn will change this size, as noted in the yarn substitution section.
In what order should the pieces be made?
The body is worked first, from the magic circle through all increase and decrease rounds, then stuffed and closed at round 14. The ears, horn, flowers, leaves and hair tendrils are crocheted afterwards in their own colours and attached once the body is complete.
How is the keyring attached to the finished unicorn?
The materials list includes a keyring as an optional item for turning the amigurumi into a keychain, attached once the body and decorative pieces are finished and the tails are secured. No separate attachment loop or chain is specified beyond the long tail left at the final decrease round for finishing.
These answers came from whoever first published the pattern, kept word for word.