 EVERY CROCHET
 Amigurumi 19 rounds No account, no download
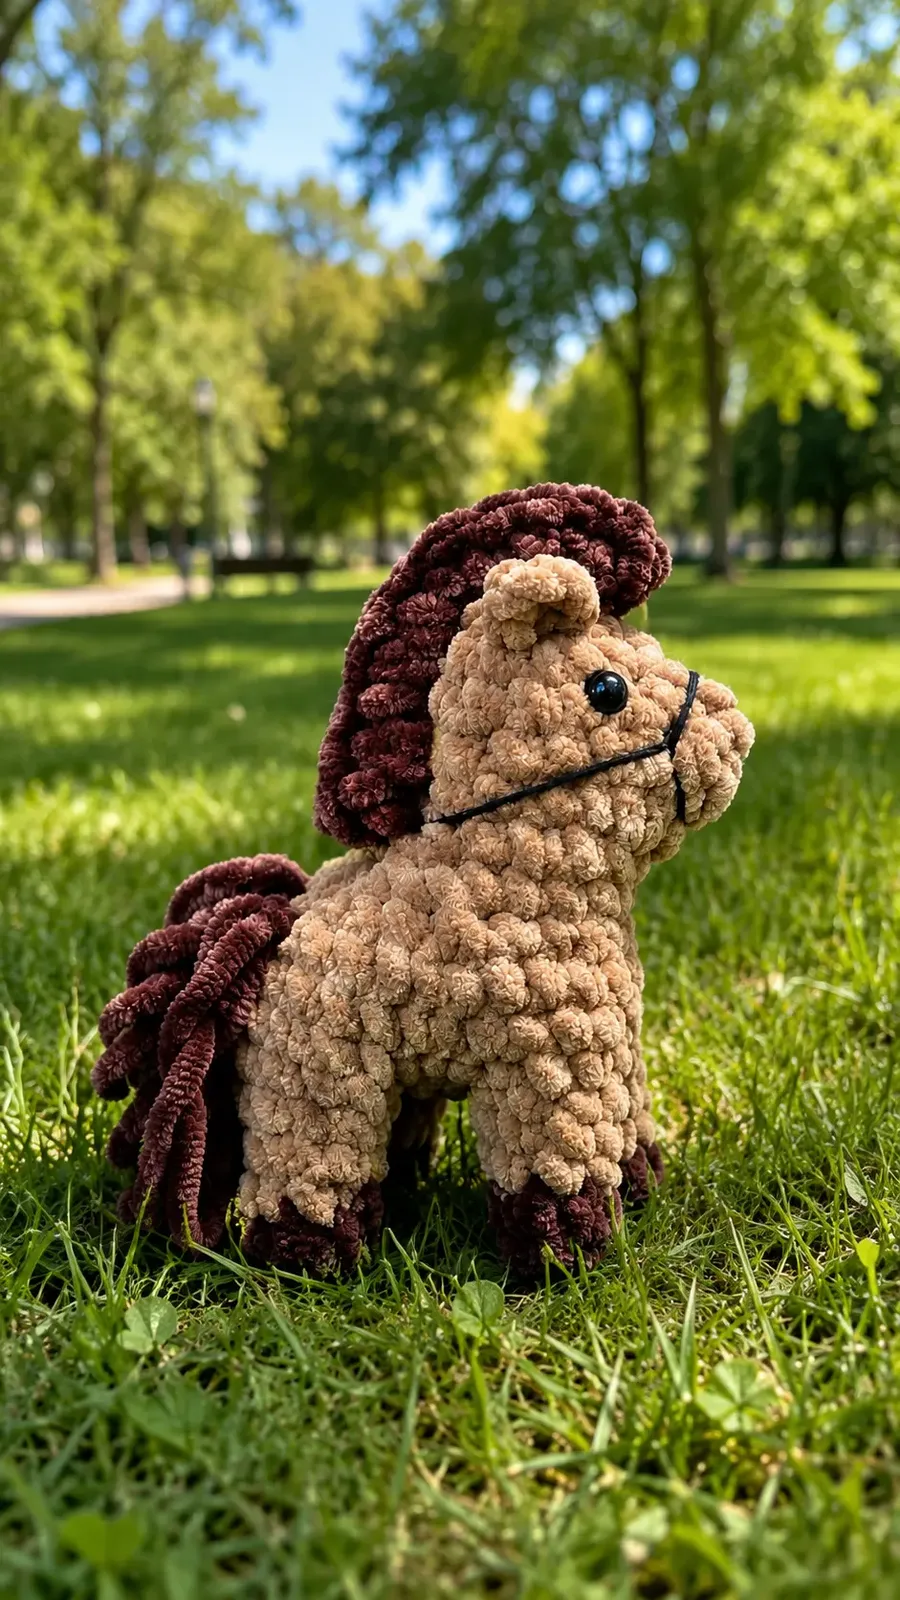
Little plush horse amigurumi in single crochet
A plush horse amigurumi worked in single crochet (UK: double crochet), with US and UK stitch names given.
- Skill
- Intermediate
- Time
- 4-6 hours
- Yarn weight
- Aran
- Hook
- 3.75 mm

Intermediate
What the original write-up called it. Nothing here is graded again.

Aran
What the sample was worked in. Any weight works; the size moves with it.

4-6 hours
What the original page reckoned. Your own pace is the one that matters.
About this pattern
This is a small amigurumi horse made in plush yarn using single crochet (UK: double crochet), built from two legs joined into a continuous eleven-round body, with separate tail, mane and ear pieces added afterwards. It calls for a 3.75mm hook, two colours of plush yarn, fiberfill stuffing, a stitch marker and 8mm safety eyes, and suits a maker already comfortable with basic amigurumi shaping.
This little plush horse amigurumi belongs to the single crochet (UK: double crochet) family of toys, worked almost entirely in the round with one stitch height throughout. Two colours of plush yarn mark a clean colour change on the legs, giving the finished horse a two-tone lower leg without any separate colourwork technique. A short run of half double crochet appears only in small transitional sections, so most of the toy stays in the firm, dense fabric that plush single crochet produces and that holds stuffing well.
Construction begins with the two legs worked flat in the round from a magic ring, five rounds each, the first fastened off and the second finished with a slip stitch and a three-chain bridge. Both legs are then crocheted together at round 6 to open the eleven-round body, which increases and decreases to shape the neck and head. The tail, mane and two ears are worked as separate one-round pieces and attached afterwards, with the safety eyes glued on last.
Materials
- Plush yarn in 2 colors (100g/120m)
- 3.75 mm crochet hook
- Fiberfill stuffing
- Tapestry needle for closing stitches in the final round
- Stitch marker
- 8 mm glue-on safety eyes
The list is the pattern's own wording.
Instructions
Every round is printed as the pattern wrote it, brackets and all. Open the key beside a round to see only the short forms that round uses.
Legs
Start crocheting with dark brown color.
On the first leg fasten off and cut the yarn. On the second leg make a slip stitch, ch 3, and join to the first leg.
- Round 1
6 sc in magic ring. (6)
Key1
- sc
- single crochet
- Round 2
6 sc, change to main color. (6)
Key1
- sc
- single crochet
- Round 3
6 sc. (6)
Key1
- sc
- single crochet
- Round 4
(sc, inc) x 3. (9)
Key2
- inc
- increase
- sc
- single crochet
- Round 5
9 sc. (9)
Key1
- sc
- single crochet
Mane
- Round 1
Attach dark brown color yarn in round 16 at the front in the center of the muzzle; ch 2, hdc in the same stitch; next two stitches hdc inc; then 5 hdc; ch 2 and sl st in the last round of hdc; fasten off, cut the yarn, hide ends.
Key4
- sl st
- slip stitch
- inc
- increase
- hdc
- half double crochet
- ch
- chain stitch
Ears
- Round 1
In round 16 on the sides of the muzzle attach yarn; ch 3; in 3rd stitch from hook hdc and in adjacent stitch sl st; cut the yarn, fasten off, hide ends.
Key3
- sl st
- slip stitch
- hdc
- half double crochet
- ch
- chain stitch
Body
- Round 6
9 sc along the leg, 3 sc along the ch, 9 sc along the second leg, 3 sc along the ch. (24)
Key2
- sc
- single crochet
- ch
- chain stitch
- Rounds 7–8
24 sc. (2 rounds) (24)
Key1
- sc
- single crochet
- Round 9
(2 sc, dec) x 6. (18)
Key2
- dec
- decrease
- sc
- single crochet
- Round 10
(sc, dec) x 3, (2 sc, inc) x 3. (18)
Key3
- inc
- increase
- dec
- decrease
- sc
- single crochet
- Round 11
(dec) x 3, 12 sc. (15)
Key2
- dec
- decrease
- sc
- single crochet
- Round 12
dec over 3 sc, 4 sc, (inc) x 4, 4 sc. (17)
Key3
- inc
- increase
- dec
- decrease
- sc
- single crochet
- Round 13
dec, 6 sc, 4 hdc, 5 sc. (16)
Key3
- dec
- decrease
- hdc
- half double crochet
- sc
- single crochet
- Round 14
7 sc, (hdc dec) x 2, 5 sc. (14)
Key3
- dec
- decrease
- hdc
- half double crochet
- sc
- single crochet
- Round 15
5 sc, (dec) x 3, 3 sc. (11)
Key2
- dec
- decrease
- sc
- single crochet
- Round 16
3 sc, (dec) x 3, 2 sc. (8)
Key2
- dec
- decrease
- sc
- single crochet
- Round 17
3-4 dec. Fasten off, cut the yarn, using a needle close the remaining stitches.
Key1
- dec
- decrease
Tail
- Rounds 9–10
Crochet using loop stitches, 6-8 stitches, with dark brown color.
Making up
- Step 1Glue on the eyes, decorate as desired. Our horse is ready.
Notes from the pattern
- The 3.75mm hook is sized for plush yarn rather than standard worsted, so check gauge on the first leg before committing to the full body.
- A stitch marker is essential from round 1 onward, since plush yarn obscures the usual visual cue for the start of a round.
- Keep tension relaxed rather than tight; plush yarn is thicker than typical amigurumi yarn and pulling too hard distorts the stitch loops.
- Add fiberfill stuffing gradually into the legs and lower body as each part is completed, well before the narrower neck and head rounds make stuffing harder to push into place.
- Work with lightweight tension: When using plush velvet yarn, keep your hands relaxed so the thick yarn moves smoothly over your hook without catching.
- Stuff firmly as you go: Add small pieces of fiberfill stuffing into the legs and lower body before reaching the narrower neck and head rounds.
- Use a sharp tapestry needle: Closing plush stitches at the top of the head works best with a blunt or sharp tapestry needle that glides through bulky chenille.
- Locate stitch loops carefully: Plush yarn can hide loop openings, so use your fingers to feel for the tops of stitches if they are hard to see visually.
- Secure glue-on eyes well: Place a generous dab of craft glue or hot glue onto the back of the eyes and press firmly into the plush fiber so they stay locked in place.
- Tailor the mane placement: Pin the mane in a straight line down the back of the neck before stitching to make sure it looks neat and balanced.
The essentials
- Rounds
- 19
- Parts
- 5
- Level
- Intermediate
- Time
- 4-6 hours
- Hook
- 3.75 mm
- Yarn
- Aran
Stitches you will use
- Magic ring start Used to begin the legs at round 1; keep the initial loop snug so the six stitches sit tightly before the ring is pulled closed.
- Paired increases and decreases for shaping Rounds 9-11 of the body combine dec and inc in the same round to narrow toward the neck; work them in the stated order so the shaping stays symmetrical rather than skewing to one side.
Troubleshooting
The two legs end up different colours at different points
The colour change is meant to land between rounds 2 and 3; miscounting rounds shifts it. Place a stitch marker at the round where the colour change happens on the first leg and match it exactly on the second.
The top of the head looks puckered instead of closing smoothly
This happens when the final round is cinched unevenly through bulky plush loops. Use a sharp tapestry needle, thread through each remaining stitch individually, and pull the closure gradually rather than in one sharp tug.
The stitch loops are hard to find when working into the previous round
Plush and chenille-style yarn hides the loop structure. Work in good light, flatten the fabric slightly with the fingers before inserting the hook, and slow down through any round where the yarn texture is especially fuzzy.
Substituting yarn
- Chenille-style acrylic, aran weight
- Keeps a similar plush surface and drape; may need a slightly larger hook than 3.75mm if the strand is thicker, and stuffing shows through less.
- Cotton, DK weight
- Produces a firmer, smaller toy with crisper stitch definition instead of a soft plush finish; drop to a smaller hook and expect stuffing to show more at the seams.
- Wool-blend, aran weight
- Adds more structure and a slightly heavier drape than plush yarn; a 4mm hook suits the firmer strand, but the finished toy will felt if machine washed.
Washing and care
- Hand wash the finished horse in cool water only, since plush yarn can mat or lose its pile if machine washed or tumble dried.
- Reshape the toy gently while still damp and lay it flat to dry, then store it upright or lightly stuffed rather than compressed, to keep the plush texture and the leg and body shaping intact.
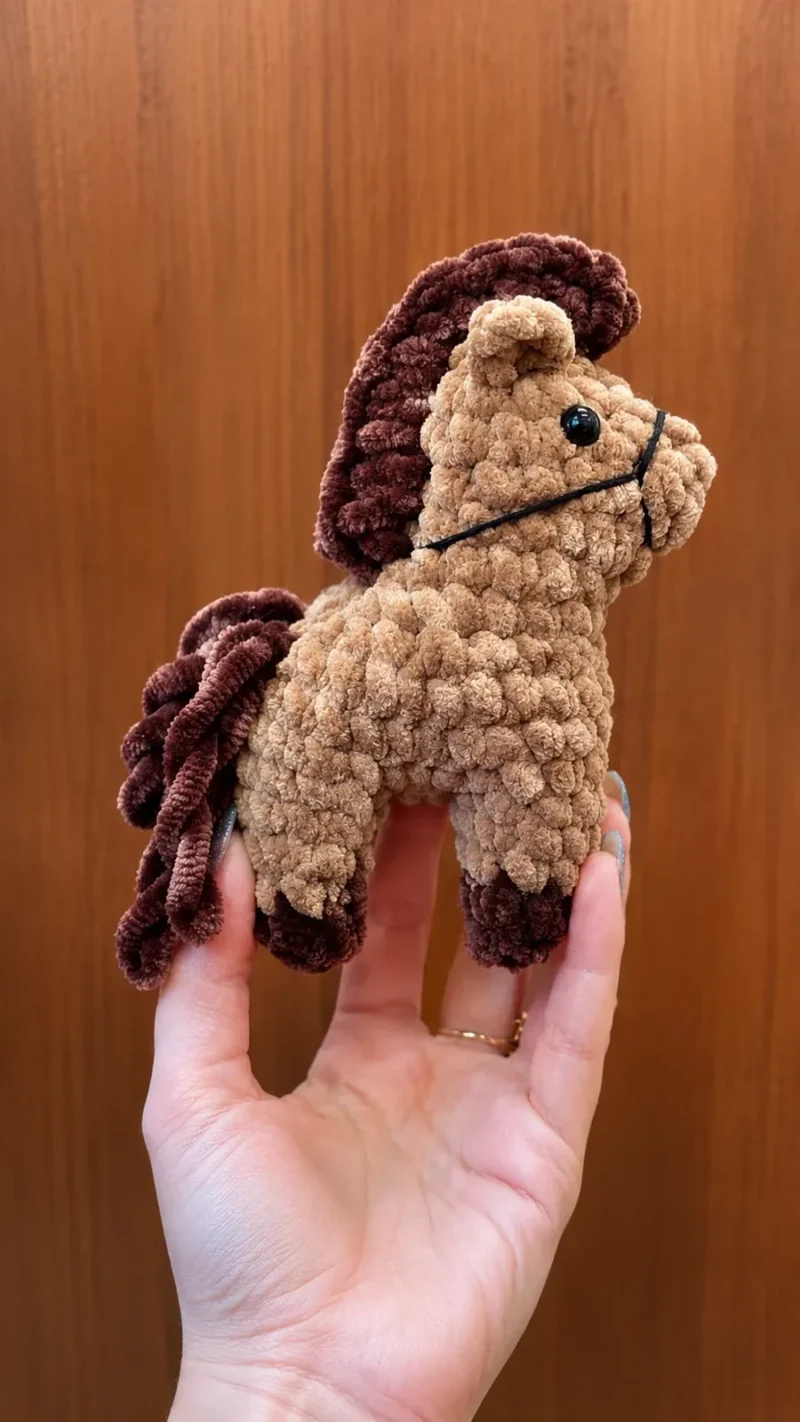
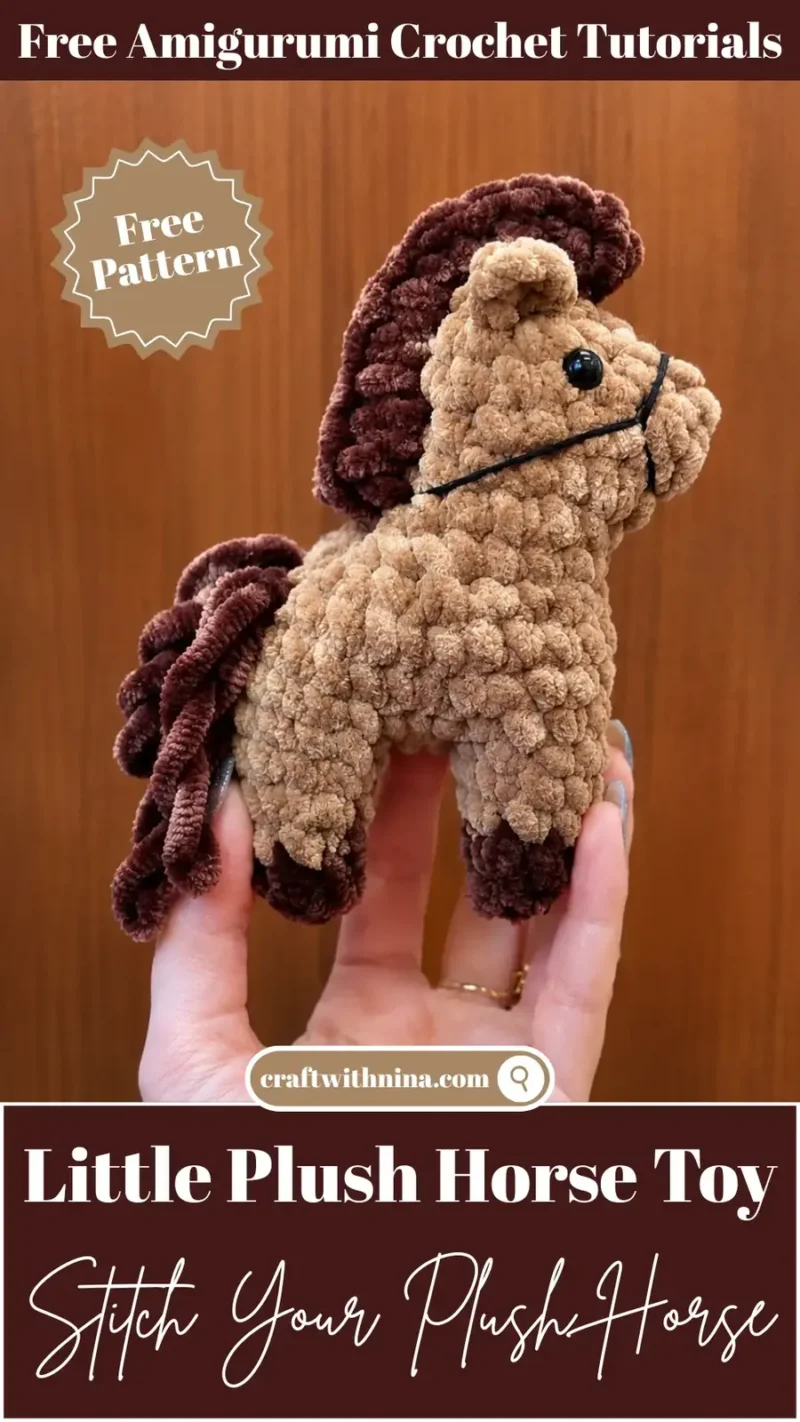
The photographs taken while this was being made
Every one was taken by whoever published the pattern, in the order the source listed them.
FAQs
Questions
What hook size does this pattern use?
The pattern is worked with a 3.75mm hook. This size is chosen to suit the thickness of plush yarn rather than a standard worsted-weight yarn.
How much yarn does the horse need?
The materials list calls for plush yarn in two colours, each ball rated at 100g/120m. Exact usage depends on tension, but both colours are needed for the leg colour change and the main body.
Can the safety eyes be left out?
Yes, embroidered eyes in dark yarn can replace the 8mm glue-on safety eyes if a fully secure closure is preferred, for example for a very young recipient. Any substitute should be attached before the head is fully stuffed and closed.
Why does a mostly single crochet pattern include half double crochet?
The half double crochet (UK: half treble) stitches appear only in short transitional sections rather than throughout the toy. They help ease the shaping without changing the overall dense, single crochet fabric of the body.
When should stuffing go in — during the rounds or at the end?
Stuffing should be added gradually into the legs and lower body as each section is finished, before the neck and head rounds narrow. Waiting until the very end makes it difficult to distribute stuffing evenly through the narrower openings.
These answers came from whoever first published the pattern, kept word for word.