 EVERY CROCHET
 Amigurumi 24 rounds No account, no download
Little butterfly amigurumi: a crochet pattern
Amigurumi butterfly worked in single crochet (UK double crochet); US and UK stitch terms both given throughout.
- Skill
- Intermediate
- Time
- 4-6 hours
- Yarn weight
- Fingering/Sport
- Hook
- 10 mm

Intermediate
What the original write-up called it. Nothing here is graded again.

Fingering/Sport
What the sample was worked in. Any weight works; the size moves with it.

4-6 hours
What the original page reckoned. Your own pace is the one that matters.
About this pattern
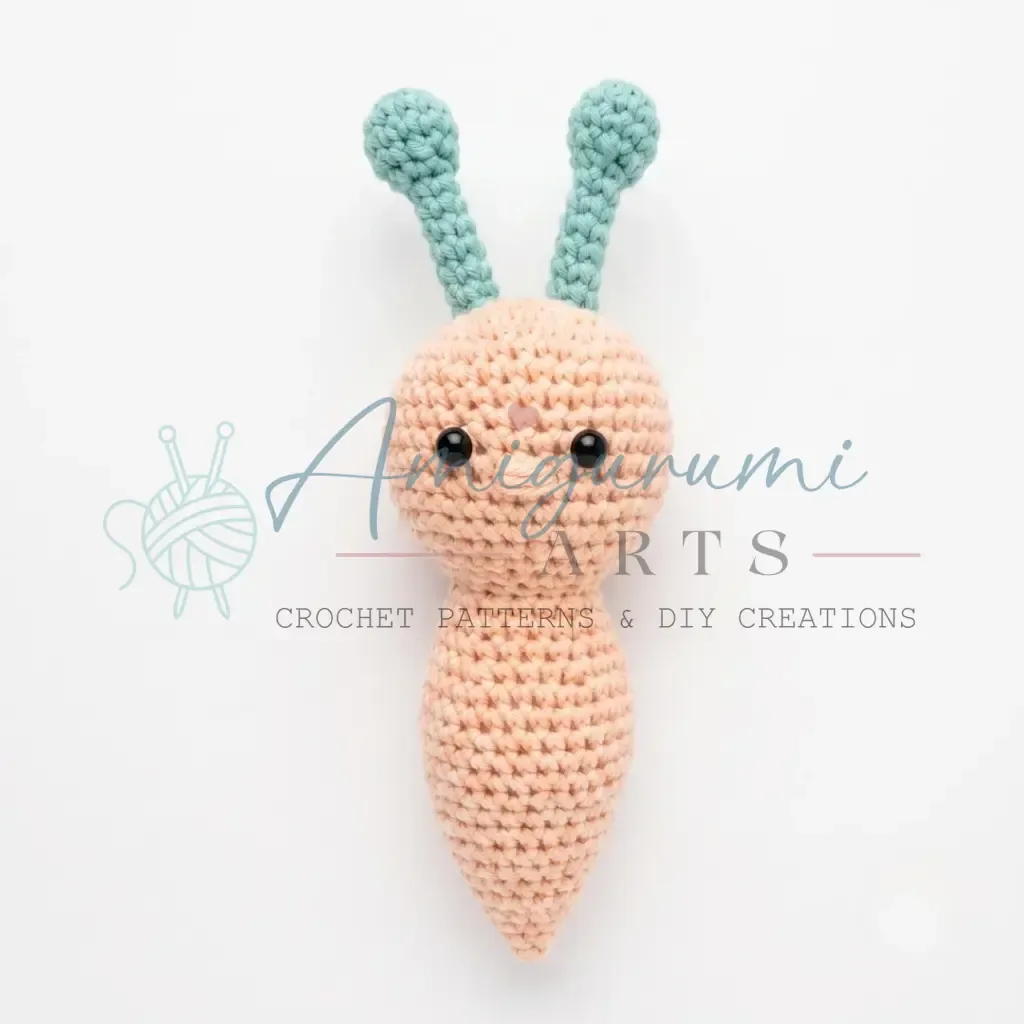
A small amigurumi butterfly worked in single crochet (UK double crochet) throughout, built from a 23-round continuous-spiral head and body, two sizes of wing made in pairs and joined before attaching, plus antennae and contrast-colour spots sewn on at the end. It uses fine fingering or sport weight yarn on a small 2.25 mm hook for a tight, stuffing-hiding fabric, with fibrefill and safety-style eyes finishing the shape.
This little butterfly belongs to the amigurumi family, worked almost entirely in single crochet (UK double crochet), the dense stitch that gives stuffed toys their smooth, opaque surface. The scale is small and the fibre fine, so the piece reads as delicate rather than chunky, with a head and body sized to sit comfortably in one hand once the wings are attached.
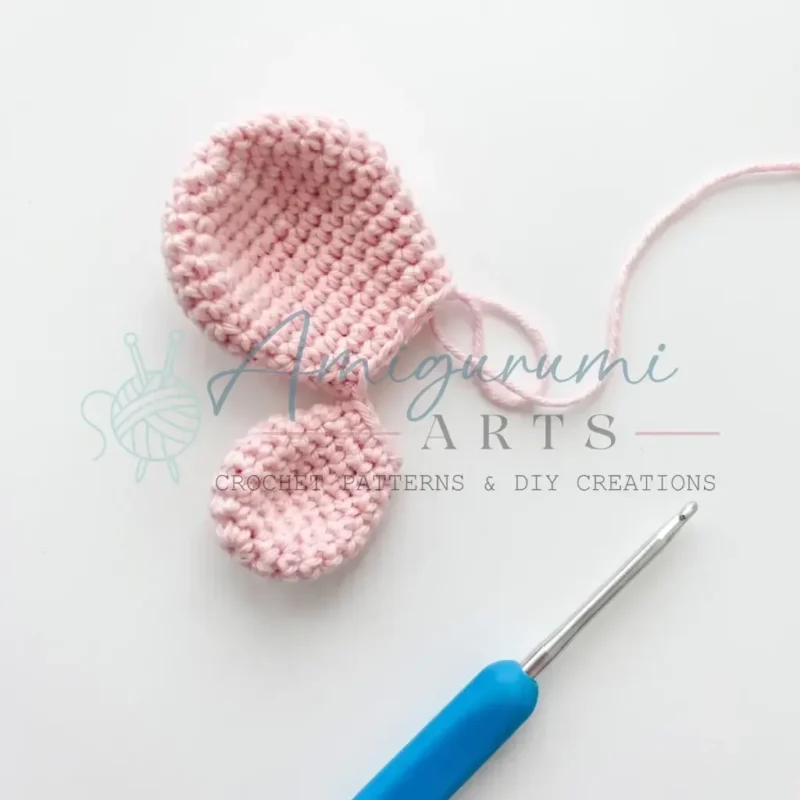
The body and head are built as one continuous piece over 23 rounds, shaping outward then back in to form the rounded form before stuffing and closing. The large and small wings are worked separately in pairs, joined to each other first, then whipstitched to the back of the body; the antennae and spots are small single-round or short pieces sewn on last to finish the face and wing pattern.
Materials
Yarn
- Fingering or sport weight yarn in your chosen butterfly colors (body color + wing color + contrast color for spots)
Safety eyes
- 1 pair, 8–10 mm (adjust to preference)
Stuffing
- Polyester fiberfill
- Stitch marker
- Yarn needle / tapestry needle
- Scissors
Tools
- US B-1 / 2.25 mm (or size appropriate for your yarn to achieve a tight, stuffing-hiding fabric)
The list is the pattern's own wording.
Instructions
Every round is printed as the pattern wrote it, brackets and all. Open the key beside a round to see only the short forms that round uses.
Head and Body
- Round 1
6 sc in MR. (6)
Key2
- MR
- Magic Ring
- sc
- Single Crochet
- Round 2
inc in each st around. (12)Step by step: Finish with sl st. Cut yarn leaving a long tail. Make as many as needed.
Key2
- sl st
- Slip Stitch
- inc
- Increase (2 sc in same stitch)
- Round 3
sc, inc repeat 6 times around. (18)
Key2
- inc
- Increase (2 sc in same stitch)
- sc
- Single Crochet
- Round 4
2 sc, inc repeat 6 times around. (24)
Key2
- inc
- Increase (2 sc in same stitch)
- sc
- Single Crochet
- Round 5
3 sc, inc repeat 6 times around. (30)
Key2
- inc
- Increase (2 sc in same stitch)
- sc
- Single Crochet
- Round 6
4 sc, inc repeat 6 times around. (36)
Key2
- inc
- Increase (2 sc in same stitch)
- sc
- Single Crochet
- Rounds 7–14
sc in each st around. (36)Place safety eyes between Rounds 10 and 11, spacing them evenly across the front of the head.
Key1
- sc
- Single Crochet
- Round 15
4 sc, dec repeat 6 times around. (30)
Key2
- dec
- Invisible Decrease (insert hook through front loops of next 2 sts, yo, pull through both, yo, pull through 2 loops)
- sc
- Single Crochet
- Round 16
3 sc, dec repeat 6 times around. (24)
Key2
- dec
- Invisible Decrease (insert hook through front loops of next 2 sts, yo, pull through both, yo, pull through 2 loops)
- sc
- Single Crochet
- Round 17
2 sc, dec repeat 6 times around. (18)
Key2
- dec
- Invisible Decrease (insert hook through front loops of next 2 sts, yo, pull through both, yo, pull through 2 loops)
- sc
- Single Crochet
- Round 18
sc in each st around. (18)
Key1
- sc
- Single Crochet
- Round 19
2 sc, inc repeat 6 times around. (24)
Key2
- inc
- Increase (2 sc in same stitch)
- sc
- Single Crochet
- Rounds 20–21
sc in each st around. (24)
Key1
- sc
- Single Crochet
- Round 22
3 sc, inc repeat 6 times around. (30)
Key2
- inc
- Increase (2 sc in same stitch)
- sc
- Single Crochet
- Rounds 23–27
sc in each st around. (30)Step by step: dec, 13 sc repeat 2 times. (28); dec, 12 sc repeat 2 times. (26); dec, 11 sc repeat 2 times. (24); dec, 10 sc repeat 2 times. (22); dec, 9 sc repeat 2 times. (20); dec, 8 sc repeat 2 times. (18).
Key2
- dec
- Invisible Decrease (insert hook through front loops of next 2 sts, yo, pull through both, yo, pull through 2 loops)
- sc
- Single Crochet
Do not finish yet — leave the yarn attached. The large wing will be joined with the small wing in the next step.
- Round 28
3 sc, dec repeat 6 times around. (24)
Key2
- dec
- Invisible Decrease (insert hook through front loops of next 2 sts, yo, pull through both, yo, pull through 2 loops)
- sc
- Single Crochet
- Rounds 29–31
sc in each st around. (24)
Key1
- sc
- Single Crochet
- Round 32
2 sc, dec repeat 6 times around. (18)
Key2
- dec
- Invisible Decrease (insert hook through front loops of next 2 sts, yo, pull through both, yo, pull through 2 loops)
- sc
- Single Crochet
- Rounds 33–34
sc in each st around. (18)Step by step: dec, 7 sc repeat 2 times. (16); dec, 6 sc repeat 2 times. (14); dec, 5 sc repeat 2 times. (12); dec, 4 sc repeat 2 times. (10); Do not cut yarn. You will now join this small wing to the large wing.
Key2
- dec
- Invisible Decrease (insert hook through front loops of next 2 sts, yo, pull through both, yo, pull through 2 loops)
- sc
- Single Crochet
- Round 35
sc, dec repeat 6 times around. (12)
Key2
- dec
- Invisible Decrease (insert hook through front loops of next 2 sts, yo, pull through both, yo, pull through 2 loops)
- sc
- Single Crochet
- Round 36
sc in each st around. (12)
Key1
- sc
- Single Crochet
- Round 37
dec 6 times around. (6)
Key1
- dec
- Invisible Decrease (insert hook through front loops of next 2 sts, yo, pull through both, yo, pull through 2 loops)
- Rounds 38–39
sc in each st around. (6)Finish with sl st. Cut yarn leaving a long tail for sewing. Sew the antennae to the top of the head.Stuff the body firmly before the opening closes completely. Cut yarn and close the opening by pulling the tail through the remaining stitches.
Key2
- sl st
- Slip Stitch
- sc
- Single Crochet
Small Spots
- Round 1
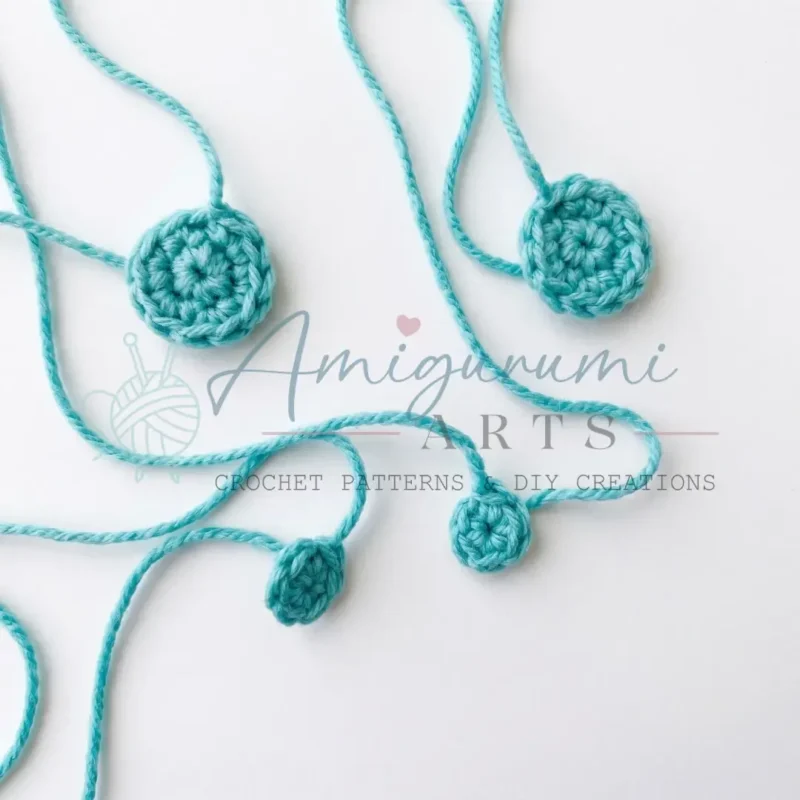
6 sc in MR, sl st to close. (6)Cut yarn leaving a long tail. Make as many as needed.
Key3
- sl st
- Slip Stitch
- MR
- Magic Ring
- sc
- Single Crochet
Making up
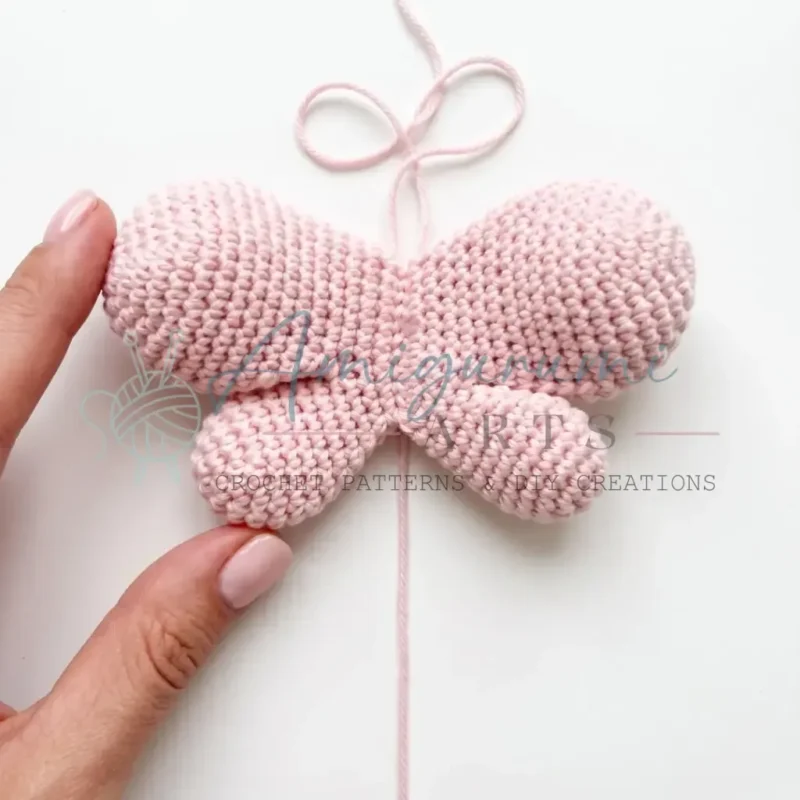
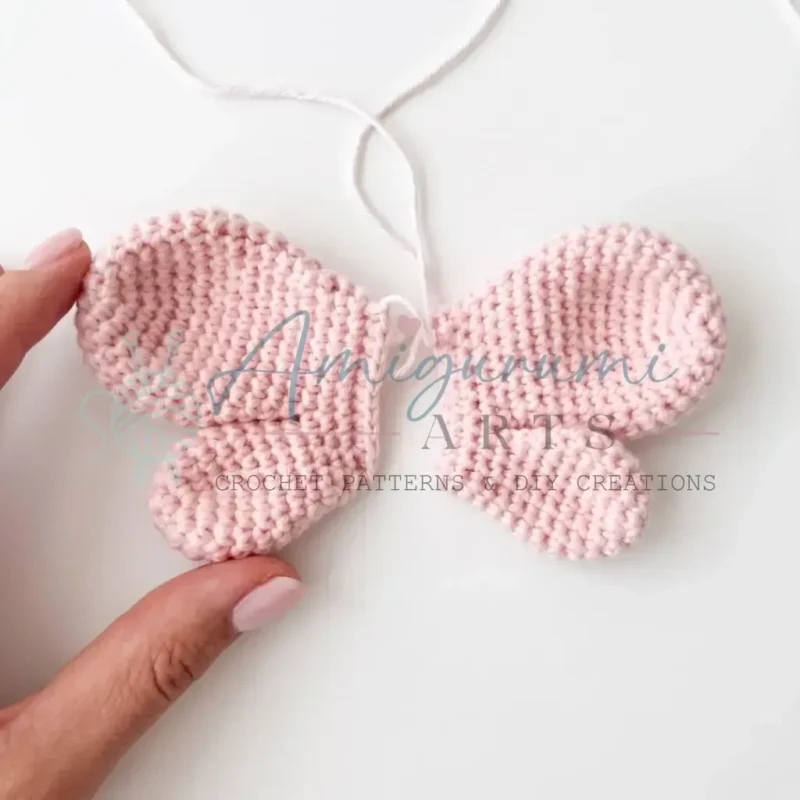
- Step 1Sew the joined wing unit to the body. Position the straight joined edge of the wings along the back of the body, centering them between the widest point of the body and the top. Use the long yarn tail and a whipstitch to secure.
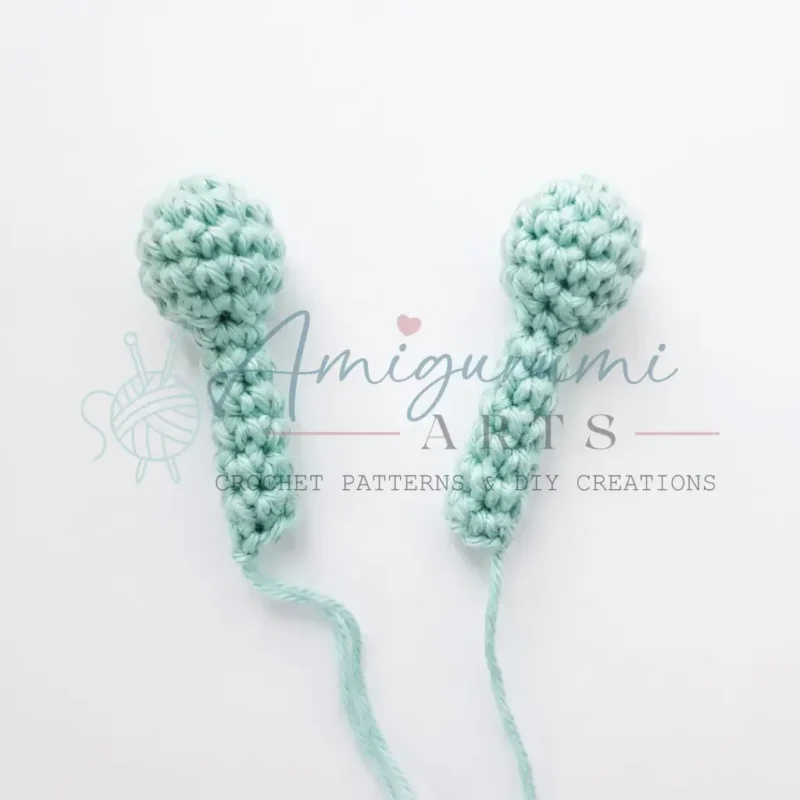
- Step 2Sew the antennae to the very top of the head, placing them symmetrically side by side and angling them slightly outward.
- Step 3Arrange the spots symmetrically on both wings — mirror the placement on the left and right sides. Sew each spot down using the long yarn tail and a few small whipstitches around the edge.
- Step 4Embroider a small nose on the front of the face using a yarn needle and a short length of yarn, positioning it below and between the safety eyes.
- Step 5Weave in all remaining yarn ends.
Notes from the pattern
- The 2.25 mm (US B-1) hook is small for the fingering/sport weight yarn specified, which is intentional — it tightens the fabric so fibrefill does not show through the single crochet.
- A stitch marker is essential rather than optional, since every part is worked in a continuous spiral with no slip stitch to mark the round end.
- Keep tension even but not so tight that the small wing and spot pieces (worked over very few rounds) become stiff or cupped.
- Stuff the head/body firmly and evenly before closing so the finished shape stays round rather than lopsided once the wings are added.
The essentials
- Rounds
- 24
- Parts
- 2
- Level
- Intermediate
- Time
- 4-6 hours
- Hook
- 10 mm
- Yarn
- Fingering/Sport
Stitches you will use
- Working in a continuous spiral Used throughout the head/body, wings, antennae and spots; a stitch marker is needed to track round starts since there is no joining slip stitch.
- Increasing and decreasing to shape a sphere Drives the head/body rounds, including the 'sc, inc' and '2 sc, inc' repeats; miscounting here throws off the body's roundness quickly.
- Assembling and whipstitching separate pieces Needed to join the two wing pairs, attach them to the body, and sew on antennae and spots; placement must stay symmetrical left to right.
Troubleshooting
The head/body comes out lumpy or uneven rather than a smooth round shape.
This usually comes from missed or extra increases in the early rounds (Rnd 1–4); recount stitches against the given totals before moving on.
Stuffing is visible through the fabric.
The hook is too large for the yarn; drop to a smaller hook or tighten tension so the single crochet stitches sit closer together.
The wings sit unevenly or the spots are not mirrored.
Lay both wing pairs and all spots side by side before sewing and match them against each other, since placement is done by eye rather than a fixed count.
Substituting yarn
- Cotton, fingering weight
- Gives crisper stitch definition and less give than the original fibre; a slightly smaller hook than 2.25 mm may be needed to keep the fabric tight enough to hide stuffing.
- Acrylic, sport weight
- Produces a softer, slightly fuzzier surface with more drape; stitch counts stay the same but the finished butterfly will sit a touch larger, so sizing against the 8–10 mm eyes should be checked.
- Wool-blend, fingering weight
- Adds elasticity that makes shaping rounds easier to keep even, but the fabric can bloom after washing, so a firmer hook size than 2.25 mm helps keep stuffing concealed.
Washing and care
- Hand wash gently in cool water if the chosen fibre is wool or a wool blend, then reshape the head, body and wings by hand while damp and lay flat to dry.
- Store away from direct sunlight to keep the body, wing and spot colours from fading, and keep the antennae unflattened by avoiding tight storage boxes.
The photographs taken while this was being made
Every one was taken by whoever published the pattern, in the order the source listed them.
FAQs
Questions
What yarn weight does this butterfly use?
Fingering or sport weight yarn in three colours: one for the body, one for the wings, and a contrast shade for the spots. The fine weight paired with a small hook keeps the finished toy compact.
Why is the hook so small for the yarn weight?
A 2.25 mm (US B-1) hook is undersized relative to fingering or sport weight yarn on purpose, which tightens the single crochet (UK double crochet) fabric so the fibrefill underneath does not peek through.
Is a stitch marker really necessary?
Yes. Every part of this pattern, from the head and body to the small spots, is worked in a continuous spiral without a joining slip stitch, so a marker is the only way to track where each round begins.
How are the wings attached to the body?
The two wing pairs are joined to each other first to form a single wing unit, then that unit is whipstitched to the back of the body using the long yarn tail, centred between the widest point of the body and the top.
Does this pattern use US or UK crochet terms?
It is written in US terminology, so single crochet refers to the stitch called double crochet in UK terms. This matters mainly for the single crochet used throughout the head, body, and wings.
These answers came from whoever first published the pattern, kept word for word.