 EVERY CROCHET
 Amigurumi 30 rounds No account, no download
How to crochet a moose amigurumi with shaped antlers
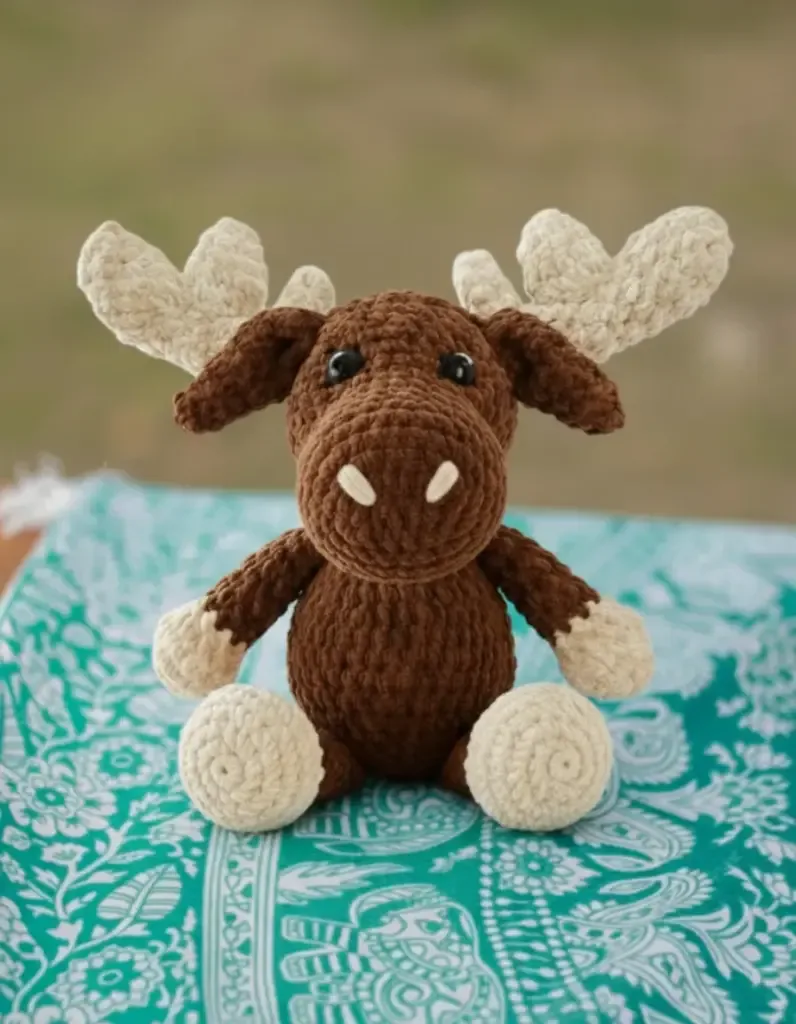
A single crochet (UK double crochet) amigurumi moose, with both US and UK stitch terms given throughout the guide.
- Skill
- Intermediate
- Time
- 6-9 hours
- Yarn weight
- Bulky
- Hook
- 8 mm

Intermediate
What the original write-up called it. Nothing here is graded again.

Bulky
What the sample was worked in. Any weight works; the size moves with it.

6-9 hours
What the original page reckoned. Your own pace is the one that matters.
About this pattern
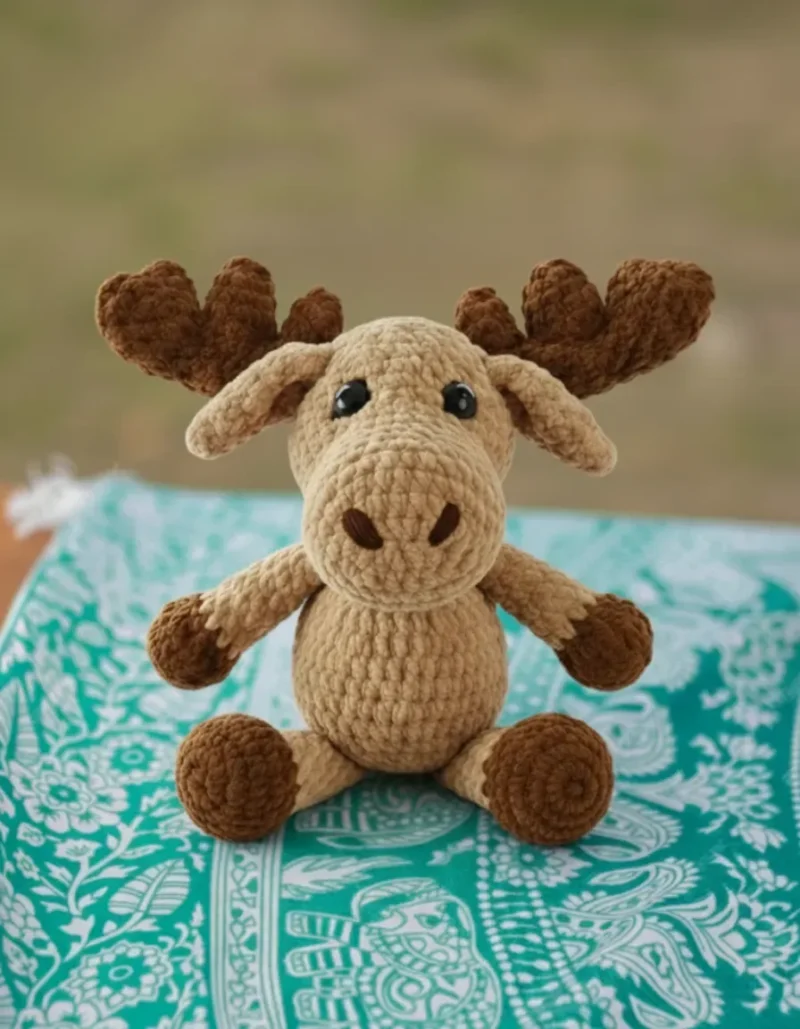
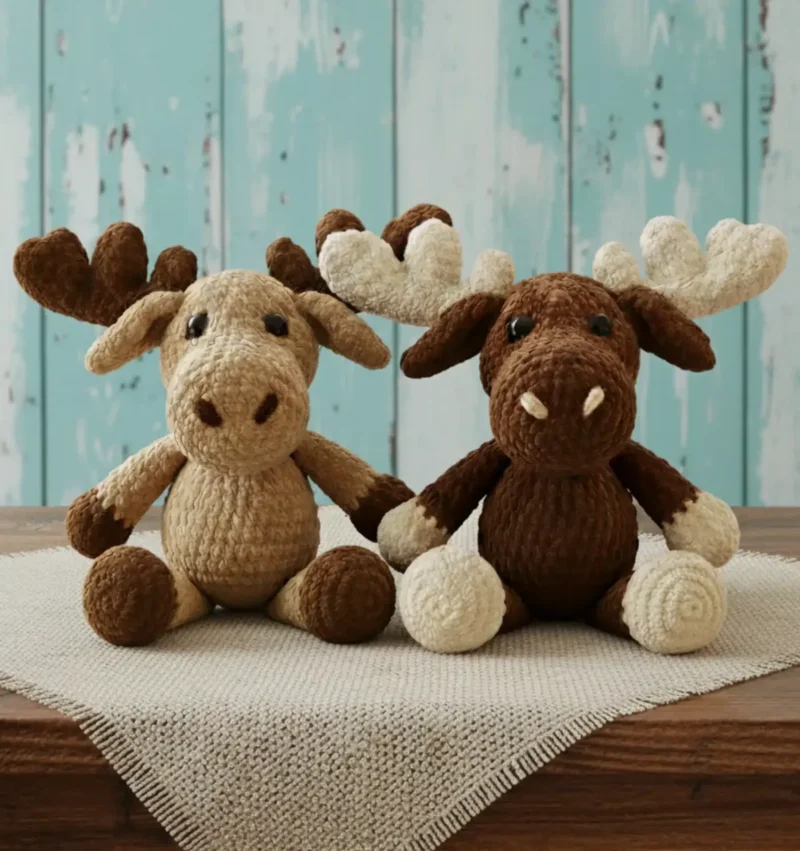
Manny Moose is an amigurumi toy built from ten separate single crochet (UK double crochet) pieces -- snout, head, ears, three-part antlers, body, arms and legs -- worked in continuous spiral rounds and assembled by hand. An 8mm hook shapes the main pieces, a 4mm hook stitches the embroidered eyes, and about 24 ounces of fibre fill, including a nylon stocking compartment, builds the final shape.
Manny Moose is worked almost entirely in single crochet (UK: double crochet), the firm, dense stitch most amigurumi relies on for its sculptural hold. The snout, head, ears, antlers, body, arms and legs are each built as separate single crochet pieces before being joined by hand, giving the finished toy its layered, three-dimensional silhouette. A small amount of embroidery in black and white yarn adds the eyes, keeping the main construction entirely within one stitch family throughout.
Construction follows a continuous spiral rather than joined rounds, so no slip stitch marks the start of each row; a stitch marker tracks the beginning and end of every round instead. The snout is built first and the head continues directly from it without a break, while the antlers are worked as three separate branch-and-prong pieces that are sewn together afterward. Stuffing happens in stages as the work progresses, with a nylon stocking used to form a hidden compartment that keeps the snout and head firm and evenly shaped.
Materials
Main Colors
- Color A (Taupe): 200 yards of bulky size 6 yarn for the body and head
- Color B (Almond): 150 yards of super bulky size 6 yarn for antlers, arms, and legs
- Color C (Black): 3 yards of medium size 4 yarn for embroidered eyes
- Color D (White): 1 yard of medium size 4 yarn for eye highlights
- 8mm crochet hook (main work)
- 4mm crochet hook (eyes only)
- Darning needle for assembly
- Scissors
- Fabric pins for positioning pieces
- Stitch markers
- 1 pair of nylons (for stuffing technique)
- Approximately 24 ounces of fiber fill
Optional
- 16-20mm safety eyes if you prefer not to embroider
The list is the pattern's own wording.
Instructions
Every round is printed as the pattern wrote it, brackets and all. Open the key beside a round to see only the short forms that round uses.
Snout
Begin stuffing partway through construction.
Cut a piece of nylon, knot one end, and turn it inside out so the knot stays hidden — this creates a separate compartment that helps maintain the snout's distinctive shape when filled with fiber fill.
- Round 1
Chain 7 and skip the first stitch; single crochet in the top two loops of the next 6 chains; continue around to work in the back loops, creating an oval shape.
- Round 2
Work increases to shape the snout from 12 to 36 stitches over 12 rows. (36)
Head
Remember to stuff every two rows for even filling.
Tie off the nylon once both head and snout are completely stuffed.
- Round 1
Continue seamlessly from the snout, working increases to expand the head from 24 to 42 stitches at its widest point. (42)
- Round 2
Strategic increases in rows 14-19 to create fullness.
- Round 3
Four rows of consistent stitching for stability.
- Round 4
Gradual decreases from row 24 onward.
- Round 5
Final closure by gathering the last stitches tightly.
Ears
Create dimension by pinching the ear flat in two directions.
Sew the pinched area to create natural folds.
- Round 1
Start with a magic ring of 4 stitches. (4)
- Round 2
Increase gradually to 14 stitches over 10 rows. (14)
Eyes
Add white highlights by inserting yarn from behind, skipping stitches strategically.
- Round 1
Create a magic ring with 7 double crochets. (7)
- Round 2
Work 7 slip stitches in the second row. (7)
Antler Part 1 (Main Branch)
Use the nylon stuffing technique.
Thread yarn through from row 1 to the last row and pull to create a natural curve.
- Round 1
Start with 6 stitches in a magic ring. (6)
- Round 2
Increase to 15 stitches at the widest point. (15)
- Round 3
Decrease back to 9 stitches. (9)
- Round 4
Continue with 11 rows of consistent stitching.
Antler Part 2 (First Prong)
- Round 1
Work 5 rows starting from a magic ring.
- Round 2
Increase from 6 to 12 stitches. (12)
Body
Use the nylon stuffing method for firm, even filling.
- Round 1
Begin with 6 stitches in a magic ring. (6)
- Round 2
Increase to a maximum of 42 stitches by row 12. (42)
- Round 3
Maintain shape with four rows of consistent stitching.
- Round 4
Gradually decrease to close the body.
Legs
- Round 1
Create larger hooves starting with 8 stitches. (8)
- Round 2
Increase to 24 stitches before decreasing to 12. (12)
- Round 3
Switch colors and continue for 7 rows.
- Round 4
Final decrease to 6 stitches for tapering. (6)
Arms
Pinch flat and sew closed.
- Round 1
Start with Color B (Almond) for the hooves.
- Round 2
Work increases to 18 stitches, then decrease to 8. (8)
- Round 3
Switch to Color A (Taupe) for the upper arm.
- Round 4
Continue for 9 rows of consistent stitching.
Antler Part 3 (Second Prong)
- Round 1
Create a smaller 4-row piece.
Making up
- Step 1Attach ears to rows 21-23 of the head, spacing them 8-9 stitches apart. Position the ears pointing downward for an authentic moose appearance. Use fabric pins to test placement before permanently sewing.
- Step 2Position eyes on rows 16-17 with 4 stitches between them. Sew halfway around, stuff lightly with yarn ends and fiber fill, then complete sewing.
- Step 3Thread a 12-inch strand of black yarn through a darning needle; insert at the corner of one eye and push through to the second eye; go down one stitch and push the needle under the head; repeat for the other eye; pull both strands tight to create eye indentation; tie off securely and weave in ends.
- Step 4Attach Antler Part 2 to rows 8-12 of Antler Part 1, ensuring proper upward positioning.
- Step 5Attach Antler Part 3 to rows 14-16 of Antler Part 1.
- Step 6Use fabric pins extensively to position antler components before sewing. The antlers should angle naturally when attached to row 25 of the head, directly behind the ears.
- Step 7Attach the completed head to rows 20-22 of the body, working back and forth between pieces to create a secure connection.
- Step 8Attach arms to row 6 of the body, directly below the ears.
- Step 9Attach legs to row 18 of the body.
- Step 10Position nostrils on row 5 of the snout, aligned with the eyes. Insert the needle 2 stitches below the desired nostril location. Create each nostril by inserting one stitch up and one stitch over. Space nostrils approximately 7 stitches apart. Push yarn ends to the bottom of the snout and tie off.
- Step 11Use fabric pins to test placement of all pieces before sewing. Sew securely with a darning needle using whip stitch or ladder stitch. Weave in all ends carefully to prevent unraveling. Check for any gaps in stuffing and add more if needed. Give your moose a final shape adjustment.
Notes from the pattern
- Because the toy is worked in continuous spiral rounds rather than joined rounds, keep a stitch marker in place and move it at the start of every round to track where each one begins and ends.
- If stitches gap and stuffing shows through the fabric, drop down a hook size rather than trying to tension the yarn more tightly by hand.
- Fill firmly but stop before stitches distort, and rely on the nylon stocking compartment inside the snout and head for the two pieces where keeping a clean shape matters most.
- Step back frequently during assembly to check proportions and positioning from all angles.
- This pattern falls into the intermediate difficulty category. The finished moose measures approximately 18 inches tall and 15 inches wide; your final size may vary based on tension, since this pattern uses tighter tension than typical amigurumi for a more structured finish.
The essentials
- Rounds
- 30
- Parts
- 10
- Level
- Intermediate
- Time
- 6-9 hours
- Hook
- 8 mm
- Yarn
- Bulky
Stitches you will use
- Continuous spiral construction Used throughout every part, from snout to legs; since there is no joining slip stitch, a stitch marker has to move at the start of each round or the piece count drifts.
- Nylon stocking stuffing compartment Used in the snout and head to keep the muzzle's oval shape firm; knot one end of the cut nylon and turn it inside out first so the knot stays hidden inside the pouch.
Troubleshooting
The snout looks lumpy or loses its oval shape once stuffed.
Fibre fill was likely packed straight into the piece without the nylon compartment; knot a cut length of nylon, turn it inside out to hide the knot, and stuff inside that hidden pouch instead.
Stuffing is visible through the stitches.
The tension is too loose for this pattern; go down a hook size rather than pulling the working yarn tighter by hand.
The ears lie flat instead of showing a natural fold.
The pinch-and-sew step was skipped; pinch each ear flat in two directions as directed and sew across the pinched area to hold the fold in place.
Substituting yarn
- Acrylic, bulky weight (US 5 / UK chunky)
- A close match for Colour A on the body and head; keeps the same 8mm hook and stitch gauge, though it sits slightly lighter than the super bulky yarn used for the antlers and limbs.
- Chenille or velvet-style yarn, super bulky weight
- A plush substitute for Colour B's antlers, arms and legs; softer drape but less stitch definition, so pack stuffing a touch more firmly to compensate for the looser fabric.
- Cotton or cotton-blend, medium weight (US 4 / UK aran)
- Works in place of Colours C and D for the eye embroidery; cotton gives crisper, flatter stitches on the 4mm hook than the original acrylic yarn.
Washing and care
- If the yarn used is acrylic, hand wash the finished moose in cool water and lay it flat on a towel to dry; acrylic holds its shape well but can stretch out of place if hung wet.
- Reshape the antlers and ears by hand while the piece is still slightly damp, and store the finished toy away from direct sunlight to keep the taupe and almond colours from fading.
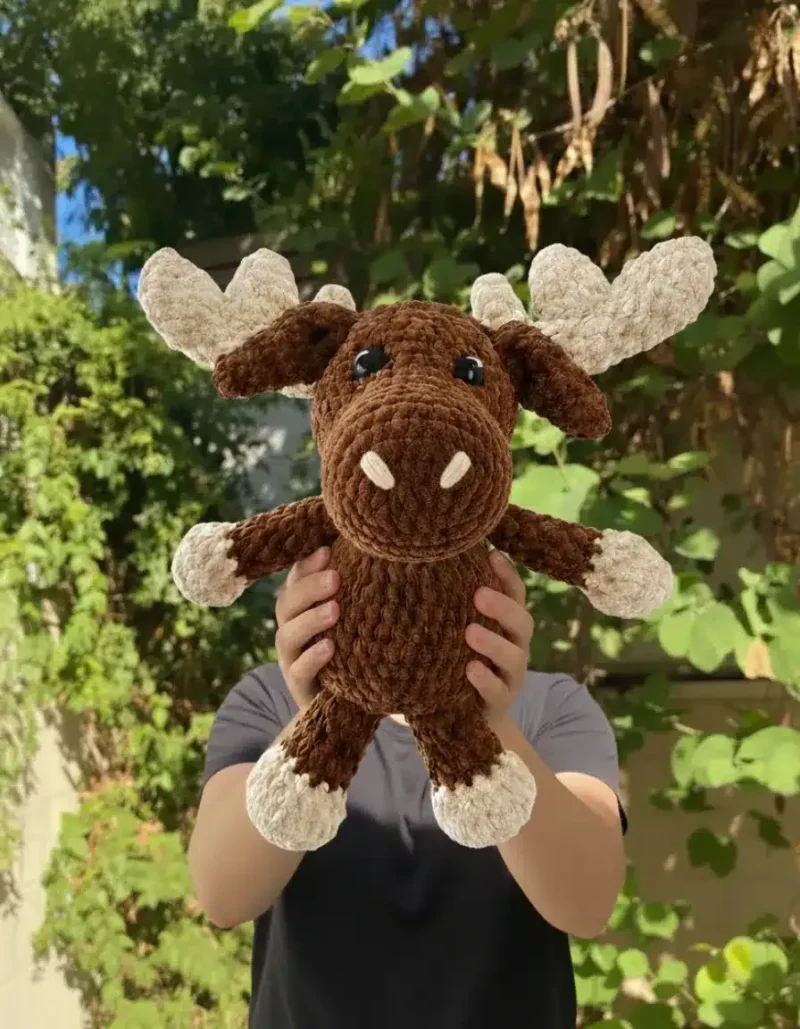
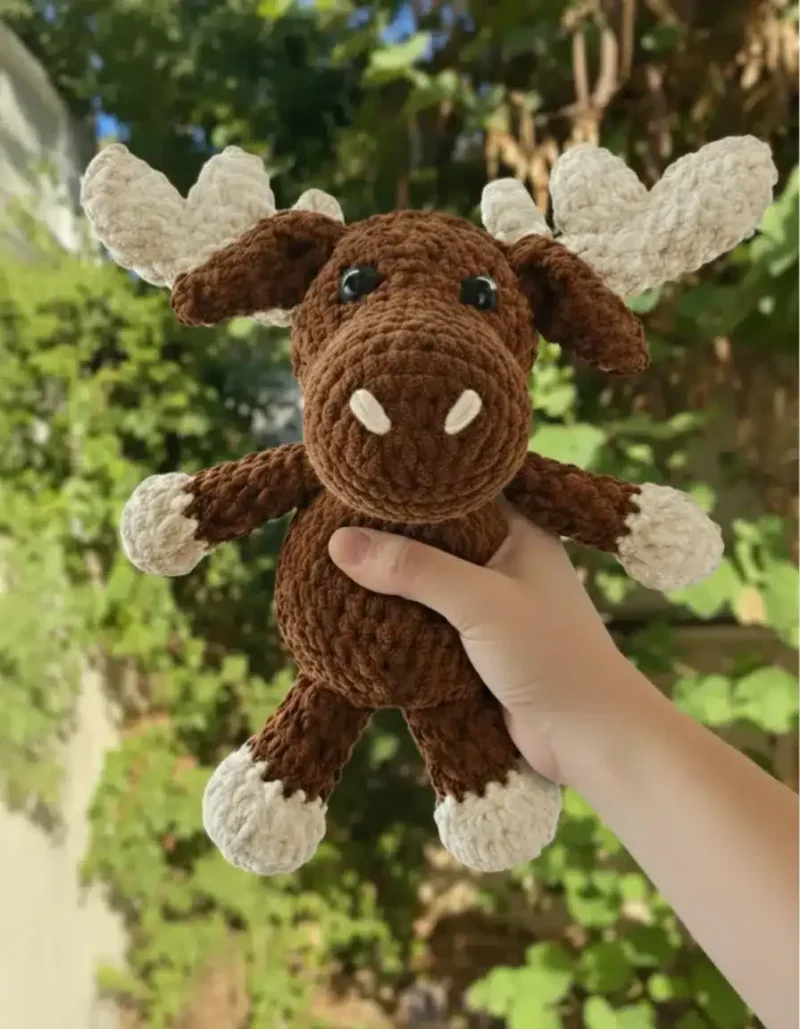
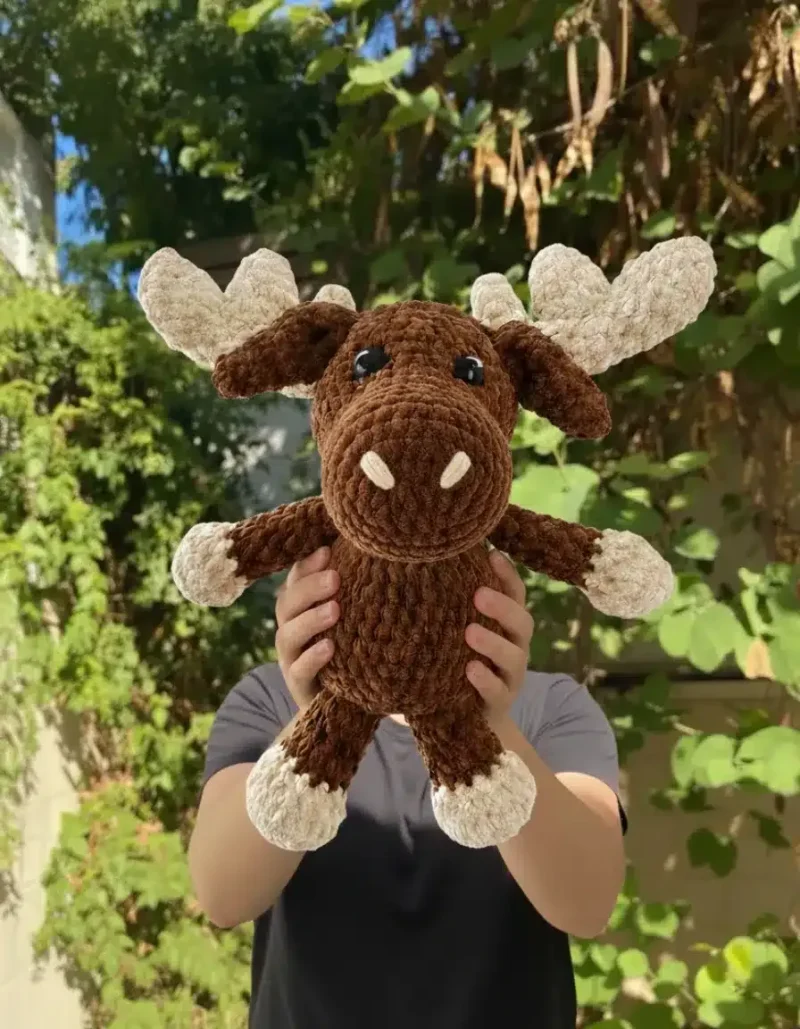
The photographs taken while this was being made
Every one was taken by whoever published the pattern, in the order the source listed them.
FAQs
Questions
Can safety eyes replace the embroidered eyes?
Yes, the pattern allows 16-20mm safety eyes as an alternative to embroidery. Insert them at the same rows used for the embroidered version before the head is fully stuffed and closed.
Why does the pattern call for two different hook sizes?
The 8mm hook keeps the main pieces open enough for stuffing while still holding their shape, and the 4mm hook gives the small black and white eye embroidery enough control for clean detail.
How much yarn does the whole project use?
The body and head take about 200 yards of Colour A, the antlers, arms and legs take about 150 yards of Colour B, and the eyes use only a few yards each of black and white medium-weight yarn.
What is the nylon stocking actually for?
A knotted, turned length of nylon forms a hidden inner pouch inside the snout and head. Filling that pouch with fibre fill keeps those two pieces firm and holds their shape better than loose stuffing alone.
Why is the tension tighter than other amigurumi patterns?
Tighter stitches stop the fibre fill from peeking through the fabric on a toy worked in bulky yarn. If gaps appear, the fix is a smaller hook rather than looser stitches.
These answers came from whoever first published the pattern, kept word for word.