 EVERY CROCHET
 Amigurumi 8 rounds No account, no download
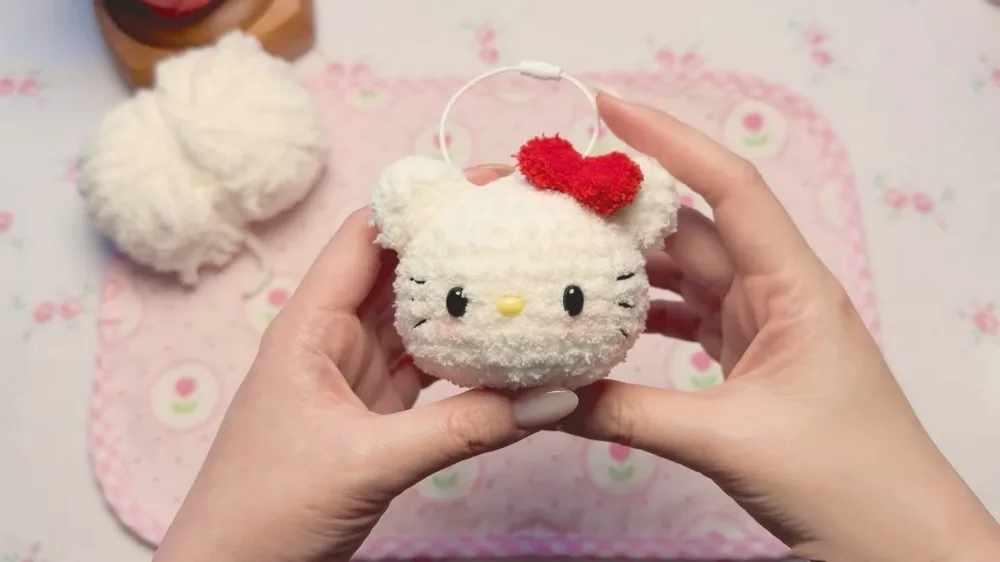
Crochet Hello Kitty plushie pattern for beginners
Beginner amigurumi using single crochet (UK double crochet); US and UK stitch terms both given throughout.
- Skill
- Intermediate
- Time
- 4-6 hours
- Yarn weight
- DK

Intermediate
What the original write-up called it. Nothing here is graded again.

DK
What the sample was worked in. Any weight works; the size moves with it.

4-6 hours
What the original page reckoned. Your own pace is the one that matters.
About this pattern
This is a beginner amigurumi pattern for a stuffed Hello Kitty-style plushie, built from a magic ring head worked in six rounds of single crochet (UK double crochet), two separate two-round ears, and a chained bow tie. It requires cotton yarn, a hook sized to that yarn, a stitch marker, polyfill and a tapestry needle, plus basic sewing to attach the pieces after stuffing.
This plushie belongs to the amigurumi family, built from single crochet (UK double crochet) worked in continuous spiral rounds. The dense, gap-free fabric this stitch produces is what allows polyfill stuffing to sit invisibly beneath the surface, giving the finished head its smooth, rounded profile rather than a loose, holey one.
Construction starts with a magic ring for the head, worked outward through increase rounds until the piece reaches its widest point, then presumably decreased back in to close. The ears are worked as two small separate magic-ring rounds, and a bow tie is built from two chained loops joined at a slip stitch, all pieces stitched together at the assembly stage rather than crocheted in one continuous unit.
Materials
- Cotton milk yarn
- Crochet hook
- Stitch marker
- Polyfill (stuffing)
- Tapestry needle
The list is the pattern's own wording.
Instructions
Every round is printed as the pattern wrote it, brackets and all. Open the key beside a round to see only the short forms that round uses.
Head
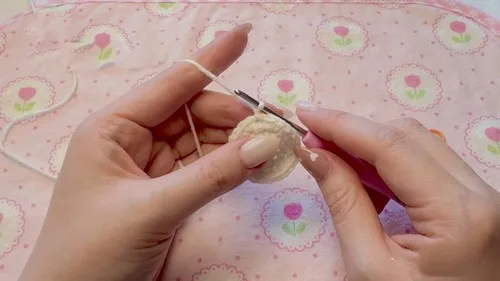
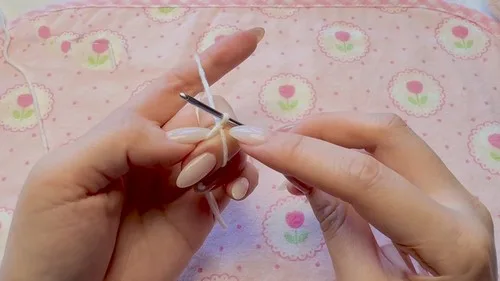
Start with a Magic Ring:
Wrap yarn around your fingers to create a loop, insert the hook, yarn over, and pull through to create a slip knot. This doesn't count as a stitch.
- Round 1
8 single crochets (sc) into the magic ring. Use a stitch marker to mark the beginning of the round. You should see 8 "V" shapes when done.
Key1
- sc
- single crochet
- (16)Round 2
Increase (inc) in each stitch around by making 2 sc in each of the 8 stitches from the previous round (16 sc total).For Round 3: 1 sc, then 1 inc repeat around (24 stitches total).
Key2
- inc
- increase
- sc
- single crochet
- (32)Round 4
2 sc, then 1 inc repeat around (32 stitches total).
Key2
- inc
- increase
- sc
- single crochet
- Round 5
3 sc, then 1 inc repeat around (40 stitches total). In Round 6 to 12: 40 sc in each round.
Key2
- inc
- increase
- sc
- single crochet
- (32)Round 13
3 sc, followed by 1 invisible decrease (dec) repeat 8 times (32 stitches total).Invisible dec: Insert hook into the front loops of the next two stitches, yarn over, pull through two loops, yarn over, pull through two loops.
Key2
- dec
- decrease
- sc
- single crochet
- (16)Round 14
2 sc, followed by 1 invisible dec repeat 8 times (24 stitches total). After Round 15: 1 sc, followed by 1 invisible dec repeat 8 times (16 stitches total).Round 16: 8 invisible decreases. Finish by chaining one and cutting the yarn, leaving a long tail for sewing.
Key2
- dec
- decrease
- sc
- single crochet
Ears (Make 2)
Start with a Magic Ring: 5 sc into the ring.
- (10)Round 2
Increase in each stitch around (10 sc total).
Key1
- sc
- single crochet
- (14)Round 3
2 sc, 1 inc repeat two times (14 stitches total).
Key2
- inc
- increase
- sc
- single crochet
Making up
- Step 1Attach the ears to the head using the yarn ends or glue.
- Step 2Attach the bow tie in a similar manner.
- Step 3Optionally, add features like eyes, a nose, and whiskers using felt, embroidery, or safety eyes according to preference.
Notes from the pattern
- Choose a hook one size smaller than the cotton yarn's ball band suggests, since a tighter gauge keeps stitches closed and stops stuffing from peeking through.
- Move the stitch marker up at the start of every new round on the head; in a continuous spiral it is easy to lose track of where round 6 actually begins.
- Add polyfill gradually as the head nears its final round rather than all at once at the end, so it distributes evenly and the shape stays round rather than lumpy.
- Cotton milk yarn has little stretch, so keep stitches snug and consistent across all 6 rounds of the head to avoid visible gaps between them.
The essentials
- Rounds
- 8
- Parts
- 2
- Level
- Intermediate
- Time
- 4-6 hours
- Yarn
- DK
Stitches you will use
- Magic ring Used to start both the head and each ear; pull the tail firmly afterward so no hole remains at the centre.
- Increasing (inc) Drives the shaping of the head through its early rounds and the ears through round 2 and 3; miscounting here throws off the whole stitch total.
- Slip stitch joining Closes each half of the bow tie into its ring shape; keep tension even so both loops match in size.
Troubleshooting
The head looks lumpy or uneven on one side after stuffing
Polyfill was likely added in one large clump; remove some and redistribute it in small amounts, pressing gently from the outside as each round closes.
The ear shapes come out smaller than expected
A missed increase in round 2 or round 3 will leave the stitch count short of 10 or 14; count stitches after each round before continuing.
The bow tie looks lopsided, with one loop bigger than the other
The two chain-2 loops were worked at different tensions; redo the smaller side with the same hook and yarn tension used on the first loop.
Substituting yarn
- Cotton DK (double knit)
- Closer to the demonstration yarn's structure; holds stitch definition well but has less give, so size the hook carefully to keep stitches tight enough to hold stuffing.
- Acrylic worsted weight
- Produces a slightly larger finished plushie and a softer drape; needs a correspondingly larger hook and slightly more polyfill to fill the bigger cavity.
- Cotton-acrylic blend, aran weight
- Gives a plumper, faster-worked toy with fewer rounds needed for the same finished size, but stitch definition on the ears becomes less crisp.
Washing and care
- Hand wash the finished plushie in cool water with a mild detergent, since cotton yarn can lose shape with hot water or machine agitation; reshape while damp and lay flat to dry.
- Store away from direct sunlight to prevent the cotton fibre from fading, and reshape the ears and bow tie gently by hand if they flatten during storage.
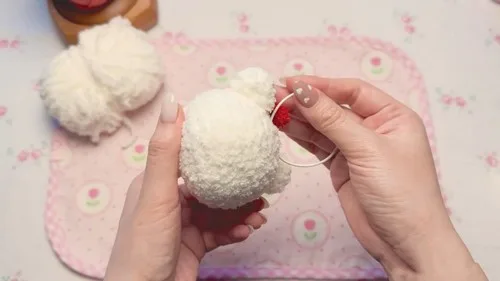
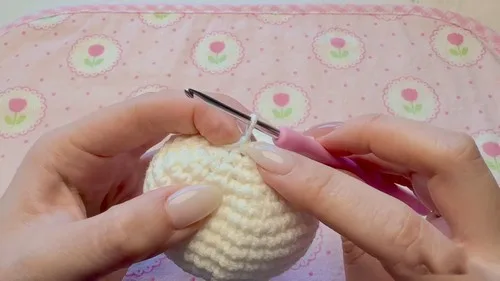
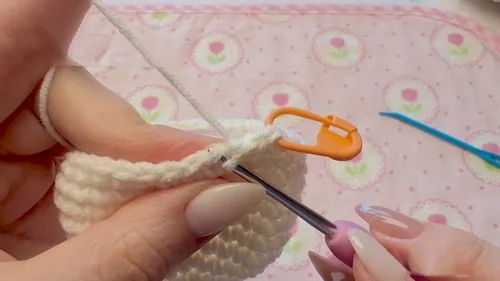
The photographs taken while this was being made
Every one was taken by whoever published the pattern, in the order the source listed them.
FAQs
Questions
What does dc mean in this pattern, and is it the same as UK double crochet?
Here dc refers to the US double crochet, used only for the bow tie sections. It is not the same stitch as UK double crochet, which corresponds instead to the US single crochet used throughout the head and ears.
How much polyfill does the head need?
The pattern does not specify an exact amount, only that it should be added before the head is closed completely. Add it in stages during the final rounds so the shape stays even rather than lopsided.
Can the ears be made a different size?
As written, the ears are a fixed two-round piece worked to 14 stitches by round 3. Changing the increase pattern would alter the stitch counts and should only be attempted once the standard version has been worked successfully.
What hook size should be used?
The pattern specifies an appropriate hook for whichever cotton milk yarn is selected, rather than a fixed size. Check the yarn label and choose a hook that keeps stitches snug enough to contain the polyfill.
How are the ears and bow tie attached to the head?
Both are sewn on using the leftover yarn ends, or optionally with glue, once the head is stuffed and closed. A tapestry needle makes this step easier and gives a neater, more secure finish than working with the hook alone.
These answers came from whoever first published the pattern, kept word for word.