 EVERY CROCHET
 Amigurumi 35 rounds No account, no download
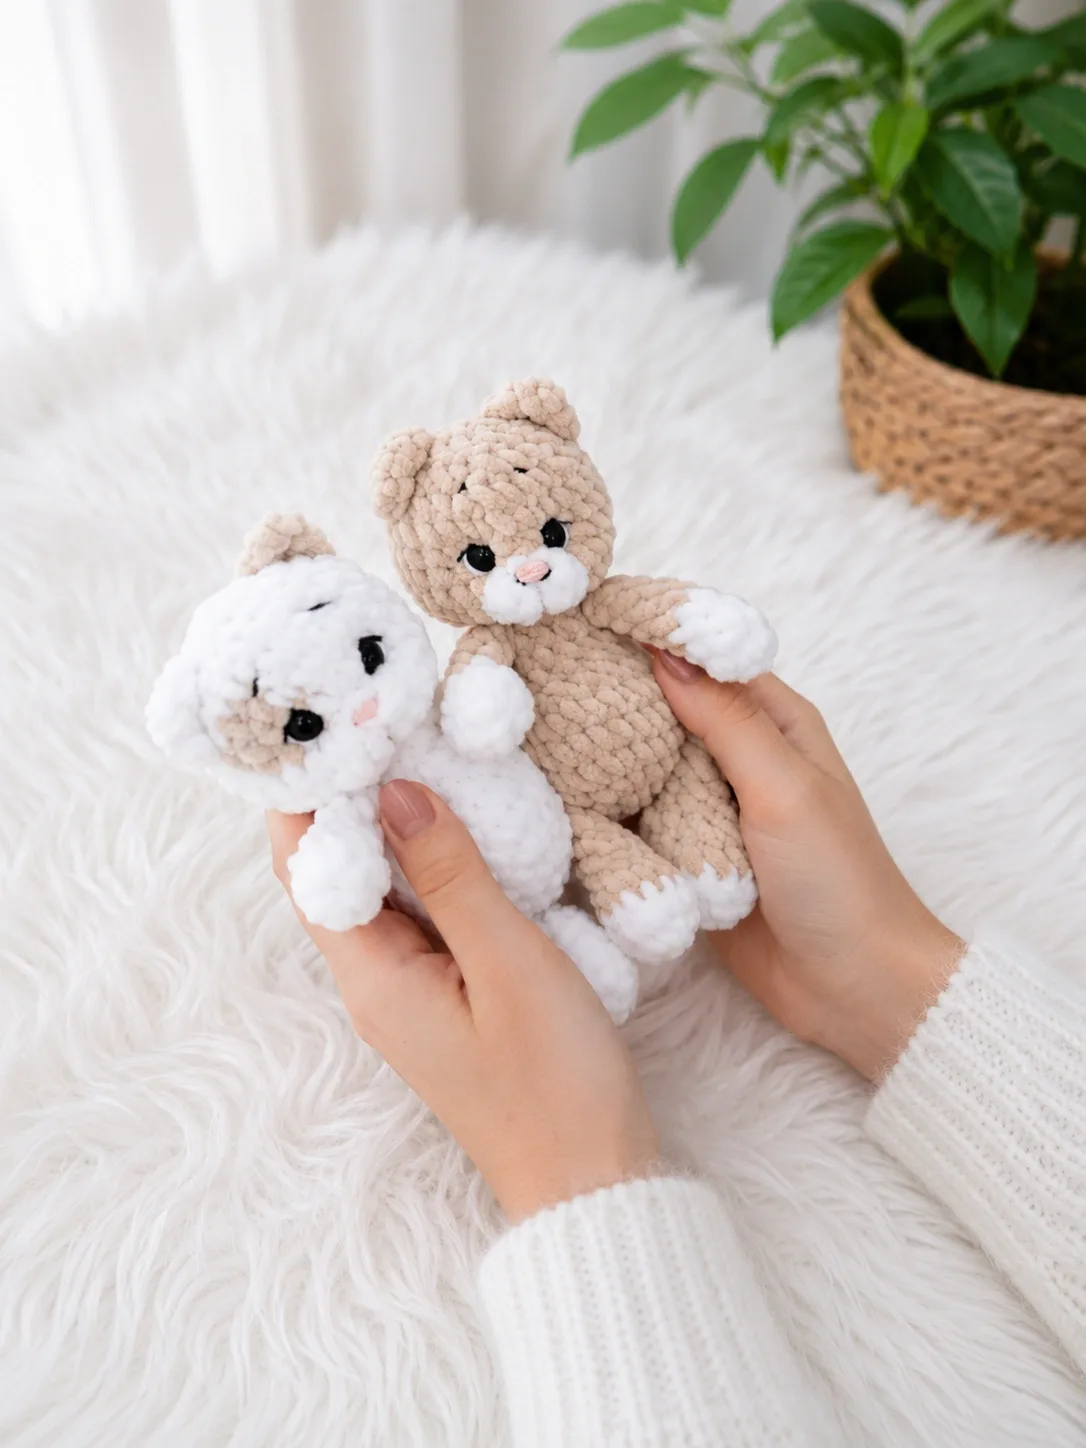
Amigurumi kitten pattern for a 6-inch plush cat
Amigurumi kitten pattern using single crochet (UK double crochet), with US and UK stitch terms both given throughout.
- Skill
- Intermediate
- Time
- 4-6 hours
- Yarn weight
- Worsted
- Hook
- 3.5 mm

Intermediate
What the original write-up called it. Nothing here is graded again.

Worsted
What the sample was worked in. Any weight works; the size moves with it.

4-6 hours
What the original page reckoned. Your own pace is the one that matters.
About this pattern
A 6-inch amigurumi kitten worked in single crochet (UK double crochet) using bulky plush yarn, a continuous spiral, and separately made legs, tail and ears joined to a one-piece body and head. It calls for a 3.5mm hook, 9mm safety eyes, fiberfill, and hand-sewing skills for whipstitching, needle-sculpting and face embroidery, making it a project for confident beginners moving into intermediate finishing work.
This kitten belongs to the amigurumi family, built entirely from single crochet (UK double crochet) worked in a continuous spiral rather than joined rounds. The plush finish comes from a bulky-weight velvet-style yarn, which softens the stitch definition and gives the finished 6-inch cat its rounded, huggable surface rather than a crisp, textured one.
Materials
- Yarn (Main Color): Plush/velvet yarn — such as WOLANS BUNNY BABY or any similar bulky-weight velvet yarn, in your chosen kitten color (e.g., gray)
- Yarn (Accent Color): Same plush yarn in white (for paws/muzzle area)
- Yarn (Nose Detail): Semi-cotton yarn — such as YarnArt Jeans in pink — for embroidering the nose
- Yarn (Face Detail): Black and white cotton thread or thin yarn for embroidering the eye whites, lashes, brows, and nose outline
Hook
- E-4 / 3.5 mm
Safety Eyes
- 9 mm, 1 pair
Stuffing
- Polyester fiberfill
- Strong thread or nylon thread: For needle-sculpting the face (pulling yarn through the head to create slight indents around the eyes and muzzle)
- Yarn needle / tapestry needle
- Stitch markers
- Scissors
The list is the pattern's own wording.
Instructions
Every round is printed as the pattern wrote it, brackets and all. Open the key beside a round to see only the short forms that round uses.
Front Legs (Make 2)
- Round 1
Using white yarn, 7 sc in MR. (7) Alternatively, ch 2 and work 7 sc into the second chain from the hook.
Key3
- ch
- Chain
- MR
- Magic Ring
- sc
- Single Crochet
- (7)Rounds 2–3
sc in each st around. (7) (2 rounds)Step by step: Fasten off, leaving a long yarn tail for sewing on.
Key1
- sc
- Single Crochet
- Round 4
dec, sc in each of the next 5 sts. (6)Switch to main color yarn.
Key2
- dec
- Decrease (invisible decrease recommended)
- sc
- Single Crochet
- Rounds 5–8
sc in each st around. (6) (4 rounds) Stuff the leg lightly up to round 4 only. Fold the opening flat and work 3 sc through both layers to close. Cut yarn, leaving a short tail for weaving in.
Key1
- sc
- Single Crochet
Back Legs (Make 2)
- Round 1
Using white yarn, 6 sc in MR. (6)
Key2
- MR
- Magic Ring
- sc
- Single Crochet
- Round 2
inc in each st around. (12)
Key1
- inc
- Increase (2 sc in the same stitch)
- Round 3
4 sc, inc 4 times, 4 sc. (16)
Key2
- inc
- Increase (2 sc in the same stitch)
- sc
- Single Crochet
- Round 4
sc in each st around. (16)
Key1
- sc
- Single Crochet
- Round 5
Switch to main color (gray). sc in each st around. (16)
Key1
- sc
- Single Crochet
- Round 6
4 sc, dec 4 times, 4 sc. (12)
Key2
- dec
- Decrease (invisible decrease recommended)
- sc
- Single Crochet
- Round 7
3 sc, dec 3 times, 3 sc. (9)
Key2
- dec
- Decrease (invisible decrease recommended)
- sc
- Single Crochet
- Rounds 8–10
sc in each st around. (9) (3 rounds) Stuff the leg firmly up to round 6 only. Fold the opening flat and work 4 sc through both layers to close.
Key1
- sc
- Single Crochet
Tail
- Round 1
5 sc in MR. (5) Alternatively, ch 2 and work 5 sc into the second chain from the hook.
Key3
- ch
- Chain
- MR
- Magic Ring
- sc
- Single Crochet
- Rounds 2–5
sc in each st around. (5) (4 rounds) Fold flat and work 2 sc through both layers to close.
Key1
- sc
- Single Crochet
Ears (Make 2)
- Round 1
6 sc in MR. (6) Alternatively, ch 2 and work 6 sc into the second chain from the hook.Working back in the opposite direction: sc in each of the 6 sts. Fasten off and cut yarn.
Key3
- ch
- Chain
- MR
- Magic Ring
- sc
- Single Crochet
The ear is a flat oval/paddle shape at this point. To shape it into a triangle, use a sewing thread to pinch stitches 3 and 4 together with a few tight tacks, drawing the base into a point.
Body & Head (Worked in One Piece)
Begin at the base of the body and work upward continuously through the head.
- Round 1
6 sc in MR. (6)
Key2
- MR
- Magic Ring
- sc
- Single Crochet
- Round 2
inc in each st around. (12)
Key1
- inc
- Increase (2 sc in the same stitch)
- Round 3
1 sc, inc repeat 6 times around. (18)
Key2
- inc
- Increase (2 sc in the same stitch)
- sc
- Single Crochet
- Round 4
2 sc, inc repeat 6 times around. (24)
Key2
- inc
- Increase (2 sc in the same stitch)
- sc
- Single Crochet
- Round 5
3 sc, inc repeat 6 times around. (30)
Key2
- inc
- Increase (2 sc in the same stitch)
- sc
- Single Crochet
- Round 6
Crocheting in the back legs and tail as you go: 4 sc worked together with the first back leg (joining the leg into the body), 11 sc, 4 sc worked together with the second back leg, 4 sc, 2 sc worked together with the tail (joining the tail into the body), 5 sc. (30)
Key1
- sc
- Single Crochet
- (30)Rounds 7–8
sc in each st around. (30) (2 rounds)
Key1
- sc
- Single Crochet
- Round 9
4 sc, dec 6 times, 14 sc. (24)
Key2
- dec
- Decrease (invisible decrease recommended)
- sc
- Single Crochet
- Round 10
2 sc, dec repeat 6 times around. (18)
Key2
- dec
- Decrease (invisible decrease recommended)
- sc
- Single Crochet
- Round 11
sc in each st around. (18)
Key1
- sc
- Single Crochet
- Round 12
1 sc, dec repeat 6 times around. (12)
Key2
- dec
- Decrease (invisible decrease recommended)
- sc
- Single Crochet
- Round 13
Crocheting in the front legs: 1 sc, 2 sc worked together with the first front leg, 3 sc, 2 sc worked together with the second front leg, 4 sc. (12)
Key1
- sc
- Single Crochet
The body is now complete. Continue working upward — the next rounds build the head.
- Round 14
1 sc, inc repeat 6 times around. (18)
Key2
- inc
- Increase (2 sc in the same stitch)
- sc
- Single Crochet
- Round 15
2 sc, inc repeat 6 times around. (24)
Key2
- inc
- Increase (2 sc in the same stitch)
- sc
- Single Crochet
- Round 16
3 sc, inc repeat 6 times around. (30)
Key2
- inc
- Increase (2 sc in the same stitch)
- sc
- Single Crochet
- Rounds 17–20
sc in each st around. (30) (4 rounds) At this stage — between rounds 14 and 18 — sew the muzzle onto the face. Attach the safety eyes between rounds 18 and 19, at the base of the muzzle, with approximately 4 stitches between the eye posts (about 6 stitches between the shanks of the eyes).
Key1
- sc
- Single Crochet
- Round 21
3 sc, dec repeat 6 times around. (24)
Key2
- dec
- Decrease (invisible decrease recommended)
- sc
- Single Crochet
- Round 22
2 sc, dec repeat 6 times around. (18)
Key2
- dec
- Decrease (invisible decrease recommended)
- sc
- Single Crochet
- Round 23
1 sc, dec repeat 6 times around. (12)
Key2
- dec
- Decrease (invisible decrease recommended)
- sc
- Single Crochet
- Round 24
dec 6 times around. (6)Pull the opening closed and weave the tail end inside the toy.Sew the ears on between rounds 20 and 23.
Key1
- dec
- Decrease (invisible decrease recommended)
Notes from the pattern
- Use the 3.5mm (US E-4) hook consistently; plush yarn is forgiving, but a looser gauge will let fiberfill show through the fabric.
- Place a stitch marker at the start of every round on every piece — the whole pattern is worked in a continuous spiral with no joining, so it is easy to lose the round.
- Work each stitch tightly, since velvet and bouclé-style yarns hide stitch definition and can disguise missed increases or decreases until the piece is stuffed.
- Stuff firmly with polyester fiberfill before closing each piece, especially the legs and tail, so the body holds its shape once the head and limbs are joined.
The essentials
- Rounds
- 35
- Parts
- 5
- Level
- Intermediate
- Time
- 4-6 hours
- Hook
- 3.5 mm
- Yarn
- Worsted
Stitches you will use
- Magic ring (MR) starts Used to begin the front legs, back legs, tail and body; pull the centre closed firmly so no gap shows at the base of each piece.
- Increasing and decreasing shaping Back legs shape from 6 to 16 stitches over rounds 2–3 and front legs decrease from 6 to 6 at round 4; keep counts exact so paws sit evenly.
- Whipstitch assembly and needle-sculpting Ears, muzzle and eye-socket indents are all set with a threaded needle rather than crochet stitches; keep tension even so the muzzle stays flush and the ears hold their pinched triangular shape.
Troubleshooting
The ears sit flat and rounded instead of coming to a point.
This happens when stitches 3 and 4 of the ear were not pinched and tacked together before sewing. Pinch those two stitches with a few firm sewing-thread tacks first, then whipstitch the ear in place.
The eyes look flat, with no socket or shadow around them.
The needle-sculpting step was likely skipped or pulled too loosely. Take strong nylon thread through points (1), (2) and (3) below and beside each eye and pull both ends firmly before knotting off.
The muzzle bulges or puckers at the edges once sewn on.
This is usually uneven whipstitch tension or the muzzle not lying flush before sewing. Centre the muzzle between rounds 14 and 18, press it flat against the face, and whipstitch with consistent tension all the way round.
Substituting yarn
- Bulky-weight chenille or standard synthetic plush yarn
- Keeps a similar loft and the same 3.5mm hook, but with less of a fine velvet halo; stitches will show slightly more, so work them tighter than usual.
- Cotton, DK or worsted weight
- Gives crisp stitch definition and a firmer amigurumi shape, but loses the plush texture entirely; drop to a smaller hook, around 3–3.25mm, for a tight, stuffing-proof fabric.
- Wool-blend, worsted weight
- Adds a soft, fuzzy finish with good stitch memory for shaping the ears and muzzle, but the yarn felts and needs gentler handling; avoid machine washing or drying.
Washing and care
- Hand wash the finished kitten in cool water using a mild detergent, since plush and velvet-style yarns are typically synthetic and can flatten or melt under high heat; avoid the tumble dryer.
- Reshape the piece gently while still damp and air dry flat, away from direct sunlight or radiators, then store somewhere dry and dust-free to keep the pile and colour looking fresh.
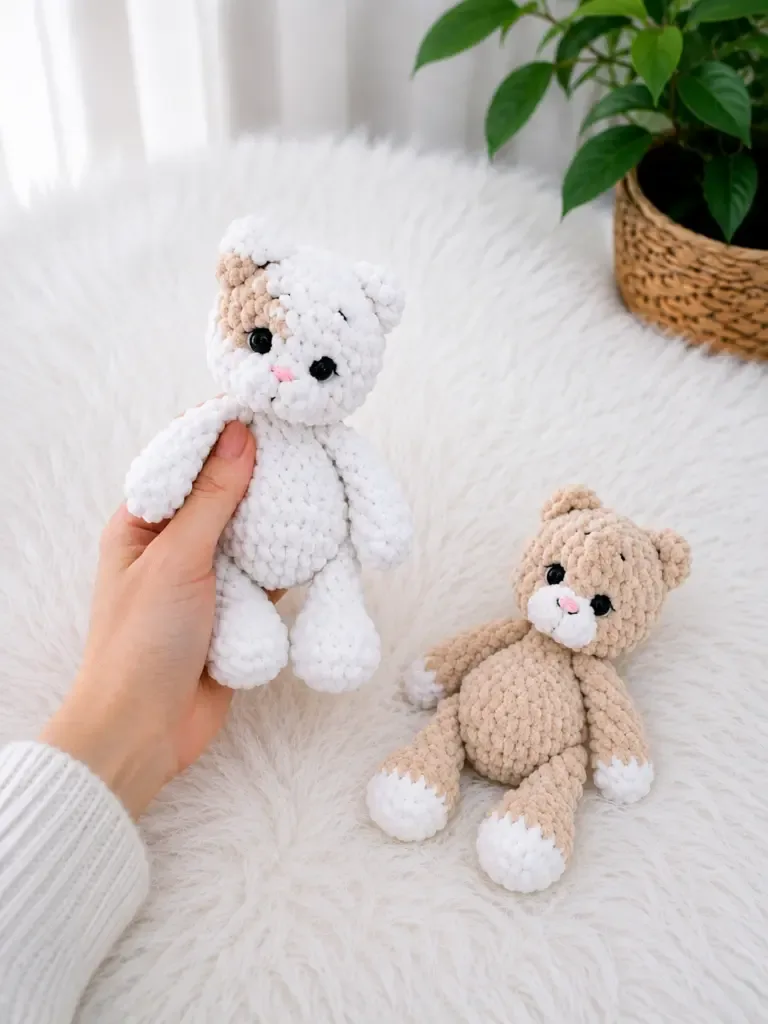
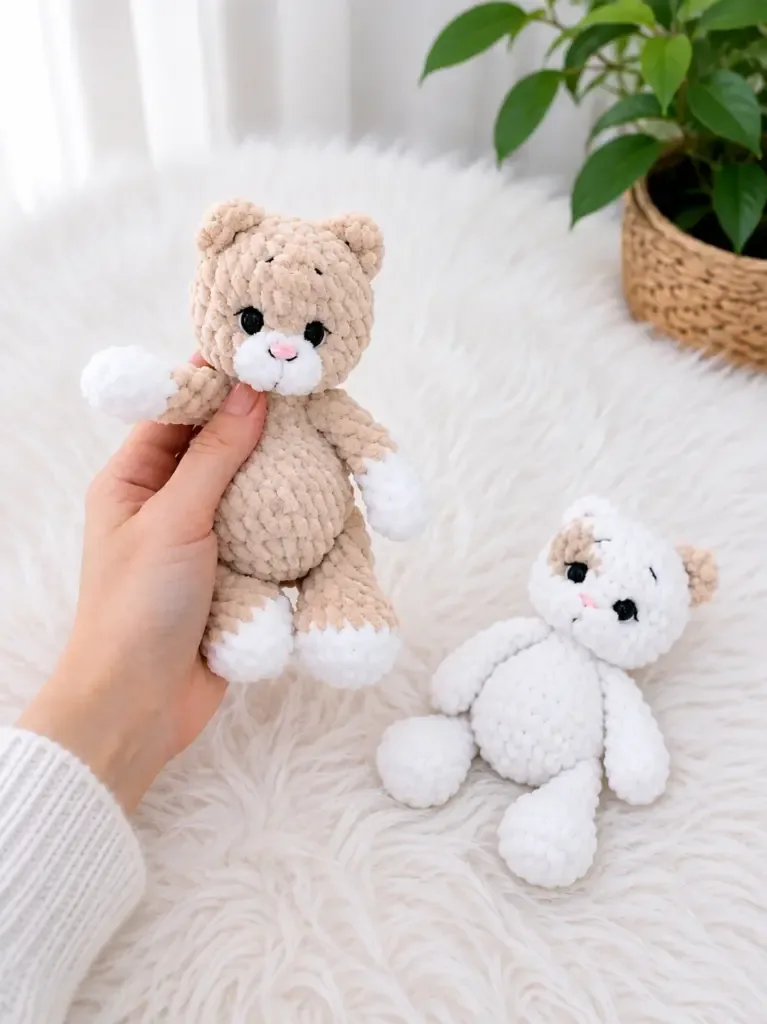
The photographs taken while this was being made
Every one was taken by whoever published the pattern, in the order the source listed them.
FAQs
Questions
Is this pattern written in US or UK crochet terms?
It is written in US terminology throughout, so single crochet appears rather than the UK double crochet. UK crocheters should convert stitch names as they work, since the abbreviations follow the US convention.
What hook and eyes does this kitten need?
The pattern uses a 3.5mm (US E-4) hook throughout and a single pair of 9mm safety eyes, inset between rounds 18 and 19 with roughly 4 stitches left between the eye posts.
Where exactly do the ears and muzzle attach to the head?
The ears are positioned between rounds 20 and 23 on either side of the head, and the muzzle is centred and sewn between rounds 14 and 18. Both are whipstitched on using the long yarn tail left from crocheting each piece.
The plush yarn is making it hard to see the stitches — how is that managed?
Velvet and bouclé-style yarns naturally obscure stitch definition, so the pattern relies on working tightly and placing a stitch marker at the start of every round to stay on track. Counting stitches after each round, rather than by sight, keeps the shaping accurate.
These answers came from whoever first published the pattern, kept word for word.