 EVERY CROCHET
 Accessories 12 rounds No account, no download
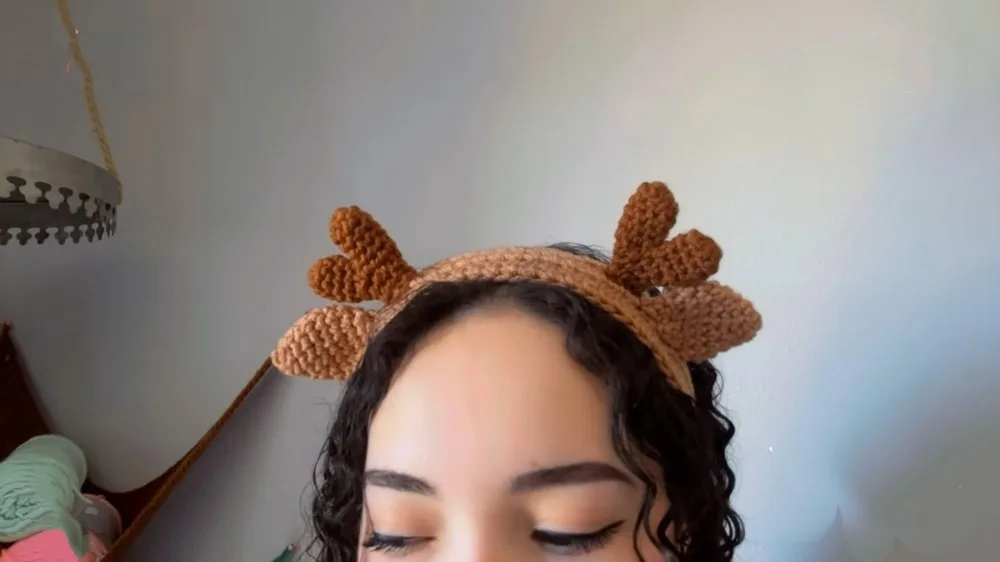
Crochet deer headband with antlers and ears
Half double crochet (UK half treble) deer headband pattern with antlers and ears, giving both US and UK stitch names.
- Skill
- Intermediate
- Time
- 4-6 hours
- Yarn weight
- Worsted
- Hook
- 5 mm

Intermediate
What the original write-up called it. Nothing here is graded again.

Worsted
What the sample was worked in. Any weight works; the size moves with it.

4-6 hours
What the original page reckoned. Your own pace is the one that matters.
About this pattern
This is a sewn-together crochet headband: a flat band worked mainly in half double crochet (UK half treble), finished with tapered, tied ends, and topped with two separately worked ears and two paired antlers. It uses worsted weight acrylic in light and dark brown, a 5mm hook, and basic single crochet detailing on the edge. The pieces are assembled at the end, so this is a multi-part build rather than one continuous round-by-round pattern.
This headband pairs two rounded ears with two branching antlers, sewn onto a plain band worked mainly in half double crochet (UK: half treble crochet). The stitch gives the base enough structure to sit flat against the head while staying soft enough for a comfortable fit, and it builds up quickly across the long starting chain that forms the first row of the band.
The band itself is worked flat in rows rather than in the round, starting from a chain of 55 and built up over several more rows before both short ends are tapered off with decreases and finished with chained ties for securing at the back of the head. The ears and antlers are made separately in continuous rounds from a small starting chain, then sewn onto the finished band once all the pieces are complete, with bobby pins used beforehand to mark correct placement.
Materials
- Worsted weight acrylic yarn in light brown (for the base and ears) and dark brown (for the antlers)
- 5 mm crochet hook
- Yarn needle
- Scissors
- Bobby pin or stitch marker
The list is the pattern's own wording.
Instructions
Every round is printed as the pattern wrote it, brackets and all. Open the key beside a round to see only the short forms that round uses.
Headband Base
Chain 55 wraps partway around the head.
- Round 1
Chain 55; chain one more for the turning chain; half double crochet in the second chain from the hook and in each chain across.
- Rounds 2–6
Chain one, turn your work, and half double crochet in each stitch across; repeat this for five more rows.
- Round 7
Edge Single crochet along the side of the band to create a neat edge.
- Round 8
Tapered Ends Chain 2, skip the first stitch, and double crochet in the second stitch and each stitch across until the last two stitches; start a double crochet decrease over the last two stitches; continue the pattern, creating a tapered end by decreasing at each end in every row until you have just a couple of stitches left.
- Round 9
String Ties Chain 2, then double crochet into the middle loop of the last decrease made; continue this pattern until the string measures about 8 inches; chain one, cut the yarn, leaving a long tail for weaving in ends.
Ears
Use light brown yarn for the ears.
- Round 1
Chain 2; work 4 single crochets in the first chain (or use a magic ring).
- Round 2
Increase by making two single crochets into each stitch around. (8)
- Round 3
Shape the Ear Continue to crochet around, adding increments strategically to shape the ear.
- Round 4
Detailing Use invisible decreases for shaping the tip of the ear.
Antlers
Use dark brown yarn for the antlers.
- Round 1
Chain 2 and then 8 single crochets in the first chain.
- Rounds 2–5
Rows Work four rows of 8 single crochets each.
- Round 6
Assemble Make another section of the antler and connect it to the first, gradually decreasing for the tips and tapering as described.
Making up
- Step 1Use bobby pins to mark the placement of the antlers and ears on the headband.
- Step 2Sew each piece onto the headband securely, starting with the antlers and then the ears adjacent to them.
- Step 3Weave in all ends and secure everything neatly.
- Step 4Test the fit on your head, adjust placement if necessary, and ensure all sewn pieces are firm and won't shift.
Notes from the pattern
- Keep to the stated 5mm hook throughout all three pattern parts; swapping sizes between the band, ears and antlers will make the pieces mismatch when sewn together.
- A bobby pin or stitch marker is useful for more than just final placement — it also helps track the start of each round on the ears and antlers, where no clear seam marks the beginning.
- Work the headband base rows at an even, slightly firm tension; a loose half double crochet fabric here will make the band stretch out of shape once it is worn.
- The pattern uses two colours — light brown for the base and ears, dark brown for the antlers — but each piece is worked separately in a single colour, so there are no mid-round colour changes to manage.
The essentials
- Rounds
- 12
- Parts
- 3
- Level
- Intermediate
- Time
- 4-6 hours
- Hook
- 5 mm
- Yarn
- Worsted
Stitches you will use
- Tapered end decreasing Used on the headband base rows where stitches are decreased at both edges every row to form a point; keep tension even so the taper narrows symmetrically rather than skewing to one side.
- Building from a small starting ring Both the ears and antlers begin from a tight starting chain worked into with a handful of stitches; count carefully on the first round, since an error there carries through every later round.
- Invisible decrease for tip shaping Used on the final ear round to taper the tip neatly; work through the front loops only so the decrease stays hidden rather than leaving a visible ridge.
Troubleshooting
The band curls at the edges instead of lying flat
This usually comes from tension that tightens partway through the rows, often around the single crochet edge round; work that round at the same tension as the half double crochet body and block the finished band flat before sewing on the ears and antlers.
The two ears come out noticeably different sizes
This happens when the increase round is placed unevenly around the starting stitches; mark the first stitch of the round with a stitch marker and count stitches at the end of round 2 to confirm the total matches before continuing.
The tapered ends of the band look
The double crochet decrease worked over the last two stitches each row is easy to miscount; work it one stitch at a time and check the remaining stitch total after every row rather than estimating by eye.
Substituting yarn
- DK weight acrylic
- Produces a smaller, lighter headband with a looser drape at the same stitch count; pair with a 4mm hook to keep the fabric from becoming too open.
- Worsted weight cotton
- Gives crisper stitch definition on the antler rows and a firmer, less stretchy band, but the chained ties may need slightly looser tension to lie comfortably rather than feeling rigid.
- Worsted weight wool blend
- Adds warmth and a bit more give to the band for a snugger fit, but the finished piece needs gentle, cool-water care, since wool blends can felt and lose shape if washed too hot.
Washing and care
- As the pattern uses acrylic yarn throughout, the finished headband can be hand or machine washed on a cold, gentle cycle; lay it flat to dry rather than hanging it, so the band keeps its shape and the ears and antlers do not stretch under their own weight.
- Reshape the ears and antlers by hand while the piece is still slightly damp, smoothing the decrease rounds into a neat point, then store the headband flat rather than folded to avoid creasing the band across the tapered ends.
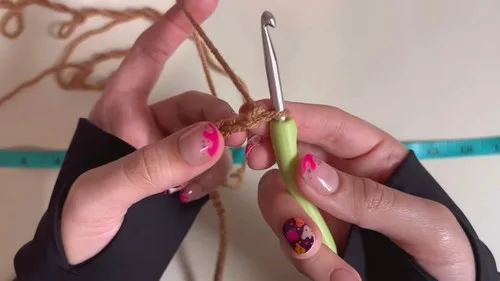
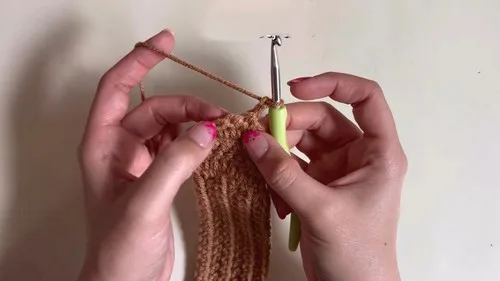
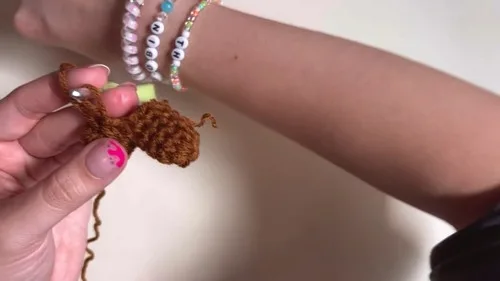
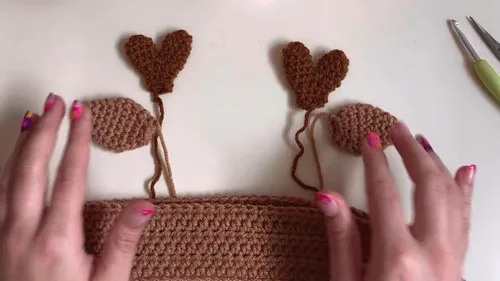
The photographs taken while this was being made
Every one was taken by whoever published the pattern, in the order the source listed them.
FAQs
Questions
Can the whole headband be made in one colour instead of two?
Yes, the construction does not depend on the colour split. Using one shade throughout simply makes the antlers blend into the band instead of standing out as a contrast detail.
Why does the pattern use both single crochet and half double crochet?
Single crochet (UK double crochet) is used for the firm edge round along the side of the band, while half double crochet (UK half treble crochet) forms the main body of the rows. The firmer edge stitch helps the band hold its shape where it would otherwise be most likely to curl.
How is it possible to keep the two ears and two antlers matching?
Mark the start of each round with a stitch marker on all four pieces, since none of them have a seam to mark the beginning. Counting stitches at the end of each round against the stated totals catches a mismatch before it carries into the next piece.
Is a magic ring necessary for starting the ears and antlers?
No, the pattern gives a chain-and-stitch start as the default with a magic ring as an alternative. Either method works; the magic ring simply closes the centre more tightly, with no hole at the base of the ear or antler.
How can the band be adjusted to fit a smaller or larger head?
The starting chain of 55 is stated to wrap partway around the head, so the number of straight rows worked before the tapered-end rows begin can be adjusted to change the finished length. Measuring the band against the head before starting the taper avoids unpicking the decrease rows later.
These answers came from whoever first published the pattern, kept word for word.