 EVERY CROCHET
 Amigurumi 12 rounds No account, no download
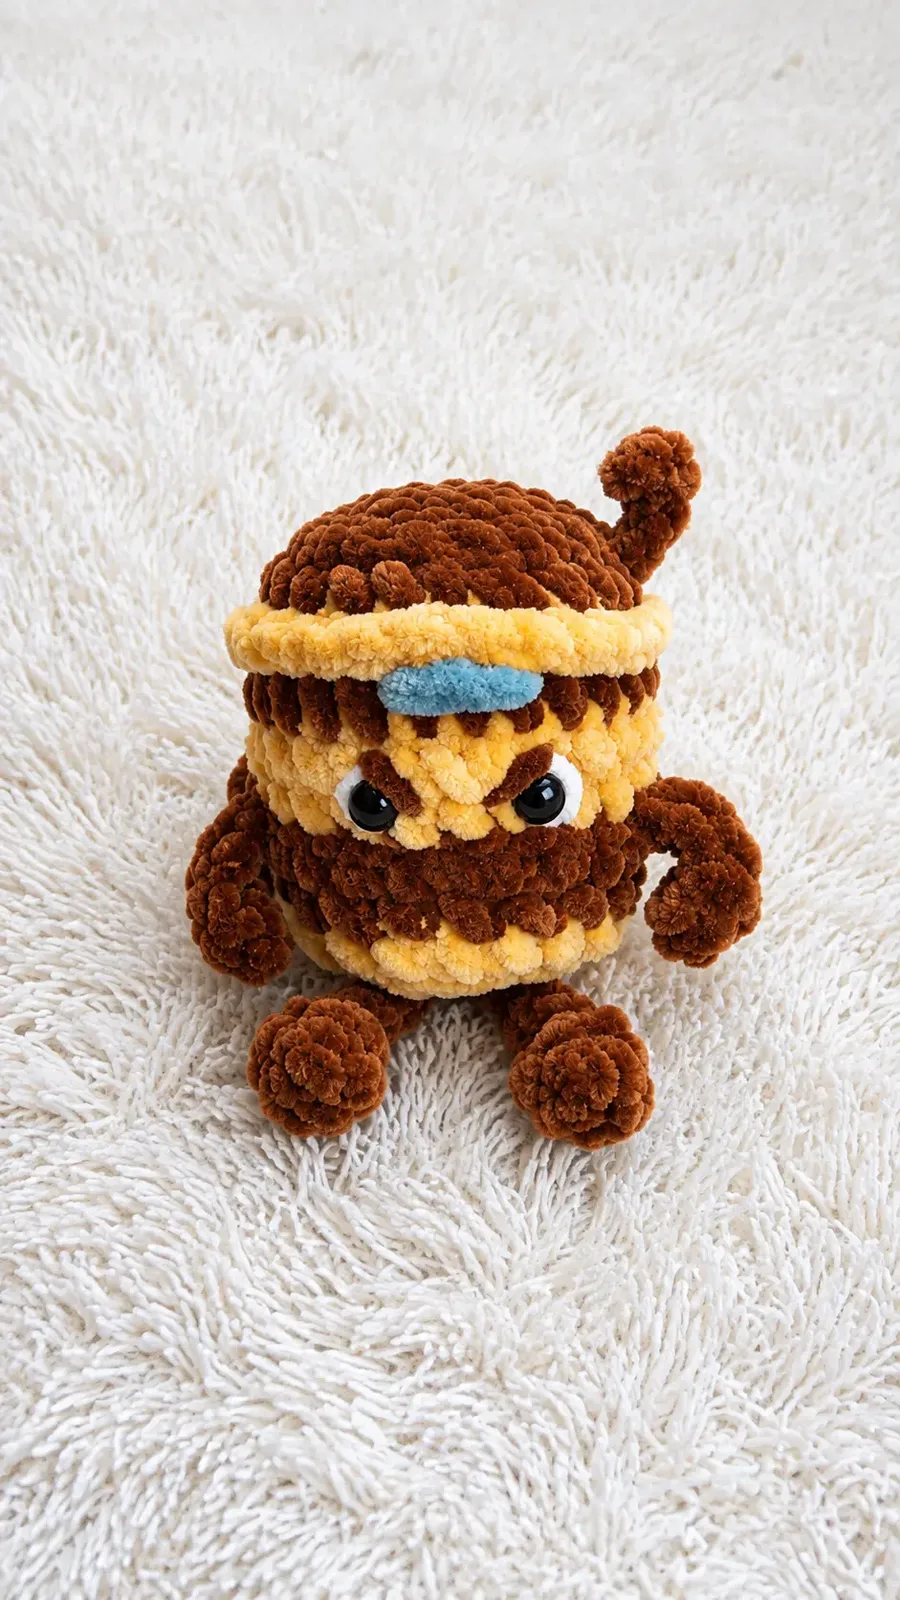
Crochet coffee cup keychain amigurumi pattern
Amigurumi coffee cup keychain worked in single crochet (US) / double crochet (UK); both terms given throughout.
- Skill
- Intermediate
- Time
- 4-6 hours
- Yarn weight
- Worsted
- Hook
- 3.75 mm

Intermediate
What the original write-up called it. Nothing here is graded again.

Worsted
What the sample was worked in. Any weight works; the size moves with it.

4-6 hours
What the original page reckoned. Your own pace is the one that matters.
About this pattern
A cappuccino-shaped amigurumi keychain, 12 rounds for the body-head, worked in single crochet (UK double crochet) with front-loop and back-loop rounds to shape the cup rim, a bobble-stitch handle, a chain-based lid valve, and a beige-to-dark-brown colour change. Made with plush yarn on a 3.75mm hook, light stuffing, and 8mm safety eyes, it suits a maker already comfortable with amigurumi shaping and colourwork.
This small amigurumi takes the shape of a cappuccino cup and works up as a keychain-sized plush. The body is built almost entirely in single crochet (UK double crochet), with a bobble stitch handle and a small textured valve on the lid worked separately in double crochet. At 12 rounds for the body-head, it is a compact make suited to an evening or two of stitching once colour changes are understood.
Construction starts at the base with a small increase round, then shifts into back-loop-only and front-loop-only rounds to create the visible seam between the cup body and the rim, followed by a colour change from beige to dark brown to suggest the coffee itself. A handle and a small foot loop are worked directly into the sides mid-round rather than added afterwards, and the piece closes with a lid edging, a chain-and-slip-stitch valve, and safety eyes set between two specified rounds.
Materials
- Plush yarn with a density of 120m/100g
- Crochet hook 3.75 mm
- Stuffing
- Needle, marker
- Safety eyes 8 mm
The list is the pattern's own wording.
Instructions
Every round is printed as the pattern wrote it, brackets and all. Open the key beside a round to see only the short forms that round uses.
Body-Head
Start crocheting with (B).
- Round 1
Cast on 2ch and into the second from hook crochet 3sc, next we will crochet the leg, attach (D) and cast on (5ch from 2nd from hook Bobble, 3sl st and sl st into the base of the stitch), (B) 2sc, (D) leg, (B) 3sc (8)
Key3
- sl st
- slip stitch
- (B)
- beige
- (D)
- dark brown
- Round 2
(inc)x8 (B) (16); next row crochet BLO
Key3
- inc
- increase
- (B)
- beige
- BLO
- work into back loop of stitch
- Round 3
16sc (B); next row crochet FLO
Key2
- (B)
- beige
- FLO
- work into front loop of stitch
- Round 4
16sc (D)
Key1
- (D)
- dark brown
- Round 5
3sc, inc, sc, arm (5ch, in 2nd stitch 2hdc into one stitch, 3sl st and sl st into the base of the stitch), 2sc, inc, 3sc, inc, arm, 3sc, inc (D) (20); next row crochet BLO
Key5
- sl st
- slip stitch
- inc
- increase
- (D)
- dark brown
- BLO
- work into back loop of stitch
- sc
- single crochet
- Round 6
20sc (B) (20)
Key1
- (B)
- beige
- Round 7
(4sc, inc)x4 (B) (24); next row crochet FLO
Key3
- inc
- increase
- (B)
- beige
- FLO
- work into front loop of stitch
- Round 8
24sc (D); next row crochet FLO
Key2
- (D)
- dark brown
- FLO
- work into front loop of stitch
- Round 9
24sl st (B); next row crochet BLO
Key2
- (B)
- beige
- BLO
- work into back loop of stitch
- Round 10
(4sc, dec)x4 (D) (20)In row 10, for the remaining front half-loops make edging (B) 24sl st.
Key3
- dec
- decrease
- (B)
- beige
- (D)
- dark brown
- Round 11
(3sc, dec)x4 (D) (16)
Key2
- dec
- decrease
- (D)
- dark brown
- Round 12
(dec)x8 (D) (8)
Key2
- dec
- decrease
- (D)
- dark brown
Making up
- Step 1From the back in row 8 attach yarn (D) and crochet a chain of 6ch, back along the chain 5sl st, sl st where yarn was attached, again cast on 6ch, 5sl st, sl st into base, cut yarn, fasten, hide.
- Step 2We crochet the valve on top on the lid, attach yarn (D) crochet 3ch, 2sc and sl st into base. Cut yarn, fasten, hide.
- Step 3Insert eyes between rows 6-7, at a distance of 3 stitches. With white thread embroider the eye white around.
- Step 4Embroider eyebrows.
- Step 5With gray thread in row 8 embroider the emblem, making a pair of stitches.
Notes from the pattern
- Use the 3.75mm hook consistently; a looser gauge on plush yarn will let stuffing show through the fabric.
- Place a marker at the start of each round from round 1, since the body-head has no worked seam to orient by otherwise.
- Stuff lightly, especially near the base, so the flat bottom of the cup sits square rather than bulging.
- Manage yarn color changes: twist your beige and dark brown yarns neatly on the inside of the work to keep your color changes smooth.
- Stuff lightly near the base: stuffing the body gently helps the cup maintain its flat bottom shape without bulging out.
- Secure safety eyes before closing: double-check that your safety backings are locked tight between rows 6 and 7 before finishing the top of the head.
- Use stitch markers: marking the first stitch of every round helps keep track of stitch counts, especially when crocheting with soft plush yarn.
The essentials
- Rounds
- 12
- Level
- Intermediate
- Time
- 4-6 hours
- Hook
- 3.75 mm
- Yarn
- Worsted
Stitches you will use
- Front loop only / back loop only (FLO/BLO) Used across the body-head rounds to define the rim edge; miscounting which loop is worked will blur or lose the seam line between cup and rim.
- Bobble stitch handle The handle is a small chain worked into a bobble of 3 double crochet into one stitch; keep tension even so the loop sits proud rather than flat.
- Colour changes (beige to dark brown) Beige and dark brown alternate from round 1 onward; twist yarns on the inside consistently so the join between colours stays clean on the right side.
Troubleshooting
The base bulges instead of sitting flat
Overstuffing near the early rounds pushes the base outward; add stuffing gradually and check the piece stands flat before closing further rounds.
The rim seam between cup and lid looks uneven or missing
This happens when a front-loop or back-loop round is worked into both loops by mistake; check rounds 2, 3, 5 and 10 against the loop instruction before continuing.
Colour changes show messy floats on the inside
Loose or untwisted yarn carries between beige and dark brown sections; twist the two yarns together on the wrong side at each change and keep tension consistent.
Substituting yarn
- Cotton, DK weight
- Produces a firmer, less squishy plush with crisper stitch definition; move to a 3.5mm hook to keep the fabric dense enough to hold stuffing.
- Acrylic, worsted weight
- Using worsted weight acrylic in place of plush yarn works well; the finished coffee cup will turn out slightly smaller, and a 2.5mm or 3.0mm hook keeps the stitches tight enough to hide the stuffing.
- Velvet or chenille-style plush, similar density
- Keeps the soft, fuzzy finish close to the original but can obscure fine stitch detail like the bobble handle; stitches may be harder to count, so work slowly and check loop placement by feel.
Washing and care
- Spot cleaning with a damp cloth and mild dish soap is the best way to clean this plush amigurumi keychain.
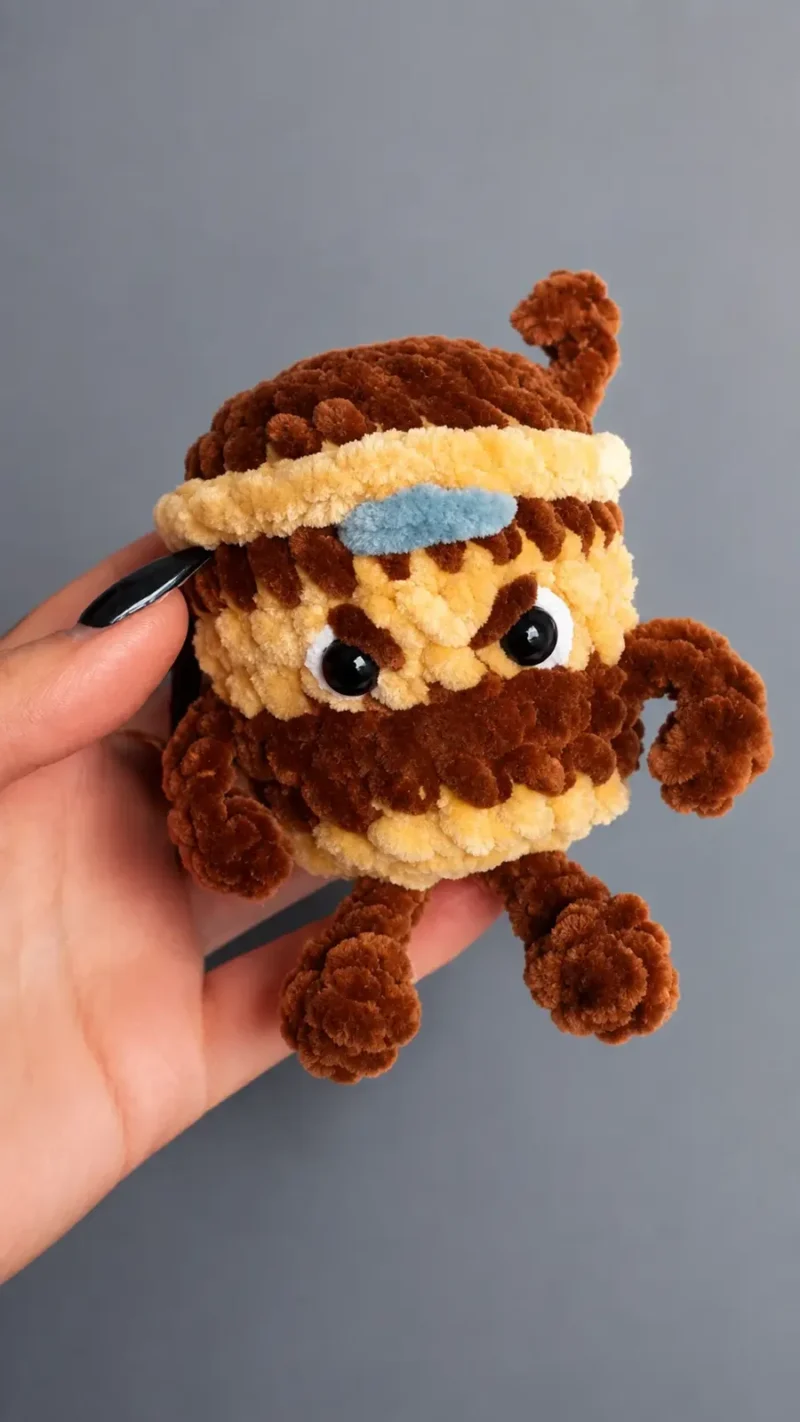
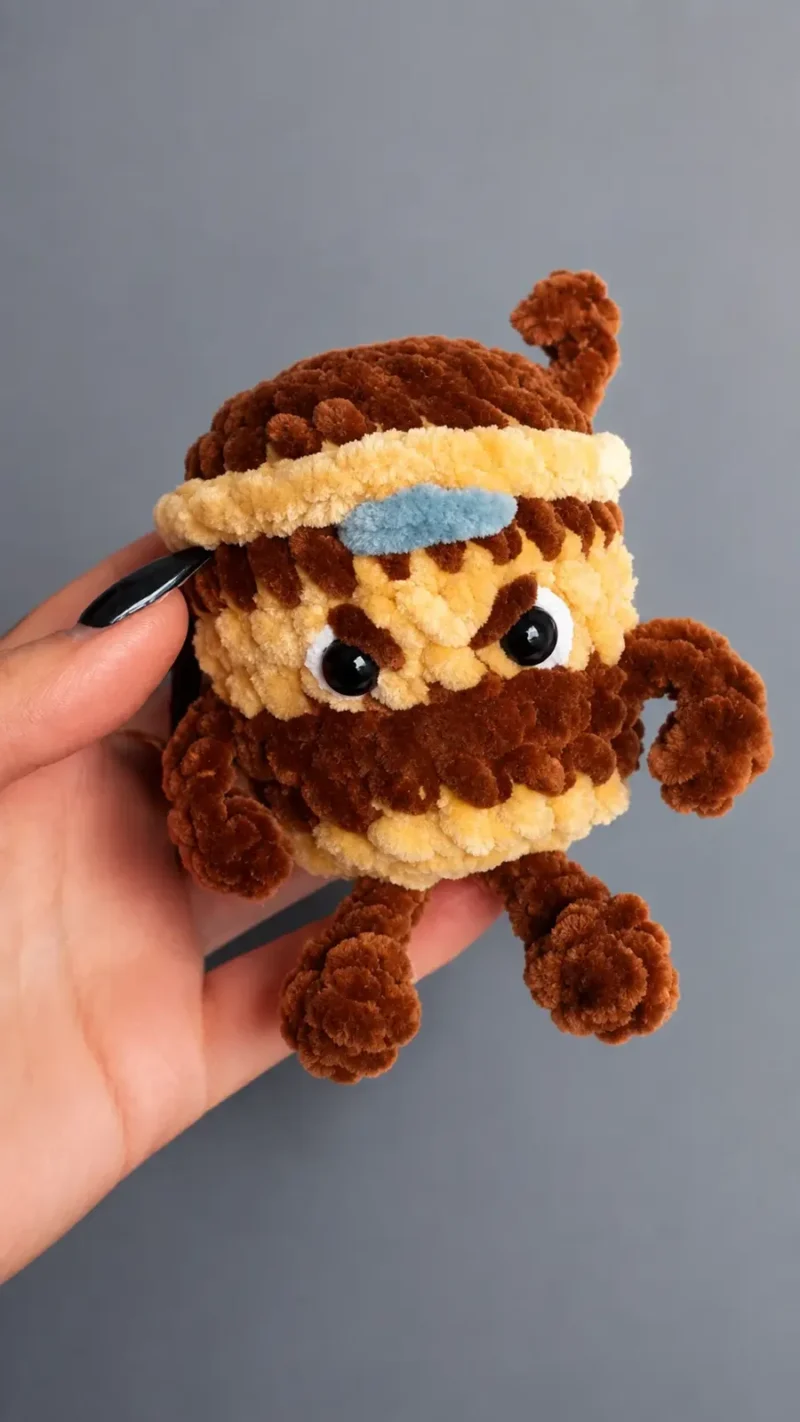
The photographs taken while this was being made
Every one was taken by whoever published the pattern, in the order the source listed them.
FAQs
Questions
Can I use regular acrylic yarn for this pattern?
Yes, you can use worsted weight acrylic yarn instead of plush yarn, though your final coffee cup will turn out slightly smaller.
How do I attach a metal key ring?
You can loop a metal jump ring or keychain chain right through the top lid stitches after finishing and securing your yarn.
What hook size works best if I use worsted weight yarn?
A 2.5 mm or 3.0 mm crochet hook works great with standard worsted weight yarn to keep the stitches nice and tight.
Is this pattern suitable for beginners?
Yes, it is very beginner-friendly as long as you are comfortable with basic stitches, color changes, and working into back or front loops.
How do I clean my finished plush keychain?
Spot cleaning with a damp cloth and mild dish soap is the best way to clean plush amigurumi items.
These answers came from whoever first published the pattern, kept word for word.