 EVERY CROCHET
 Amigurumi 26 rounds No account, no download
Crane amigurumi pattern in single crochet
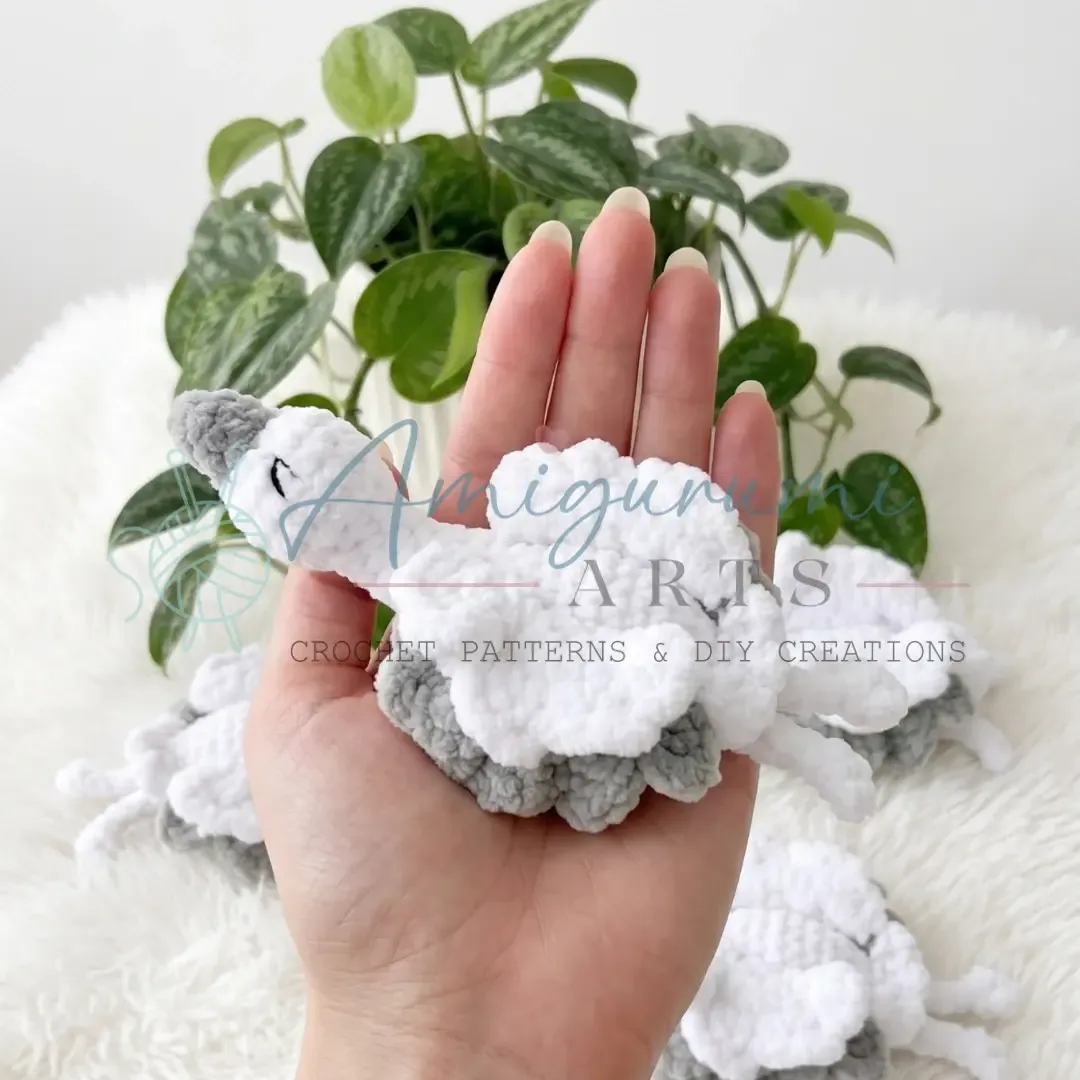
A crane amigurumi in single crochet (UK double crochet), with a spiral body and flat two-tone wings.
- Skill
- Intermediate
- Time
- 4-6 hours
- Yarn weight
- DK / Worsted
- Hook
- 3.5 mm

Intermediate
What the original write-up called it. Nothing here is graded again.

DK / Worsted
What the sample was worked in. Any weight works; the size moves with it.

4-6 hours
What the original page reckoned. Your own pace is the one that matters.
About this pattern
This pattern makes a crane amigurumi: a twenty-round single crochet (UK double crochet) body worked in a continuous spiral, finished with four flat wing pieces joined into two colour-paired wings. Materials are light worsted or DK yarn in grey and white, a small hook, polyester fiberfill, and a stitch marker to track rounds. The piece suits makers already comfortable with amigurumi shaping and colour changes.
This crane amigurumi is built almost entirely from single crochet (UK double crochet), the dense fabric that keeps toy shaping tight and stops stuffing showing through the gaps. Increases carry the body from a four-stitch starting ring up through its widest rounds, while the wings use the same stitch worked flat. The result is a small, firm figure suited to continuous amigurumi work rather than lacy or openwork crochet.
Materials
Yarn
- Light worsted or DK weight yarn in gray and white
Hook size
- Appropriate for your yarn weight (suggested E-4 / 3.5 mm for DK, or follow yarn label)
Stuffing
- Polyester fiberfill
- Yarn needle / tapestry needle
- Scissors
- Stitch marker (for tracking rounds in continuous spiral)
The list is the pattern's own wording.
Instructions
Every round is printed as the pattern wrote it, brackets and all. Open the key beside a round to see only the short forms that round uses.
Body
Work in a continuous spiral. Begin with gray yarn. Stuff lightly as you go.
- Round 1
4 sc in MR. (4)
Key2
- MR
- Magic Ring
- sc
- Single Crochet
- Round 2
sc, inc repeat 2 times around. (6)
Key2
- inc
- Increase (2 sc in the same stitch)
- sc
- Single Crochet
- Rounds 3–4
sc in each st around. (6) — 2 rounds total. At the end of Rnd 4, switch to white yarn.
Key1
- sc
- Single Crochet
- Round 5
inc in each st around. (12)
Key1
- inc
- Increase (2 sc in the same stitch)
- Round 6
sc, inc repeat 6 times around. (18)
Key2
- inc
- Increase (2 sc in the same stitch)
- sc
- Single Crochet
- Round 7
2 sc, inc repeat 6 times around. (24)
Key2
- inc
- Increase (2 sc in the same stitch)
- sc
- Single Crochet
- Rounds 8–9
sc in each st around. (24) — 2 rounds total.
Key1
- sc
- Single Crochet
- Round 10
sc, dec repeat 8 times around. (16)
Key2
- dec
- Invisible Decrease (2 sc worked together)
- sc
- Single Crochet
- Round 11
dec in each pair of sts around. (8)
Key1
- dec
- Invisible Decrease (2 sc worked together)
- Rounds 12–16
sc in each st around. (8) — 5 rounds total. This forms the neck.
Key1
- sc
- Single Crochet
- Round 17
sc, inc repeat 4 times around. (12)
Key2
- inc
- Increase (2 sc in the same stitch)
- sc
- Single Crochet
- Round 18
2 sc, inc repeat 4 times around. (16)
Key2
- inc
- Increase (2 sc in the same stitch)
- sc
- Single Crochet
- Round 19
3 sc, inc repeat 4 times around. (20)
Key2
- inc
- Increase (2 sc in the same stitch)
- sc
- Single Crochet
- Round 20
4 sc, inc repeat 4 times around. (24)
Key2
- inc
- Increase (2 sc in the same stitch)
- sc
- Single Crochet
- Rounds 21–24
sc in each st around. (24) — 4 rounds total.
Key1
- sc
- Single Crochet
- Round 25
4 sc, dec repeat 4 times around. (20)
Key2
- dec
- Invisible Decrease (2 sc worked together)
- sc
- Single Crochet
- Round 26
3 sc, dec repeat 4 times around. (16)
Key2
- dec
- Invisible Decrease (2 sc worked together)
- sc
- Single Crochet
- Round 27
2 sc, dec repeat 4 times around. (12)
Key2
- dec
- Invisible Decrease (2 sc worked together)
- sc
- Single Crochet
- Round 28
sc, dec repeat 4 times around. (8)
Key2
- dec
- Invisible Decrease (2 sc worked together)
- sc
- Single Crochet
- Round 29
dec 4 times around. (4) — Do not cut yarn. Continue directly to the tail.
Key1
- dec
- Invisible Decrease (2 sc worked together)
Tail: Without cutting yarn, work the tail as follows:
Ch 4. Starting in the 2nd chain from the hook, sc in each of the next 3 chains, sl st into the base. This completes one tail feather.
Repeat this sequence 2 more times for a total of 3 tail feathers .
Cut yarn, secure, and weave the end inside the body.
Wings (Make 4 pieces — 2 all-white, 2 with Row 6 worked in gray)
Work flat in turning rows. At the end of each row, chain 1 before turning.
To begin: Chain 2, then starting in the 2nd chain from the hook:
- Round 1
inc in first st. (2)
Key1
- inc
- Increase (2 sc in the same stitch)
- Round 2
inc in each st across. (4)
Key1
- inc
- Increase (2 sc in the same stitch)
- Round 3
inc, 2 sc, inc. (6)
Key2
- inc
- Increase (2 sc in the same stitch)
- sc
- Single Crochet
- Round 4
inc, 4 sc, inc. (8)
Key2
- inc
- Increase (2 sc in the same stitch)
- sc
- Single Crochet
- Round 5
inc, 6 sc, inc. (10)
Key2
- inc
- Increase (2 sc in the same stitch)
- sc
- Single Crochet
- Round 6
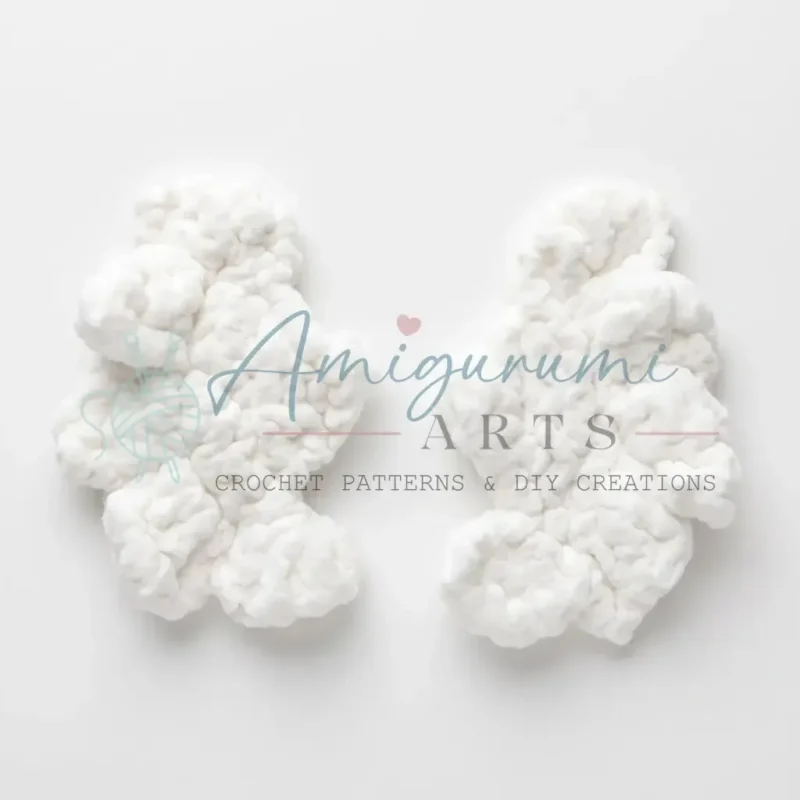
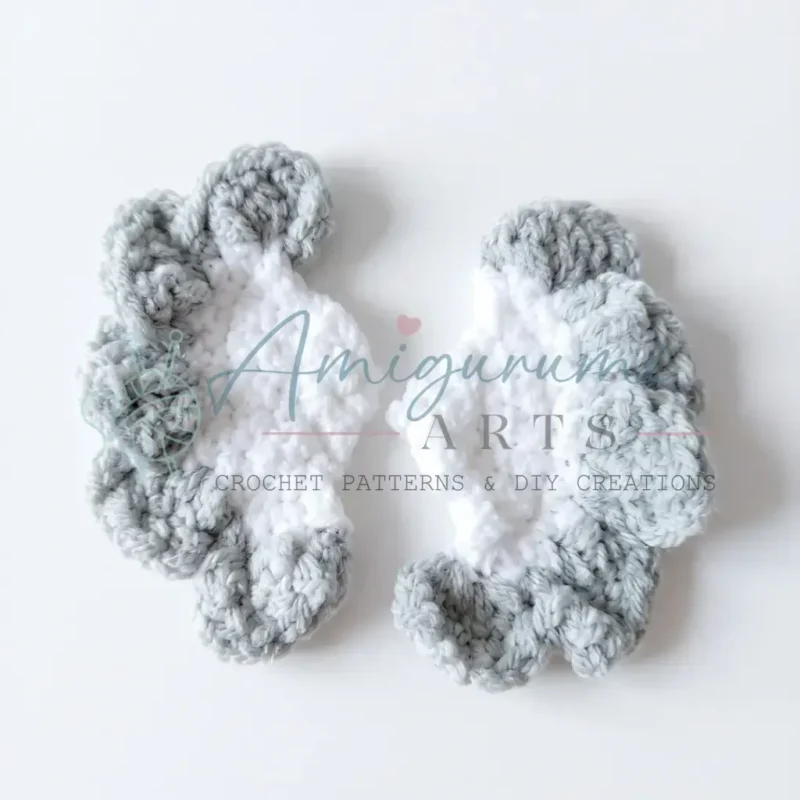
ch 3, 3 dc in same st, sl st repeat 5 times. (5 shell points worked) — For 2 of the 4 wing pieces, work this row in gray yarn.Cut yarn, secure ends.Hold one all-white wing piece and one wing piece with the gray Row 6 together (wrong sides facing), and sew them together or treat as a single doubled wing when attaching — sew wings to the center of the body.
Key3
- sl st
- Slip Stitch
- ch
- Chain
- dc
- Double Crochet
Making up
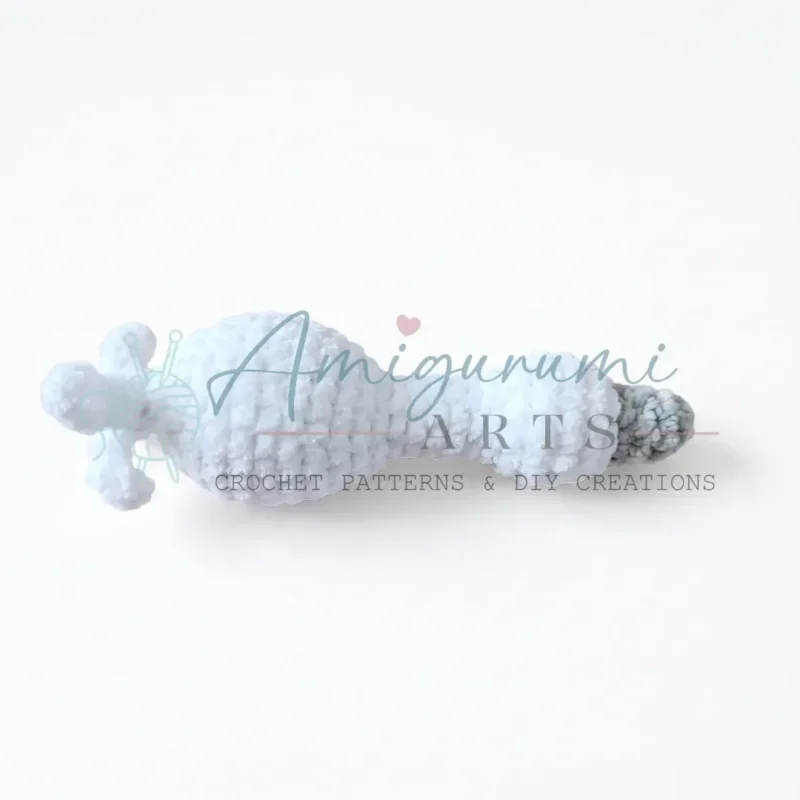
- Step 1Finish stuffing the Body lightly through the remaining opening before the tail was worked. The neck area (Rnds 12–16) should remain slender — use minimal stuffing there.
- Step 2Embroider the eyes on either side of the head (the gray section, Rnds 1–4 area), using black yarn or embroidery thread. Position them symmetrically.
- Step 3Pair each all-white wing with one gray-trimmed wing (wrong sides together). You now have 2 finished wings.
- Step 4Sew one wing to each side of the body at the center point, using the yarn tail and a whipstitch or mattress stitch. Keep the feathered edge (Row 6) facing outward and slightly downward.
- Step 5Weave in all remaining yarn ends securely.
Notes from the pattern
- Match the hook to the yarn label rather than the suggested E-4 / 3.5 mm alone — amigurumi needs a tight enough gauge that the fiberfill stays hidden.
- Keep the stitch marker on the first stitch of every round from Rnd 1 onward; without it, the continuous spiral Body gives no visual cue for where a round starts.
- Work the colour change from grey to white cleanly at the end of Rnd 4 so the join sits flush with the start of Rnd 5 rather than spiralling off to one side.
- Stuff the Body lightly and evenly as each round is worked, but keep Rnds 12–16 noticeably sparser than the rest so the neck stays slender rather than bulging.
- Make the grey-to-white colour change on the last yarn-over of the final stitch in Rnd 4, pulling the new white yarn through to complete that stitch — this keeps the transition tidy at the back of the neck.
- When working the tail feathers, keep each ch-4 loop loose and even; pulling too tightly makes the feathers curl under rather than fan out, so a relaxed tension gives them a natural, graceful drape.
- Safety eyes are not used in this pattern — the eyes are embroidered directly onto the finished piece after assembly.
- Pin the wings in place with a stitch marker or straight pin before sewing, then step back and check from the front that both wings sit at the same height and angle before committing to sewing.
The essentials
- Rounds
- 26
- Parts
- 2
- Level
- Intermediate
- Time
- 4-6 hours
- Hook
- 3.5 mm
- Yarn
- DK / Worsted
Stitches you will use
- Continuous spiral amigurumi shaping Used throughout the twenty-round Body; there is no join or starting chain, so a stitch marker moved up each round is the only way to track where a round begins.
- Flat turning-row single crochet with increases Used for all four Wings; each row ends with a chain before turning, and the grey Row 6 must land on the correct two pieces so the paired wings match.
Troubleshooting
The head or body looks lumpy
Tension is too loose for amigurumi single crochet; work the stitches a little firmer or drop to a slightly smaller hook, and add fiberfill in small pinches rather than large handfuls.
The neck balloons out instead of staying slender
Rnds 12–16 have been stuffed as firmly as the rest of the Body; use only minimal stuffing in that section and let the firmer stuffing above and below hold its shape.
The two finished wings don't match or
An all-white wing has been paired with another all-white wing instead of a grey-trimmed one, or a piece is short a row; confirm each finished wing combines one plain piece with one Row-6-grey piece, both with six rows, before seaming wrong sides together.
Substituting yarn
- Acrylic, light worsted or DK
- Closest match to the materials list; keeps the finished size and the suggested hook the same, with slightly crisper stitch definition than a wool blend.
- 100% cotton, DK weight
- Gives firmer, flatter stitch definition and less give around the stuffing, which can help edges stay crisp; going up half a hook size keeps the fabric workable.
- Wool-blend, fingering or sport weight
- Produces a noticeably smaller crane with the same round and row counts, needs a smaller hook to keep stitches dense, and uses less fiberfill overall.
Washing and care
- Spot clean the finished crane rather than machine washing it; polyester fiberfill holds its shape well but can flatten or mat if it is soaked and compressed repeatedly.
- Keep the piece away from direct heat and strong sunlight, reshape the neck and wings gently by hand after cleaning, and store it upright or flat so the slender neck section is never squashed.
The photographs taken while this was being made
Every one was taken by whoever published the pattern, in the order the source listed them.
FAQs
Questions
Can I use a different yarn weight for this crane pattern?
Yes, you can substitute a different yarn weight, but keep in mind that the finished size will change. A fingering or sport weight yarn with a smaller hook will give you a more delicate, miniature crane. A worsted weight will produce a noticeably larger bird. Whatever weight you choose, use a hook size that creates a tight, gap-free fabric so the stuffing does not show through.
How do I keep the neck of the crane from flopping over?
The neck section (Rnds 12-16) is intentionally narrow, so use minimal stuffing there – just enough to give it a little structure without making it stiff. If your crane's neck still flops, try inserting a small piece of pipe cleaner or floral wire wrapped in a bit of fiberfill before closing the body. This lets you pose the neck at a gentle curve, which looks very natural on a finished crane.
Do I need to make all four wing pieces, or can I use just two?
The pattern calls for four pieces total – two all-white and two with a gray Row 6 – which are then paired together before sewing onto the body. Using a doubled wing gives it more structure, body, and a clean finished look on both sides. You can use just two single-layer wings if you prefer a flatter, lighter result, but the doubled version holds its shape much better.
How do I embroider the eyes neatly on such a small piece?
Use a single strand of black yarn or black embroidery floss and a sharp tapestry needle. Work two or three small straight stitches close together to form each eye, or use a single French knot if you are comfortable with that technique. Place both eyes at the same round on the head and the same stitch distance from the center front of the face – measuring by stitch count rather than by eye ensures they are symmetrical.
These answers came from whoever first published the pattern, kept word for word.