 EVERY CROCHET
 Amigurumi 18 rounds No account, no download
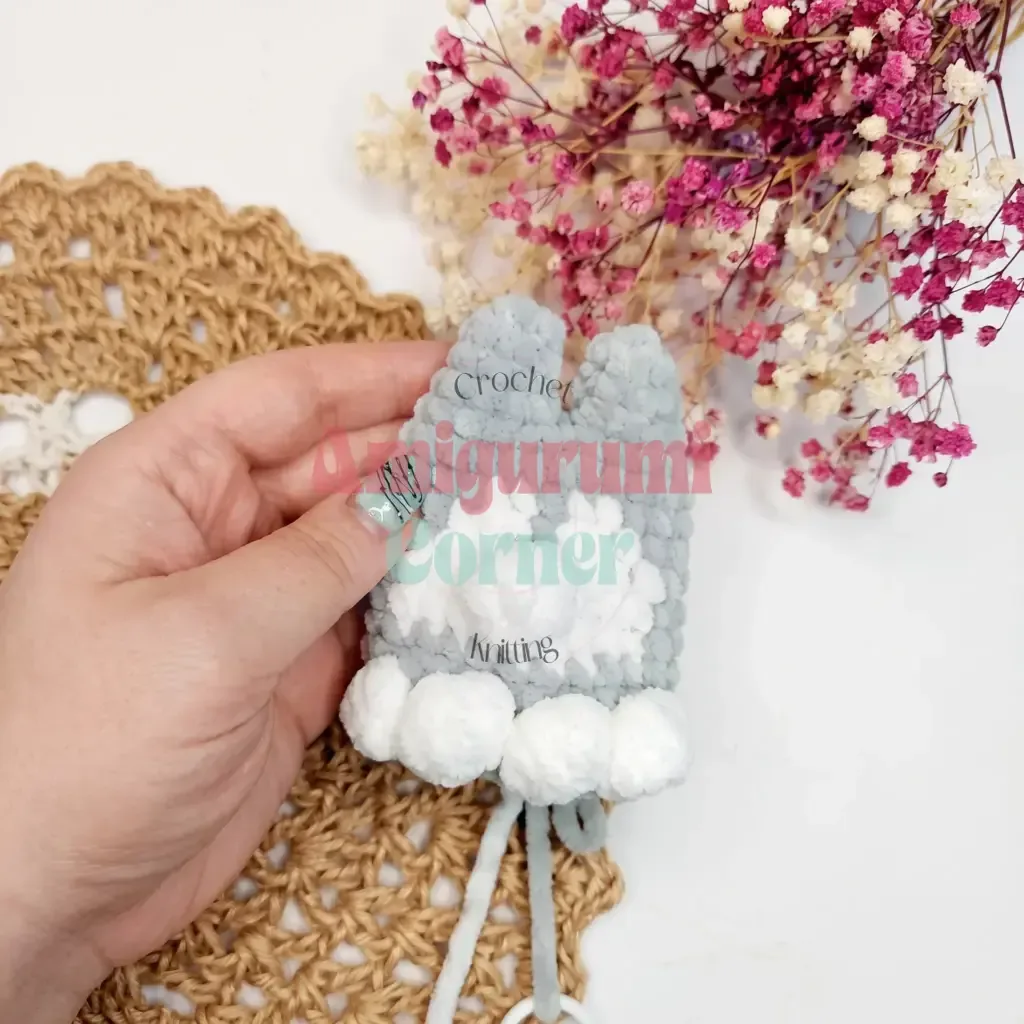
A plush husky keychain amigurumi in single crochet
Plush husky keychain amigurumi worked in single crochet (UK: double crochet), written in US crochet terminology throughout.
- Skill
- Intermediate
- Time
- 4-6 hours
- Yarn weight
- Worsted
- Hook
- 3.75 mm

Intermediate
What the original write-up called it. Nothing here is graded again.

Worsted
What the sample was worked in. Any weight works; the size moves with it.

4-6 hours
What the original page reckoned. Your own pace is the one that matters.
About this pattern
This pattern makes a small amigurumi husky designed as a keychain, worked in single crochet (UK: double crochet) using plush or velvet worsted-weight yarn in a main colour and white. A tail is made first in ten rounds, then a pair of ears in three rounds, joined into a body that runs from Round 4 to Round 13 with colour-worked muzzle and leg markings. A 3.75 mm hook, safety eyes and nose, fiberfill, and basic sewing finish the piece; it suits confident beginners comfortable with colour changes and amigurumi shaping.
This plush husky keychain amigurumi is worked almost entirely in single crochet (UK: double crochet), the short, tightly packed stitch that gives amigurumi its firm, sculptable fabric and keeps stuffing from showing through. The design uses plush or velvet worsted-weight yarn in a main colour and white, finished with safety eyes and a safety nose for the face. Because the finished piece is small enough to clip to a bag or keyring, even tension matters more here than it would on a larger toy.
Construction starts with a tail worked in White over ten rounds, followed by a pair of ears worked in Main Colour over three rounds, with the second ear left unfastened so its working yarn can join both ears into the body. Round 4 of the body is a short foundation chain that links the two ears together, after which the body continues in spiral for the remaining rounds, nine more in total. A stitch marker placed at round 5 tracks the back of the toy, and colour changes from round 6 onward shape the white muzzle before the safety eyes are set in round 7.
Materials
- Plush/velvet yarn, worsted weight (US 4 Medium) in Main Color (gray or your choice) and White
Hook
- US G/6 (3.75 mm)
- 9×11 mm safety nose (1)
- Black embroidery floss (for facial details)
- Keychain hardware (clasp/ring)
Tools
- Fiberfill stuffing
- 10 mm safety eyes (2)
- Yarn needle
- Stitch marker
- Scissors
- Craft glue
The list is the pattern's own wording.
Instructions
Every round is printed as the pattern wrote it, brackets and all. Open the key beside a round to see only the short forms that round uses.
Tail (worked in White)
- Round 1
6 sc in MR. (6)Step by step: sc in each st around. (6).
Key2
- mr
- Magic Ring
- sc
- Single Crochet
- Round 2
sc, inc repeat around. (9)
Key2
- inc
- Increase (2 sc in same stitch)
- sc
- Single Crochet
- Round 3
2 sc, inc repeat around. (12)
Key2
- inc
- Increase (2 sc in same stitch)
- sc
- Single Crochet
- Rounds 4–8
Switch to Main Color, sc in each st around. (12) — work this round 5 times total.
Key1
- sc
- Single Crochet
- Round 9
sc, dec repeat around. (8)
Key2
- dec
- Decrease (invisible decrease, worked as 2 sc together)
- sc
- Single Crochet
- Round 10
dec repeat around 4 times, sl st to close. (4)Fasten off, leaving a tail for later attachment. Weave in the starting end. Stuff the tail lightly as you work, before it closes up completely.
Key2
- sl st
- Slip Stitch
- dec
- Decrease (invisible decrease, worked as 2 sc together)
Ears (worked in Main Color, make 2)
On the second ear, do not fasten off — the working yarn will be used to join both ears into the body.
- Round 1
6 sc in MR. (6)
Key2
- mr
- Magic Ring
- sc
- Single Crochet
- Round 2
sc in each st around. (6)
Key1
- sc
- Single Crochet
- Round 3
sc, inc repeat around. (9)
Key2
- inc
- Increase (2 sc in same stitch)
- sc
- Single Crochet
Body
- Round 4
Ch 1, sc 9 across the first ear, sc across the chain, sc 9 across the second ear, sc across the chain. (20)
Key2
- ch
- Chain
- sc
- Single Crochet
- Round 5
4 sc, inc repeat around. (24) Place a stitch marker at the center of this round — this marks the back of the toy and will help you track color placement.
Key2
- inc
- Increase (2 sc in same stitch)
- sc
- Single Crochet
- Round 6
In Main Color, sc 9; switch to White, sc 2; Main Color, sc 1; White, sc 2; Main Color, sc 10. (24)
Key1
- sc
- Single Crochet
- Round 7
8 sc; White, sc 3; Main Color, sc 1; White, sc 3; Main Color, sc 9. (24) Insert the safety eyes now, spacing them evenly across the white muzzle area before continuing to Round 8.
Key1
- sc
- Single Crochet
- Round 8
7 sc; White, sc 4; Main Color, sc 1; White, sc 4; Main Color, sc 8. (24)
Key1
- sc
- Single Crochet
- Round 9
7 sc; White, sc 4; work a Puff st in White — this forms the nose bump ; sc 4 in White; Main Color, sc 8. (24)
Key2
- Puff st
- Puff Stitch (5 dc worked into one stitch, closed together at the top)
- sc
- Single Crochet
- Round 10
7 sc; White, sc 9; Main Color, sc 8. (24) You can leave the yarn attached here rather than fastening off — you’ll use it again to work the legs in Round 13.
Key1
- sc
- Single Crochet
- Rounds 11–12
sc in each st around. (24) — repeat this round twice total.
Key1
- sc
- Single Crochet
- Round 13
Legs, worked in White 8 sc; White, work a Puff st in the next st; Main Color, sc 1; White, Puff st in next st; Main Color, sc 2; White, Puff st in next st; Main Color, sc 1; White, Puff st in next st; Main Color, sc 8; sc 2 sts together, catching the tail piece to attach it as you close; sl st to finish.
Key3
- Puff st
- Puff Stitch (5 dc worked into one stitch, closed together at the top)
- sl st
- Slip Stitch
- sc
- Single Crochet
Making up
- Step 1Stuff the body firmly, then leave a long tail of yarn on the needle for sewing.
- Step 2Thread the needle through the side of the husky and whipstitch any remaining opening closed, working stitch by stitch through the edge.
- Step 3Glue the safety nose in place over the Puff Stitch nose bump.
- Step 4Using white yarn, add a few embroidered accent stitches to the ears for texture and definition.
- Step 5Using black embroidery floss, stitch a small line down the bridge of the nose and a short bar beneath it to define the muzzle.
- Step 6Attach the keychain hardware securely to the top of the head, between the ears.
- Step 7Weave in any remaining loose ends and trim.
Notes from the pattern
- A US G/6 (3.75 mm) hook is specified; because plush or velvet yarn is slippery and springs back easily, going down half a size can help keep the fabric dense enough to hide the stuffing.
- The stitch marker placed at the centre of Round 5 marks the back of the toy and is the reference point for lining up the colour changes that begin in Round 6.
- Gauge is not critical for this toy, but the fabric needs to be tight enough that fiberfill doesn't peek through between stitches, as noted in the source instructions.
- The white color-blocking on the muzzle, chest, and legs is worked mid-round, with each colour reappearing within the same round rather than being fastened off; read each line carefully to see exactly where the colour changes happen, especially through Rounds 6-8 and Round 13.
The essentials
- Rounds
- 18
- Parts
- 3
- Level
- Intermediate
- Time
- 4-6 hours
- Hook
- 3.75 mm
- Yarn
- Worsted
Stitches you will use
- Magic ring start Both the tail and each ear begin with 6 sc in a magic ring (Rnd 1); pull the centre closed firmly before the first increase round so no hole shows at the base.
- Safety eye and nose placement The 10 mm eyes go in during Round 7, spaced evenly across the white muzzle before continuing; check placement from both sides first, since the backings cannot be repositioned once attached.
- Puff stitch The Puff Stitch (5 dc worked into one stitch, closed together at the top) forms the nose bump in Round 9 and the four paw shapes in Round 13; close it firmly at the top so it holds a raised, rounded shape rather than flattening into the surrounding sc.
Troubleshooting
Stuffing is visible through the fabric
Plush yarn worked at a loose tension leaves gaps between stitches; go down a hook size or tighten the single crochet stitches slightly, especially around the body rounds that take the most stuffing. Inserting your hook only through the front loops when working an invisible decrease also keeps those joins flatter and less noticeable.
The ears feel loose or twist away
This happens when the join at Round 4's foundation chain isn't pulled snug; whipstitch along the inside of the join once assembly is finished to lock the ears firmly to the head.
Round 13 keeps losing count between the
Round 13 works the legs and the tail join in the same row, alternating white Puff Stitches with main colour sections; place a stitch marker at the start of each colour section as you go, and when sewing the tail on, hold both pieces together and stitch through both layers for the two closing single crochets so the join stays sturdy.
Substituting yarn
- DK-weight (8-ply) acrylic or cotton blend
- Produces a smaller, lighter keychain with crisper stitch definition but less of the plush, velvety surface; use a smaller hook, around 3.25 mm, and reduce stuffing slightly to match the lighter fabric.
- Standard (non-plush) worsted-weight acrylic or cotton
- Keeps the same finished size and hook, since it matches the gauge of the original yarn, but trades the soft velvet texture for sharper, more visible stitch rows; a slightly smaller hook can help keep stitches tight on a smooth yarn.
- Chunky or bulky-weight plush yarn
- Scales the husky up into a larger soft toy rather than a keychain; move up to roughly a 4.5-5 mm hook and allow for considerably more fiberfill to fill the bigger body.
Washing and care
- Plush and velvet yarns are typically synthetic, so hand wash in cool water if needed, pressing rather than wringing out moisture to protect the pile and the safety eyes' backing.
- Air dry flat away from direct heat, which can flatten the velvet texture, and reshape the ears and muzzle by hand while still slightly damp before storing the keychain somewhere it won't be compressed.
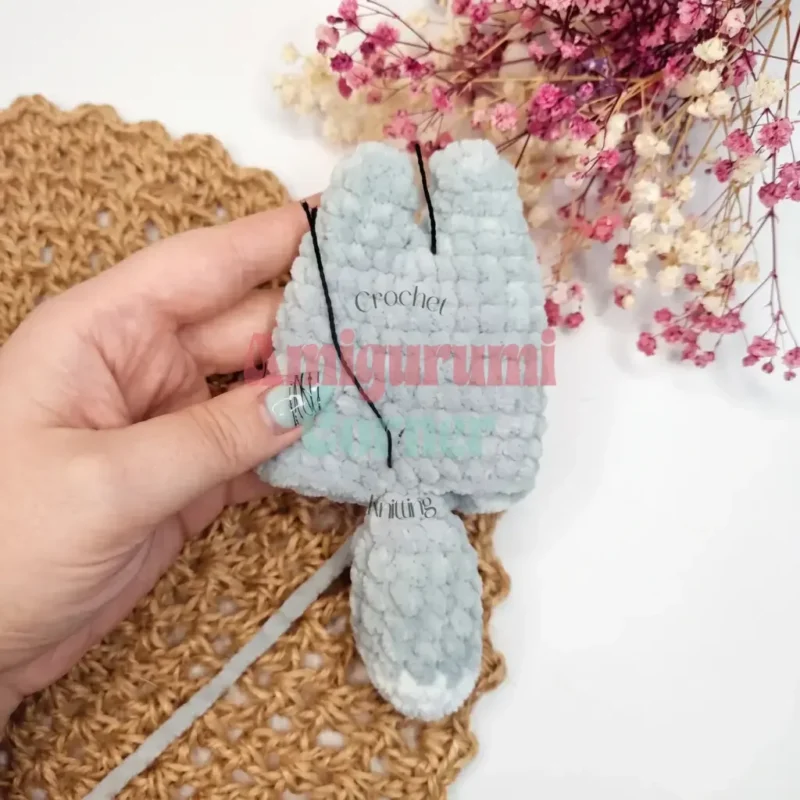
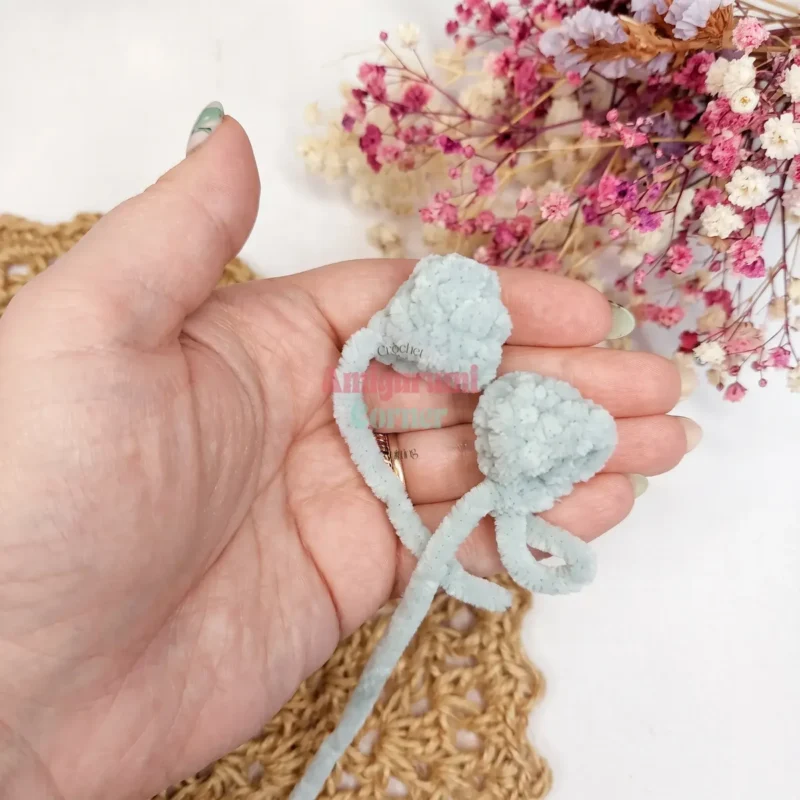
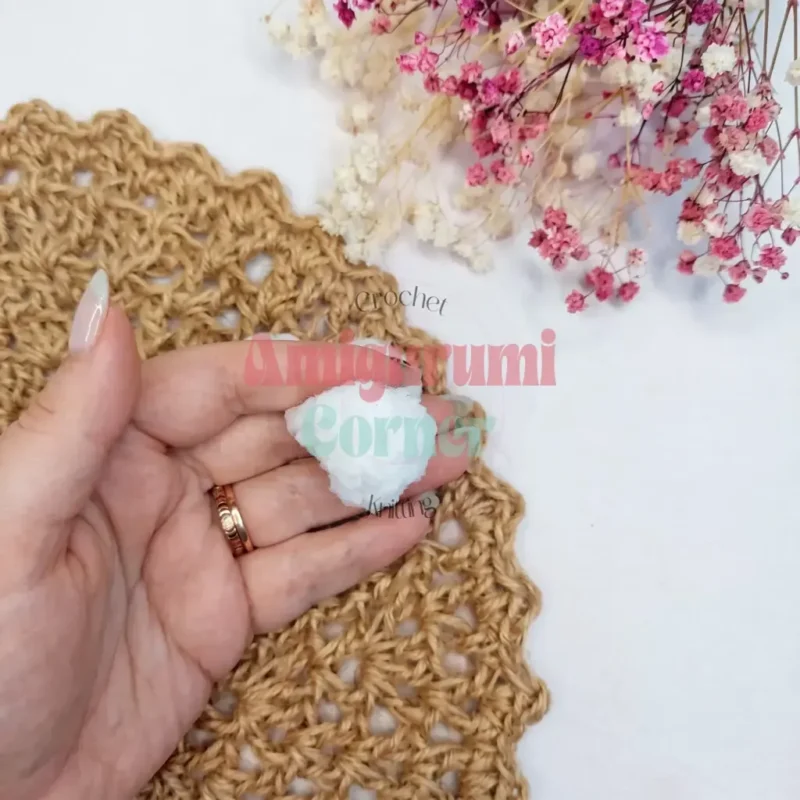
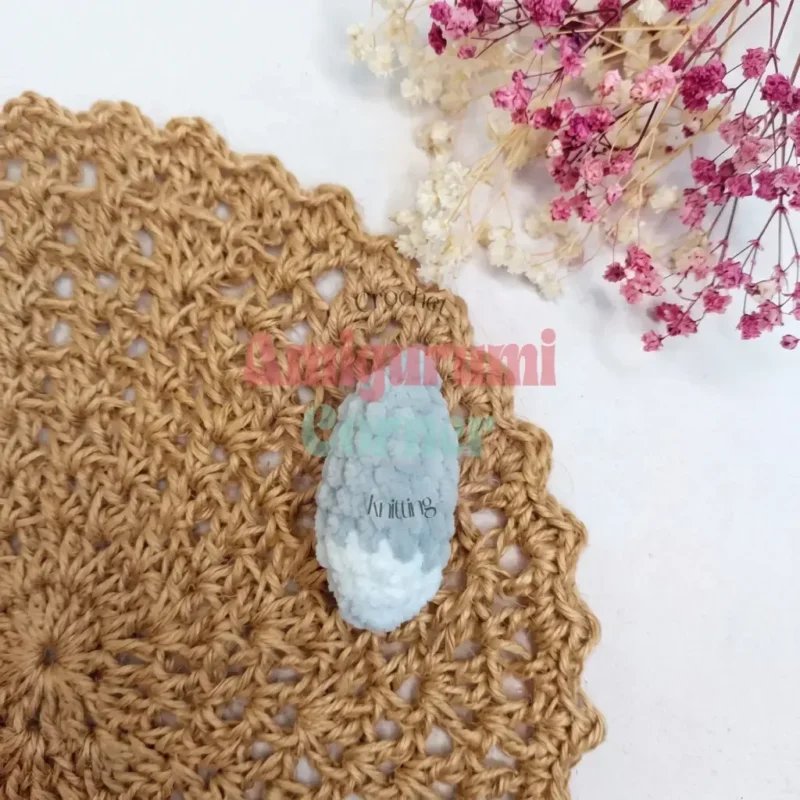
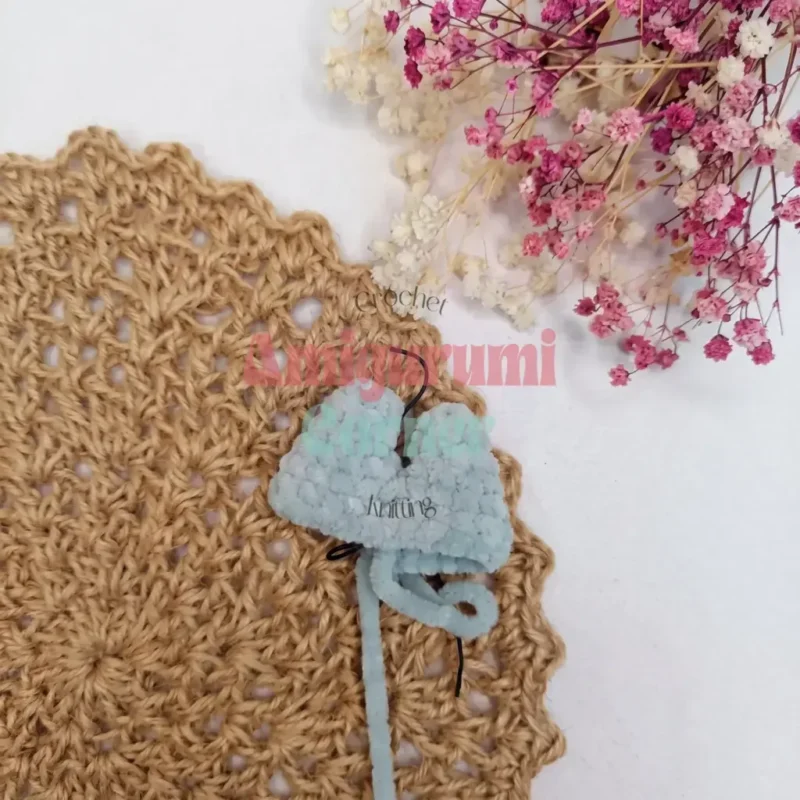
The photographs taken while this was being made
Every one was taken by whoever published the pattern, in the order the source listed them.
FAQs
Questions
Does this pattern use US or UK crochet terms?
The pattern is written in US terminology throughout, so single crochet refers to the UK double crochet stitch. No other UK conversions are needed beyond that one naming difference.
Why does the pattern ask for a stitch marker at Round 5?
That marker is placed at the centre of Round 5 to mark the back of the toy, giving a fixed reference point for counting the colour-change stitches in Rounds 6 through 8. Losing track of that marker is the main cause of a lopsided muzzle.
When should the safety eyes and nose go in?
The 10 mm safety eyes are inserted during Round 7, spaced evenly across the white muzzle before the round is finished, so spacing and expression can be checked on the flat, unstuffed piece. The 9×11 mm safety nose is glued on afterwards, over the puff-stitch nose bump, once the body is complete.
Can this be made without plush or velvet yarn?
Yes; any worsted-weight yarn that matches the stitch gauge will work, though standard acrylic or cotton loses the soft, velvety finish the pattern is designed around and may need a slightly smaller hook to keep stitches tight.
What turns the finished husky into a keychain?
Keychain hardware, such as a clasp or ring, is attached once the body is stuffed and sewn closed. Craft glue and the embroidery floss details are added at the same finishing stage, after the safety nose is in place.
How long does this pattern take to make?
Most crocheters can complete this husky in a single sitting of two to three hours, since the pieces are small and worked in continuous rounds. Beginners comfortable with increases and decreases should expect it to take a bit longer, especially through the colour-changing rounds.
What does Round 13 actually make?
Round 13 forms both the legs and the tail attachment in a single row, alternating white Puff Stitches with the main body colour to create four distinct paw shapes, while the closing stitches catch the tail piece to attach it. Taking it slowly and marking each colour section helps keep the stitch count accurate.
These answers came from whoever first published the pattern, kept word for word.