 EVERY CROCHET
Amigurumi 17 rounds No account, no download
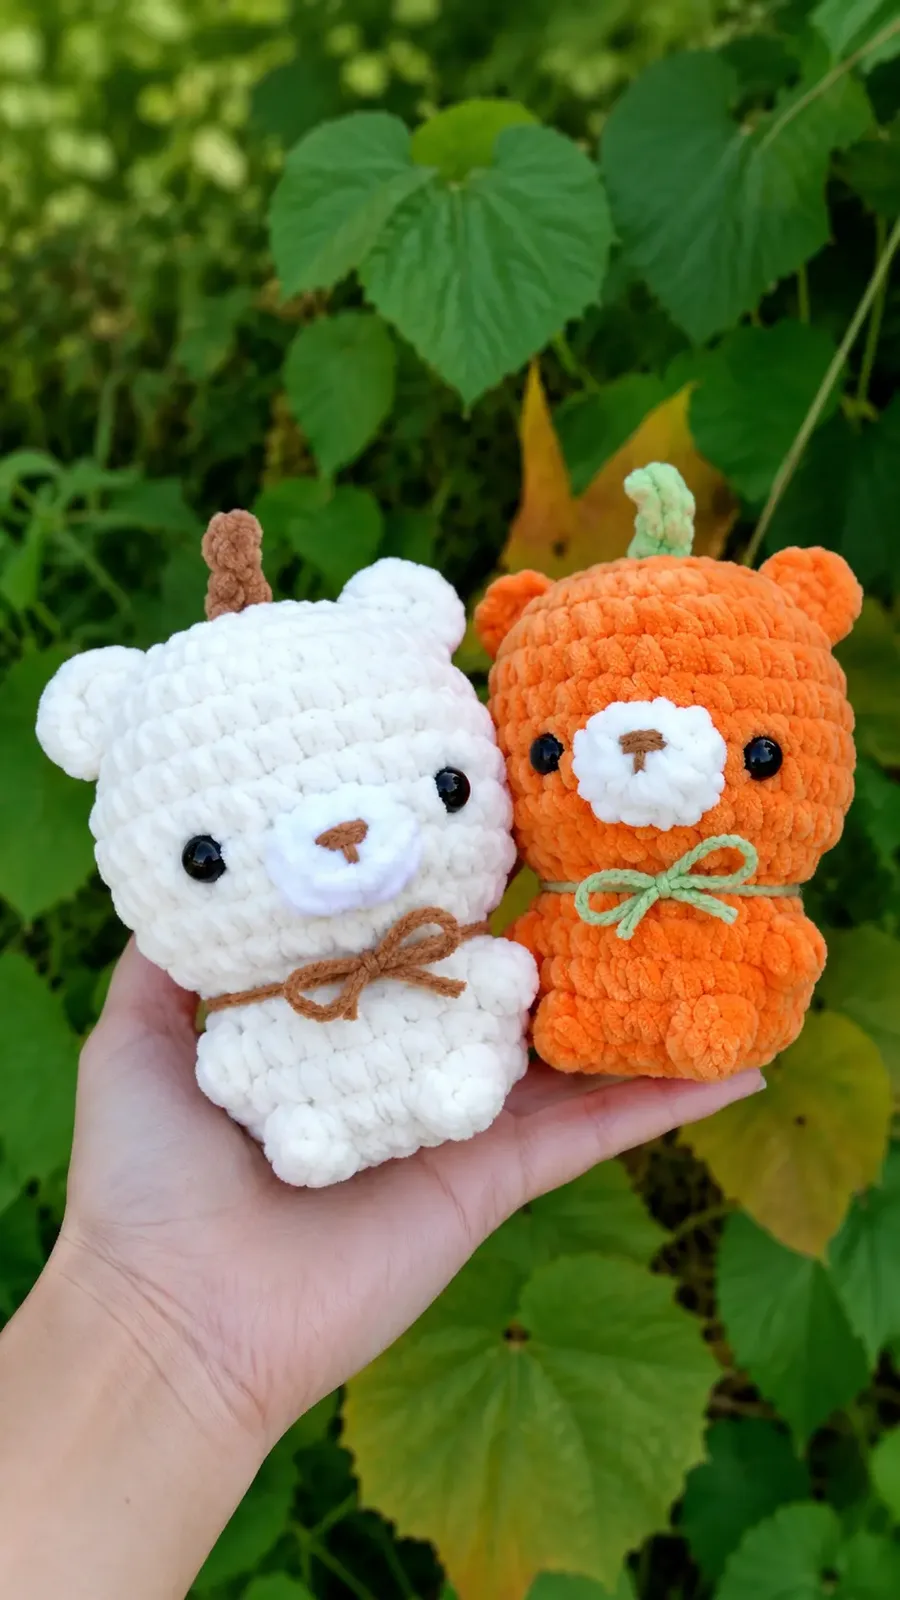
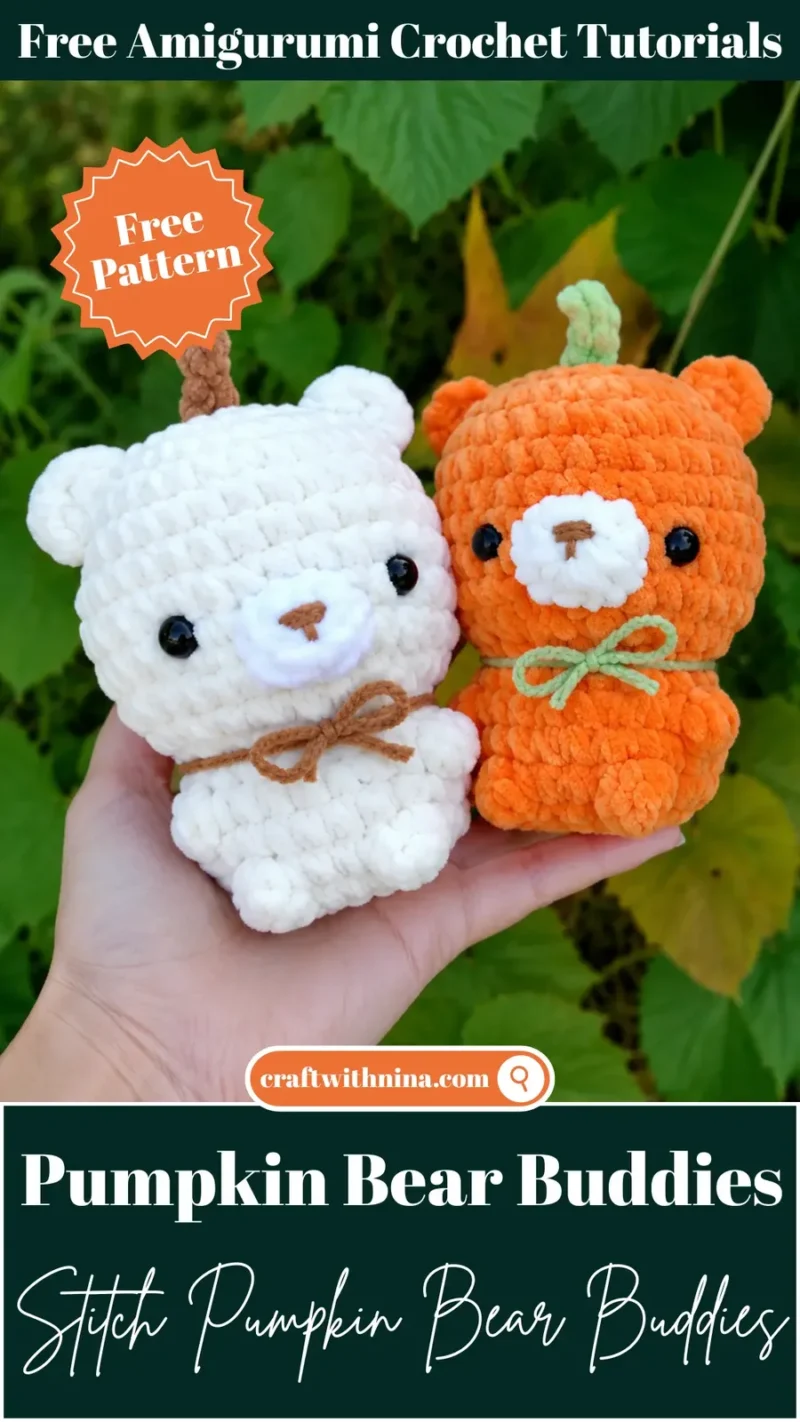
Amigurumi pumpkin bear pattern with bobble stitch detail
Amigurumi pumpkin bear worked in single crochet (UK double crochet) with bobble stitch arms, safety eyes and a crocheted stem.
- Skill
- Intermediate
- Time
- 4-6 hours
- Yarn weight
- Worsted

Intermediate
What the original write-up called it. Nothing here is graded again.
Worsted
What the sample was worked in. Any weight works; the size moves with it.

4-6 hours
What the original page reckoned. Your own pace is the one that matters.
About this pattern
This pattern makes a small amigurumi pumpkin bear worked in single crochet (UK double crochet) with bobble stitch arms and legs. The head and body form in one continuous piece across multiple rounds, narrowing at the neck around Round 12, with safety eyes placed on Rounds 8 and 9. A separate snout, ears and a chained stem are made and sewn on, finished with felt details and an optional ribbon.
The amigurumi pumpkin bear buddy belongs to the single crochet (UK: double crochet) family of amigurumi, the compact, firm stitch used throughout the head, body, ears and snout to keep stuffing from showing through. Bobble stitches add texture on the arms and legs, giving the limbs a quilted, pumpkin-like ridge that sets this design apart from a plain round bear. The snout and stem are worked in contrasting colours, so colour changes happen at defined points rather than mid-round.
Construction starts with a magic ring for the head, worked continuously in the round without joining, so the fabric spirals smoothly from crown to base. The body narrows to sixteen stitches around Round 12 to form the neck, then widens again, and safety eyes are set during Rounds 8 and 9 before stuffing continues. Ears are made flat in a single round each and pinned across Rounds 4 and 5 of the head before sewing, while the stem is chained and slip-stitched separately, then anchored into the gap between Rounds 1 and 2 at the crown.
Materials
- Your 3 preferred yarn colours for the main body, snout and stem
- Matching hook size
- Yarn needle
- Stuffing
- Safety eyes
- Felt
The list is the pattern's own wording.
Instructions
Every round is printed as the pattern wrote it, brackets and all. Open the key beside a round to see only the short forms that round uses.
Head + Body
Note: Starting with the main colour,
- Round 1
8 sc in mr (8)
Key2
- mr
- magic ring
- sc
- single crochet
- Round 2
8 inc (16)
Key1
- inc
- increase
- Round 3
(1 sc, 1 inc) x8 (24)
Key2
- inc
- increase
- sc
- single crochet
- Round 4
(2 sc, 1 inc) x8 (32)
Key2
- inc
- increase
- sc
- single crochet
- Rounds 5–10
32 sc (32)
Key1
- sc
- single crochet
- Round 11
(2 sc, 1 dec) x8 (24)
Key2
- dec
- (invisible) decrease
- sc
- single crochet
- Round 12
(1 sc, 1 dec) x8 (16)
Key2
- dec
- (invisible) decrease
- sc
- single crochet
Note: Insert eyes between R8 & R9, 5 sts apart.
Note: You may start stuffing the head here!
- Round 13
in FLO, (1 sc, 1 inc) x8 (24)
Key3
- inc
- increase
- FLO
- front loop only
- sc
- single crochet
- Round 14
7 sc, 1 bbl, 8 sc, 1 bbl, 7 sc (24)
Key2
- bbl
- bobble stitch
- sc
- single crochet
- Round 15
24 sc (24)
Key1
- sc
- single crochet
- Round 16
9 sc, 1 bbl, 4 sc, 1 bbl, 9 sc (24)
Key2
- bbl
- bobble stitch
- sc
- single crochet
- Round 17
(2 sc, 1 dec) x6 (18)
Key2
- dec
- (invisible) decrease
- sc
- single crochet
Note: Start stuffing your bear fully.
- Round 18
9 dec (9)
Key1
- dec
- (invisible) decrease
Note: Fasten off and sew the hole closed.
Snout
Note: In the snout colour,
- Round 1
8 sc in mr (8)
Key2
- mr
- magic ring
- sc
- single crochet
Note: Sl st into the next st, then fasten off. (Leave a long tail for sewing)
Ears x 2
Note: In the main body colour,
- Round 1
6 sc in mr (6)
Key2
- mr
- magic ring
- sc
- single crochet
Note: Sl st into the next st, then fasten off. (Leave a long tail for sewing)
Stem
Note: Insert hook at the top of the bear, between R1 & R2.
Note: Pull a loop through with the stem coloured yarn.
- Round 1
ch 5
Key1
- ch
- chain
- Round 2
Starting at 2nd ch from the hook, sl st 2 and sc 2 down the ch (4)
Key3
- sl st
- slip stitch
- sc
- single crochet
- ch
- chain
Note: Sl st 1 onto the head. (Same way you first inserted the hook at the top to secure the stem down)
Note: Fasten off, then weave in the ends.
Making up
- Step 1Note: Sew the ears across R4 & R5
- Step 2Note: Sew the snout between the eyes
- Step 3Note: use felt in the colour of your choice to cut out an oval shape for the nose. Feel free to use any shape you like for the mouth!
- Step 4Note: Optional:
- Step 5Note: Add cheek blushes using felt, or sew them on with yarn
- Step 6Note: Add pumpkin leaves using green felt
- Step 7Note: Add a matching ribbon around its neck
- Step 8Note: And you are done!
Notes from the pattern
- Use a stitch marker every round. Working in continuous rounds means it is very easy to lose track of where your rounds begin and end, especially when using plush yarn.
- Keep your bobble stitches popping outward. When you make the arms and legs on Round 14 and Round 16, push the bobbles toward the right side of the fabric so they stay nice and prominent.
- Take time with eye placement. Placing the safety eyes on Rounds 8 and 9 gives the bear its sweet proportions. Double check the spacing before snapping the backings into place.
- Stuff the neck join firmly. Round 12 narrows to 16 stitches before expanding again for the body. Adding a little extra stuffing into the neck area prevents any wobbling later on.
- Pin your ears before sewing. Use sewing pins to secure the ears across Rounds 4 and 5 so they stay symmetrical while you stitch them down.
- Finished size and gauge are not specified in this pattern.
The essentials
- Rounds
- 17
- Parts
- 4
- Level
- Intermediate
- Time
- 4-6 hours
- Yarn
- Worsted
Stitches you will use
- Continuous spiral rounds Used throughout the head, body, ears and stem; place a stitch marker at the start of every round, since there is no joining slip stitch and plush yarn makes the round's start hard to spot.
- Bobble stitch Worked on the arms and legs at Rounds 14 and 16; push each bobble toward the right side of the fabric as it closes so the texture stays raised rather than sinking inward.
- Safety eye placement Eyes are inserted during Rounds 8 and 9, before the head is fully stuffed; check spacing from the snout on both sides before locking the backings, since they cannot be repositioned afterwards.
Troubleshooting
The bobbles on the arms and legs sit
This happens when the bobble is pushed to the wrong side as it closes; on Rounds 14 and 16, press each bobble toward the right side of the fabric as the stitch is finished.
The safety eyes end up uneven or too close together.
Eyes placed freehand during Rounds 8 and 9 can drift from a true horizontal line; measure the spacing from the centre and from the snout on both sides before snapping the backings into place.
The head leans or wobbles on the neck
This points to light stuffing at the Round 12 neck narrowing; unpick a few stitches if needed and pack the neck firmly before continuing the body.
The stem feels loose or flops over once attached.
Anchor the final slip stitch securely into the stitches at the top of the head where the stem was inserted; working the stem with a slightly smaller hook also adds extra firmness.
Substituting yarn
- Cotton, DK (light worsted) weight
- Produces a firmer, less fuzzy fabric that shows the bobble texture more crisply, but the finished bear comes out smaller; drop to a hook roughly one size below the one used for a plush acrylic.
- Plush or chenille-style acrylic, worsted weight
- Gives the soft, rounded look typical of amigurumi bears but softens stitch definition, so the bobbles on the arms and legs need firmer stuffing and a deliberate push to the right side to stay visible.
- Wool-blend, aran weight
- Adds warmth and a looser drape, increasing the finished size; move up a hook size to keep the gauge tight enough to contain the stuffing, and note that wool needs gentler washing than acrylic.
Washing and care
- If the yarn used is acrylic or acrylic-blend, hand wash in cool water and reshape the ears and stem while damp, then dry flat away from direct heat so the stuffing doesn't shift.
- Store the finished bear stuffed and upright rather than squashed in a box, since pressure on the neck join or the bobble-textured arms and legs can flatten the shaping over time.
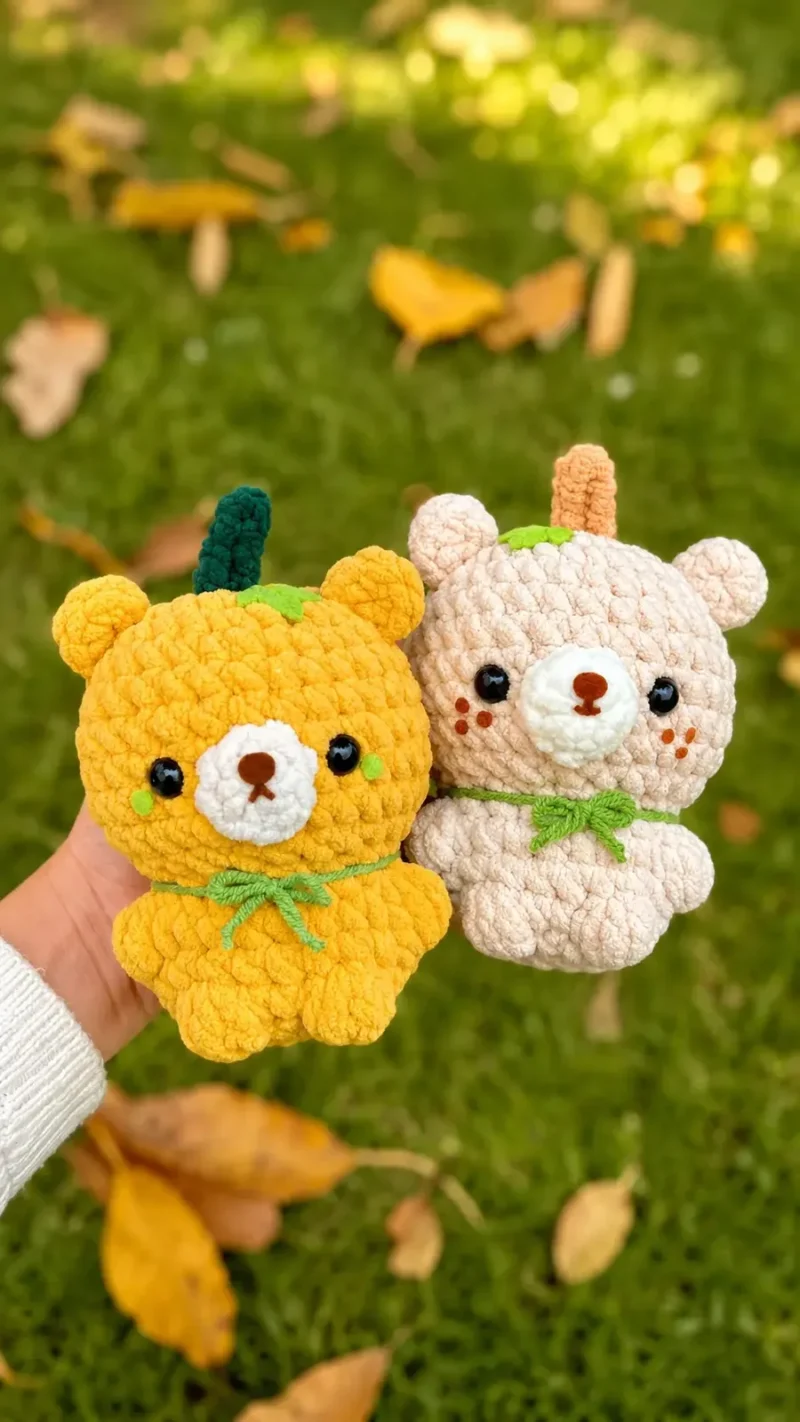
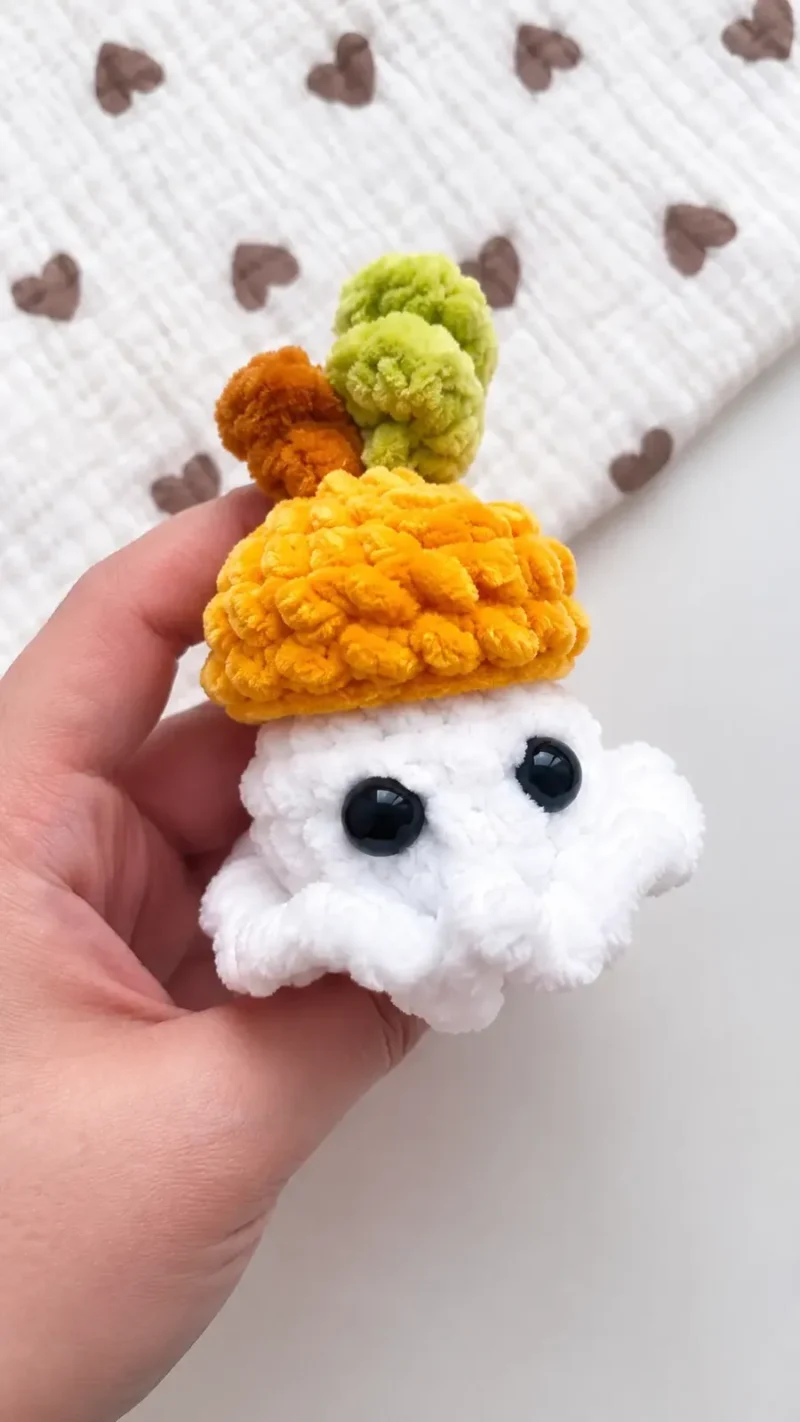
The photographs taken while this was being made
Every one was taken by whoever published the pattern, in the order the source listed them.
FAQs
Questions
What kind of yarn works best for this project?
Chunky velvet or plush chenille yarn creates a soft, squishy bear. However, standard worsted weight acrylic yarn works just as well if you prefer a smaller, firmer finished toy.
How do I make the invisible decrease for amigurumi?
To do an invisible decrease, insert your hook into the front loop only of the first stitch, then into the front loop only of the second stitch. Yarn over, pull through both front loops, yarn over, and pull through both loops on your hook.
Can I embroider the face instead of using felt?
Yes, you can easily use scrap dark brown or black yarn to stitch on an embroidered nose, mouth, and cute little eyes if you prefer not to use felt or plastic safety eyes.
Why is my stem flopping over?
If your stem feels loose, make sure to anchor your final slip stitch securely into the stitches at the top of the head. Working with a slightly smaller hook for the stem can also add extra firmness.
How do I attach the felt pieces securely?
You can use non-toxic fabric glue to attach small felt pieces like the nose or cheeks. If you prefer not to use glue, a few quick whip stitches with matching thread around the edges will keep them in place.
These answers came from whoever first published the pattern, kept word for word.