 EVERY CROCHET
 Amigurumi 27 rounds No account, no download
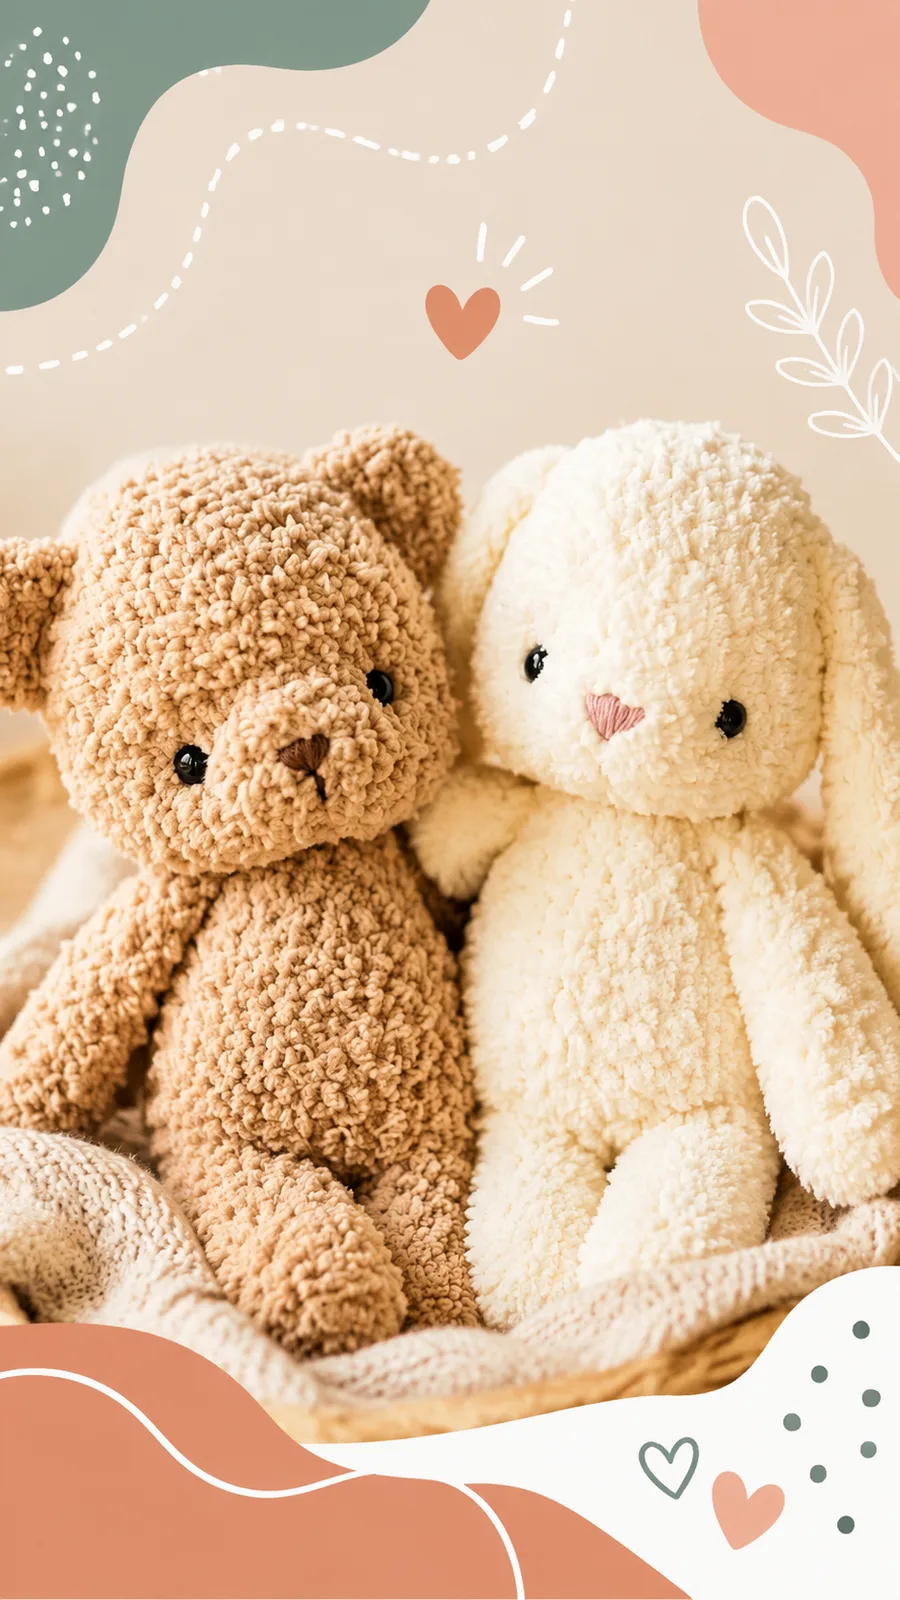
Soft chenille teddy bear amigurumi crochet pattern
Worked in single crochet (UK double crochet); US and UK terms given throughout this plush chenille teddy bear pattern.
- Skill
- Confident Beginner
- Time
- 3-5 hours
- Yarn weight
- Super Bulky
- Hook
- 5.0 mm

Confident Beginner
What the original write-up called it. Nothing here is graded again.

Super Bulky
What the sample was worked in. Any weight works; the size moves with it.

3-5 hours
What the original page reckoned. Your own pace is the one that matters.
About this pattern
This is a plush amigurumi teddy bear made from super bulky chenille yarn, worked in single crochet (UK double crochet) in continuous rounds with a 5.0 mm hook. The head and body are shaped with increases and decreases and built seamlessly from the centre, while the arms, legs and ears are worked separately, stuffed or flattened, and sewn on. It suits a confident beginner comfortable with basic amigurumi shaping and assembly.
This teddy bear is worked almost entirely in single crochet (UK double crochet), the firm, close stitch that gives amigurumi its structure and lets stuffing hold its shape without showing through. The dense fabric suits the plush chenille yarn specified for the main colour, which adds a fuzzy, fleece-like surface once the pieces are worked up. An invisible decrease is used at key shaping points to keep the rounded head and body looking smooth rather than ridged.
The head and body are built from the centre outward in continuous rounds, so there is no seam running through either piece once stuffed. The arms, legs and ears are made as separate pieces, also worked in continuous rounds, and are stuffed or flattened as appropriate before being sewn onto the body during assembly. This separate-piece method is what allows the floppy ears and short limbs to keep their own distinct shape.
Materials
- Super bulky plush chenille yarn in main bear color, approximately 220 yards (201 meters)
- Small amount of contrasting yarn for muzzle embroidery
- 5.0 mm US H-8 crochet hook
- Polyester fiberfill stuffing
- Yarn needle
- Stitch marker
- Embroidery thread for facial details
The list is the pattern's own wording.
Instructions
Every round is printed as the pattern wrote it, brackets and all. Open the key beside a round to see only the short forms that round uses.
Project Name: Soft Fleece Style Crochet Teddy Bear
Description: This original amigurumi teddy bear pattern creates a rounded plush toy with a large head, small muzzle, floppy ears, and cuddly proportions. The pattern is inspired by soft fleece teddy designs and uses beginner-friendly crochet shaping.
Skill Level Confident beginner Finished Size Approximately 10 inches (25 cm) tall Yarn Super bulky plush chenille yarn, approximately 220 yards (201 meters)
Hook 5.0 mm US H-8 crochet hook Gauge Approximately 14 single crochet stitches x 15 rounds per 4 inches (10 cm)
Terminology US crochet terms
Special Stitch Information
Invisible decrease: Insert hook through the front loops only of the next two stitches, yarn over, pull through both loops, yarn over, and complete as a single crochet decrease. This creates a smoother amigurumi surface.
Head
Work in continuous rounds. Place a stitch marker at the beginning of each round.
- Round 1
MR, 6 sc. (6)
Key2
- MR
- magic ring
- sc
- single crochet
- Round 2
Inc around. (12)
Key1
- inc
- increase, work 2 sc into one stitch
- Round 3
(Sc, inc) repeat 6 times. (18)
Key2
- inc
- increase, work 2 sc into one stitch
- sc
- single crochet
- Round 4
(2 sc, inc) repeat 6 times. (24)
Key2
- inc
- increase, work 2 sc into one stitch
- sc
- single crochet
- Round 5
(3 sc, inc) repeat 6 times. (30)
Key2
- inc
- increase, work 2 sc into one stitch
- sc
- single crochet
- Rounds 6–10
Sc around. (30)
Key1
- sc
- single crochet
- Round 11
(3 sc, dec) repeat 6 times. (24)
Key2
- dec
- decrease, crochet two stitches together
- sc
- single crochet
- Round 12
(2 sc, dec) repeat 6 times. (18)
Key2
- dec
- decrease, crochet two stitches together
- sc
- single crochet
- Round 13
(Sc, dec) repeat 6 times. (12)
Key2
- dec
- decrease, crochet two stitches together
- sc
- single crochet
- Round 14
Dec around. (6)Stuff firmly before closing. FO and weave in the end.
Key2
- dec
- decrease, crochet two stitches together
- FO
- fasten off
Body
- Round 1
MR, 6 sc. (6)
Key2
- MR
- magic ring
- sc
- single crochet
- Round 2
Inc around. (12)
Key1
- inc
- increase, work 2 sc into one stitch
- Round 3
(Sc, inc) repeat 6 times. (18)
Key2
- inc
- increase, work 2 sc into one stitch
- sc
- single crochet
- Round 4
(2 sc, inc) repeat 6 times. (24)
Key2
- inc
- increase, work 2 sc into one stitch
- sc
- single crochet
- Rounds 5–10
Sc around. (24)
Key1
- sc
- single crochet
- Round 11
(2 sc, dec) repeat 6 times. (18)
Key2
- dec
- decrease, crochet two stitches together
- sc
- single crochet
- Rounds 12–13
Sc around. (18)
Key1
- sc
- single crochet
- Round 14
(Sc, dec) repeat 6 times. (12)
Key2
- dec
- decrease, crochet two stitches together
- sc
- single crochet
- Round 15
Dec around. (6)Add stuffing gradually while shaping. FO and close opening.
Key2
- dec
- decrease, crochet two stitches together
- FO
- fasten off
Arms (Make 2)
- Round 1
MR, 6 sc. (6)
Key2
- MR
- magic ring
- sc
- single crochet
- Rounds 2–6
Sc around. (6)Lightly stuff the lower section. Flatten the opening and sew closed.
Key1
- sc
- single crochet
Legs (Make 2)
- Round 1
MR, 6 sc. (6)
Key2
- MR
- magic ring
- sc
- single crochet
- Round 2
Inc around. (12)
Key1
- inc
- increase, work 2 sc into one stitch
- Rounds 3–6
Sc around. (12)Stuff lightly and leave a long tail for sewing.
Key1
- sc
- single crochet
Ears (Make 2)
- Round 1
MR, 6 sc. (6)
Key2
- MR
- magic ring
- sc
- single crochet
- Round 2
Inc around. (12)
Key1
- inc
- increase, work 2 sc into one stitch
- Rounds 3–4
Sc around. (12)Do not stuff. Flatten each ear before attaching.
Key1
- sc
- single crochet
Making up
- Step 1Sew the head securely onto the top center of the body.
- Step 2Attach ears evenly on both sides of the head.
- Step 3Sew arms onto the upper sides of the body.
- Step 4Attach legs near the lower body area for a seated teddy shape.
- Step 5Embroider eyes, nose, and mouth details.
- Step 6Safety Reminder: Plastic safety eyes may not be suitable for babies or children under three years old. For baby-safe versions, use securely embroidered facial features instead.
- Step 7After assembly, gently shape the teddy bear by adjusting stuffing and smoothing the yarn fibers. Plush crochet toys usually do not require blocking, but light shaping with your hands helps create a balanced silhouette.
- Step 8For care, follow the yarn manufacturer’s cleaning recommendations. Most plush yarn toys benefit from gentle hand washing and air drying to maintain their soft texture.
Notes from the pattern
- Use the 5.0 mm hook specified, or go very slightly larger if the chenille yarn is making stitch openings hard to find; this does not change the plush appearance of the finished bear.
- Keep a stitch marker in place for every continuous round on the head, body, arms, legs and ears, since the lack of a visible seam makes it easy to lose the start of a round.
- Count stitches after every increase and decrease round rather than at the end of a piece, so any drift in the head or body shaping is caught early.
- The contrasting embroidery yarn is used only for the muzzle and facial details, not within the main rounds, so no colour change technique is needed mid-round.
- The suggested design uses a warm neutral color palette, but the bear can easily be personalized with traditional brown tones, creamy shades, pastel colors, or playful color combinations.
The essentials
- Rounds
- 27
- Parts
- 7
- Level
- Confident Beginner
- Time
- 3-5 hours
- Hook
- 5.0 mm
- Yarn
- Super Bulky
Stitches you will use
- Continuous round construction Used for the head, body, arms, legs and ears; a stitch marker is essential at the start of every round, since there is no slip stitch to mark the join.
- Invisible decrease Worked through the front loops only of two stitches; watch that both loops are picked up evenly or the surface will pucker where shaping is heaviest.
- Working with plush or chenille yarn The fuzzy fibres can hide the stitch openings on every round; good lighting and a slightly larger hook help locate each stitch without altering the finished texture.
Troubleshooting
The head or body looks lumpy once
Stuffing has likely been added in one large handful; remove some and refill with small amounts gradually, working it into the edges before adding more.
The finished head or body is noticeably
A stitch count has drifted during an increase or decrease round; check counts against the pattern after every shaping round rather than waiting until the piece is finished.
The next stitch is hard to locate partway through a round.
The plush fibres are obscuring the stitch loops; work under brighter light and consider a slightly larger hook, which makes the opening easier to find without changing the fuzzy surface.
Substituting yarn
- Worsted weight acrylic or wool-blend yarn
- Produces a smaller finished bear with crisper, more visible stitch definition; a smaller hook, closer to a standard worsted size, will be needed and the fuzzy surface will be lost.
- Bulky weight wool-blend yarn
- Gives a firmer, slightly less fuzzy fabric that holds its shape well with less stuffing; the finished size will sit a little smaller than the chenille version.
- DK weight cotton yarn
- Creates a noticeably smaller, crisper-textured bear with clearly visible stitches; a much smaller hook is required and stuffing will show through more if packed loosely.
Washing and care
- Hand wash gently in cool water and avoid wringing the plush chenille, since twisting flattens the pile; press out excess water in a towel instead.
- Air dry fully away from direct heat, then reshape the head, body and ears by hand, smoothing the fibres back into place rather than brushing them.
FAQs
Questions
Can this bear be made in a smooth yarn instead of chenille?
Yes, though the fleece-like surface will be lost and stitches will show clearly rather than being hidden. A smaller hook suited to the substitute yarn weight will also be needed, which changes the finished size.
How much yarn is needed for one bear?
The pattern uses approximately 220 yards (201 metres) of super bulky plush chenille yarn in the main colour, plus a small amount of contrasting yarn for the muzzle embroidery.
Why does the pattern use an invisible decrease instead of a standard one?
The invisible decrease works through the front loops only, which keeps the amigurumi surface smoother at shaping points. This matters more with plush yarn, where a regular decrease can create a visible ridge.
Why are the head and body worked in continuous rounds instead of joined rounds?
Continuous rounds avoid a seam running through the head and body, which keeps the stuffed shape even all the way around. A stitch marker takes the place of the usual slip-stitch join to track where each round begins.
Why are the arms, legs and ears worked separately rather than as part of the body?
Working these pieces on their own allows each to be stuffed, flattened, or left unstuffed as needed before assembly. It also makes it easier to position the floppy ears and limbs correctly once the body is complete.
These answers came from whoever first published the pattern, kept word for word.