 EVERY CROCHET
 Amigurumi 27 rounds No account, no download
Crochet a mini turtle amigurumi in two panels
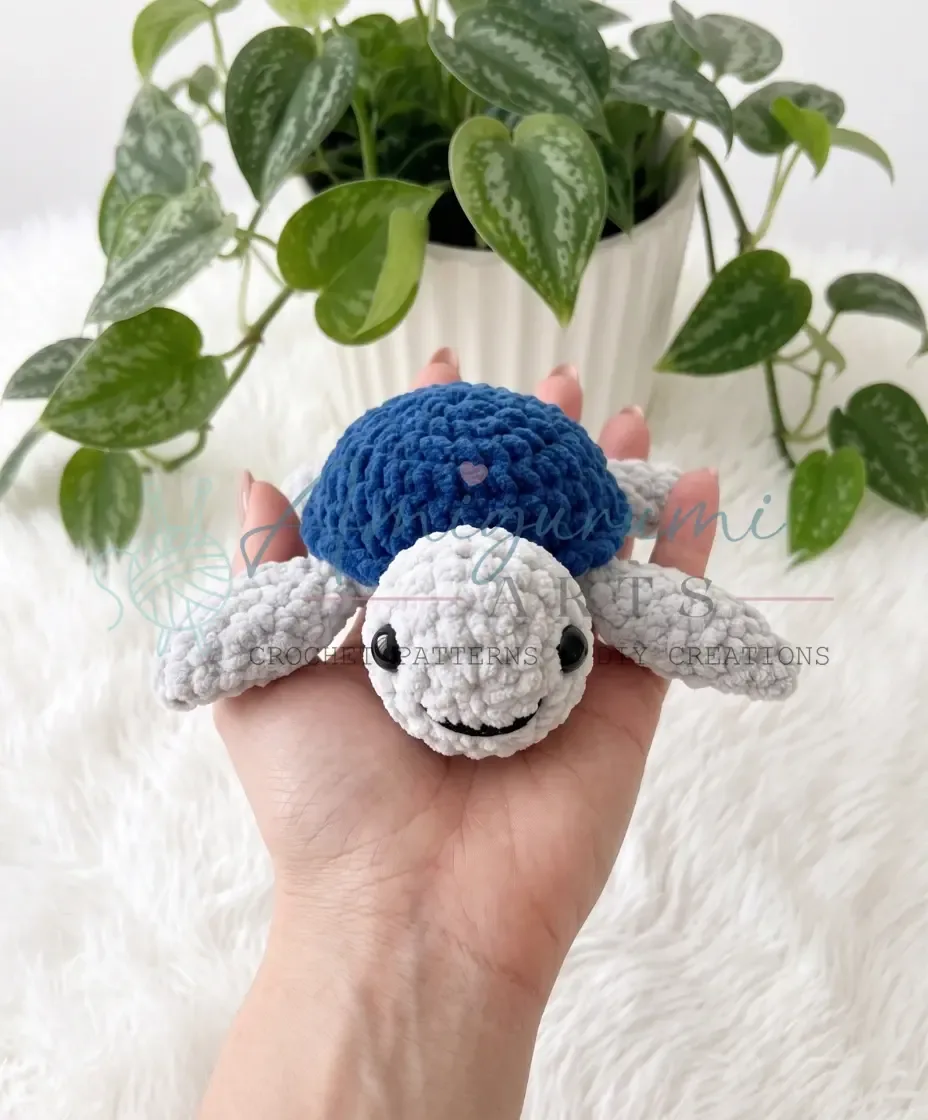
A 15 cm amigurumi turtle worked in single crochet (US terms; UK double crochet), built from a Head, four legs, and two panels joined in one
- Skill
- Intermediate
- Time
- 4-6 hours
- Yarn weight
- Chenille (plush weight)
- Hook
- 3.5 mm

Intermediate
What the original write-up called it. Nothing here is graded again.

Chenille (plush weight)
What the sample was worked in. Any weight works; the size moves with it.

4-6 hours
What the original page reckoned. Your own pace is the one that matters.
About this pattern
This is a 15 cm amigurumi turtle made from plush chenille-style yarn, worked in single crochet in continuous spiral rounds with an E-4 (3.5 mm) hook. The pattern covers a Head, two Front Legs, two Back Legs, a Chest and a Back Panel, finished with 10 mm safety eyes and polyester fiberfill. Assembly joins every piece in one continuous round rather than through separate seaming.
The Mini Little Turtle amigurumi is a small-scale figure worked entirely in single crochet (UK double crochet), the stitch family that gives amigurumi its dense, stuffable fabric. At roughly 15 cm, the finished turtle uses the same basic increase-and-single-crochet structure as most amigurumi animals, built up in short, tight rounds that leave almost no gap for the polyester fiberfill to peek through. Working in a plush chenille-style yarn adds extra bulk to each stitch, so the piece reads as soft and rounded even before any stuffing goes in.
Six separate pieces come together to build the turtle: the Head, two Front Legs, two Back Legs, a Chest (front panel) and a Back Panel. Rather than sewing each limb on afterward, the Head and all four legs are sandwiched between the Chest and the Back Panel, then the two panels are joined around their shared edge in one continuous round of single crochet that closes the whole figure at once. This sandwich method means placement of each limb has to be settled before that final joining round begins, since nothing is repositioned later.
Materials
Yarn
- YarnArt Dolce (chenille/plush weight) — 2 colors of your choice (Color A for main body, Color B for contrast, or both the same)
Hook size
- E-4 (3.5 mm) — recommended for plush yarn this weight
Safety eyes
- 10 mm, 1 pair
Stuffing
- Polyester fiberfill
- Stitch marker
- Yarn needle / tapestry needle
- Scissors
The list is the pattern's own wording.
Instructions
Every round is printed as the pattern wrote it, brackets and all. Open the key beside a round to see only the short forms that round uses.
Head
- Round 1
6 sc in MR. (6)
Key2
- MR
- Magic Ring
- sc
- Single Crochet
- Round 2
inc in each st around. (12)
Key1
- inc
- Increase (2 sc in same stitch)
- Round 3
sc, inc repeat 6 times. (18)
Key2
- inc
- Increase (2 sc in same stitch)
- sc
- Single Crochet
- Round 4
sc in each st around. (18)
Key1
- sc
- Single Crochet
- Round 5
sc in each st around. (18)
Key1
- sc
- Single Crochet
- Round 6
sc, dec repeat 6 times. (12)Before continuing: count 3 sc from your starting point and insert the first safety eye. Place the second safety eye 6 sts away from the first. Secure both backings firmly.
Key2
- dec
- Invisible Decrease (insert hook in front loop of next 2 sts, pull up loop, yarn over, pull through all 3 loops)
- sc
- Single Crochet
- Round 7
sc, dec repeat 3 times. (9)
Key2
- dec
- Invisible Decrease (insert hook in front loop of next 2 sts, pull up loop, yarn over, pull through all 3 loops)
- sc
- Single Crochet
- Round 8
sc in each st around. (9)Lightly stuff the Head now, shaping it into a round form. Fold the piece flat so the opening is pinched together, aligning the stitches on both sides. Single crochet through both layers to close the flat edge.
Key1
- sc
- Single Crochet
Front Legs — Make 2
- Round 1
6 sc in MR. (6)
Key2
- MR
- Magic Ring
- sc
- Single Crochet
- Round 2
inc in each st around. (12)
Key1
- inc
- Increase (2 sc in same stitch)
- Round 3
sc, inc repeat 6 times. (18)
Key2
- inc
- Increase (2 sc in same stitch)
- sc
- Single Crochet
- Round 4
2 sc, inc repeat 6 times. (24)Fold the piece flat. Single crochet through both layers to close. Do not stuff.
Key2
- inc
- Increase (2 sc in same stitch)
- sc
- Single Crochet
Back Legs — Make 2
- Round 1
6 sc in MR. (6)
Key2
- MR
- Magic Ring
- sc
- Single Crochet
- Round 2
inc in each st around. (12)
Key1
- inc
- Increase (2 sc in same stitch)
- Round 3
sc, inc repeat 6 times. (18)Fold the piece flat. Single crochet through both layers to close. Do not stuff.
Key2
- inc
- Increase (2 sc in same stitch)
- sc
- Single Crochet
Chest (Front Panel)
- Round 1
6 sc in MR. (6)
Key2
- MR
- Magic Ring
- sc
- Single Crochet
- Round 2
inc in each st around. (12)
Key1
- inc
- Increase (2 sc in same stitch)
- Round 3
sc, inc repeat 6 times. (18)
Key2
- inc
- Increase (2 sc in same stitch)
- sc
- Single Crochet
- Round 4
2 sc, inc repeat 6 times. (24)
Key2
- inc
- Increase (2 sc in same stitch)
- sc
- Single Crochet
- Round 5
3 sc, inc repeat 6 times. (30)Fasten off and weave in ends.
Key2
- inc
- Increase (2 sc in same stitch)
- sc
- Single Crochet
Back Panel
- Round 1
6 sc in MR. (6)
Key2
- MR
- Magic Ring
- sc
- Single Crochet
- Round 2
inc in each st around. (12)
Key1
- inc
- Increase (2 sc in same stitch)
- Round 3
sc, inc repeat 6 times. (18)
Key2
- inc
- Increase (2 sc in same stitch)
- sc
- Single Crochet
- Round 4
2 sc, inc repeat 6 times. (24)
Key2
- inc
- Increase (2 sc in same stitch)
- sc
- Single Crochet
- Round 5
3 sc, inc repeat 6 times. (30)
Key2
- inc
- Increase (2 sc in same stitch)
- sc
- Single Crochet
- Round 6
sc in each st around. (30)
Key1
- sc
- Single Crochet
- Round 7
sc in each st around. (30)Do not fasten off. You will continue working from this piece in the Assembly round.
Key1
- sc
- Single Crochet
Making up
- Step 1The entire figure is assembled in one continuous round of single crochet, worked through both the Back Panel and the Chest simultaneously, with each limb and the Head sandwiched between the two panels at the correct positions. Lay the Chest flat on top of the Back Panel with wrong sides facing each other, and have all four legs and the Head within reach.
- Step 2Hold the Back Panel with the working yarn attached. Place the Chest (wrong side facing up) on top, aligning the edges evenly.
- Step 3sc through both panels 3 times to begin joining the edges.
- Step 4Insert one Back Leg between the two panels at this position. sc through all three layers (back panel, leg, chest) 2 times .
- Step 5sc through both panels 4 times .
- Step 6Insert one Front Leg between the two panels. sc through all three layers 2 times .
- Step 7sc through both panels 1 time .
- Step 8Insert the Head between the two panels. sc through all three layers 4 times .
- Step 9sc through both panels 1 time .
- Step 10Insert the second Front Leg between the two panels. sc through all three layers 2 times .
- Step 11sc through both panels 4 times .
- Step 12Insert the second Back Leg between the two panels. sc through all three layers 2 times .
- Step 13Before closing completely , add fiberfill through the remaining opening, shaping the body into a rounded, even form.
- Step 14sc through both panels 2 times to finish closing the edge. Fasten off and weave in ends.
- Step 15Tail: Find the center point between the two Back Legs on the back of the body. Insert your hook from front to back at that point, chain 3, and fasten off securely.
- Step 16Mouth: Using a yarn needle and a short length of yarn, embroider a small curved mouth onto the face below the safety eyes.
Notes from the pattern
- The E-4 (3.5 mm) hook is sized for the chenille/plush weight yarn specifically; swapping to a different yarn weight will likely need a different hook size.
- Since every piece is worked in continuous spiral with no joining round, a stitch marker is the only reliable way to track where each round begins — move it up after every round.
- Keep tension tight and even on the plush chenille yarn; gauge itself is not critical for fit, but looser stitches let the polyester fiberfill show through the fabric.
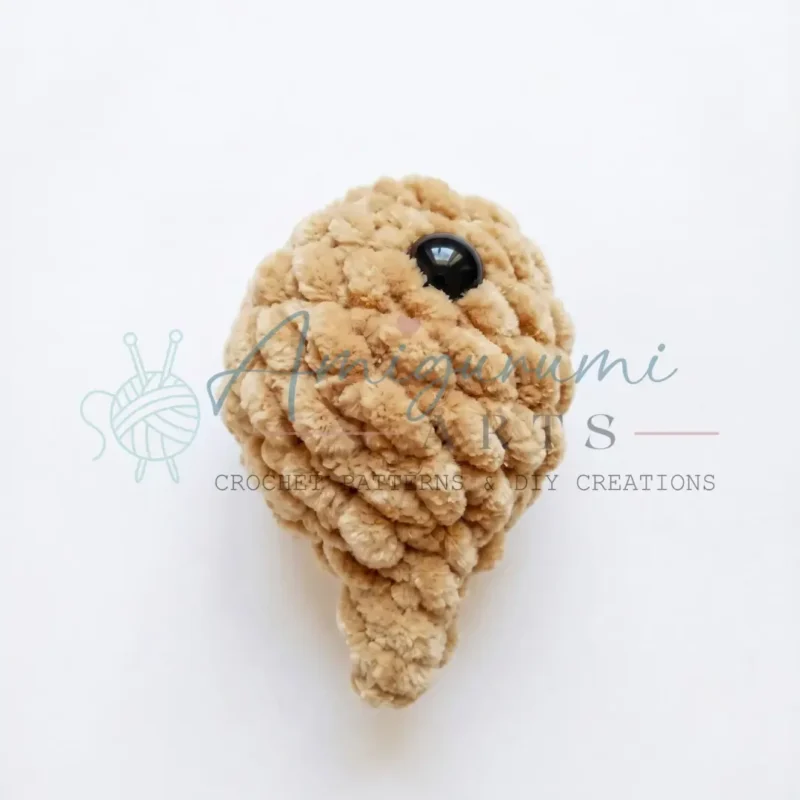
- The Head is folded flat and closed with a single crochet seam through both layers without any stuffing, unlike the other pieces — check which parts get fiberfill before closing them.
- This pattern is written in US crochet terminology throughout.
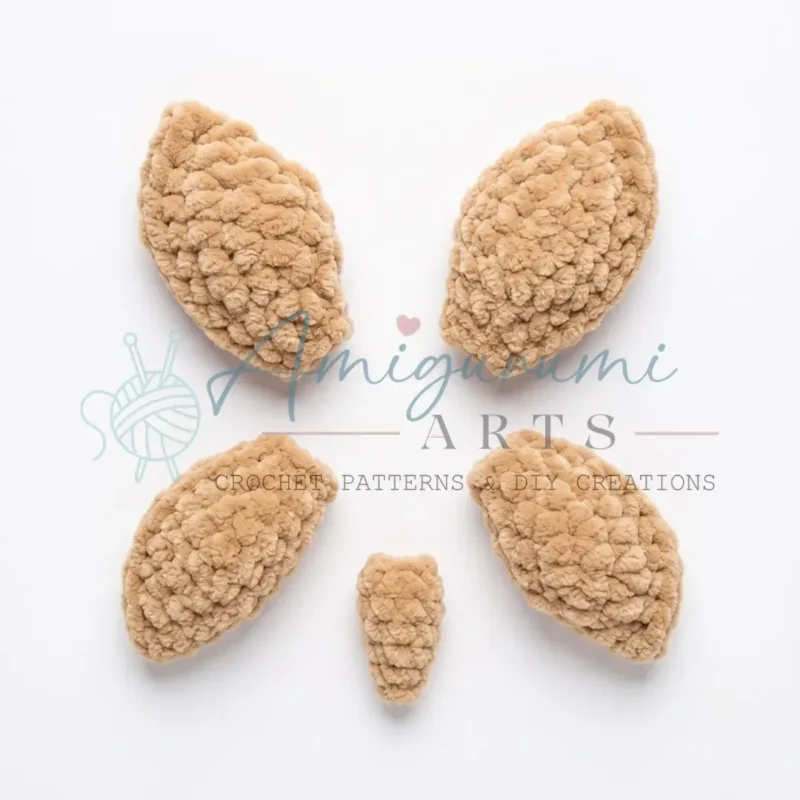
- Both Front Legs and both Back Legs are also folded flat and closed with a single crochet seam — do not stuff the legs.
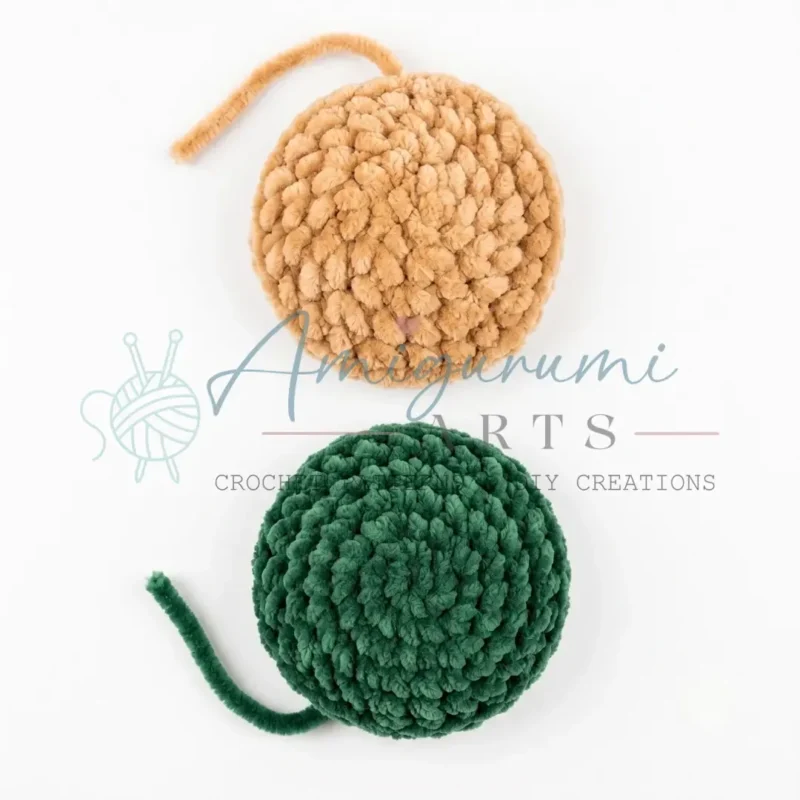
- The Chest (front) and Back Panel are flat circles and are not stuffed individually; the body is filled with fiberfill during the Assembly round instead.
- Safety eyes are inserted into the Head before it is closed; read the full Head section before you begin crocheting it, since the eyes cannot be added safely once stuffing and closing are done.
The essentials
- Rounds
- 27
- Parts
- 5
- Level
- Intermediate
- Time
- 4-6 hours
- Hook
- 3.5 mm
- Yarn
- Chenille (plush weight)
Stitches you will use
- Continuous spiral rounds Used throughout every piece — Head, legs, Chest and Back Panel; a stitch marker is essential since there is no joining round to mark the start.
- Magic ring (MR) start Every piece opens with 6 sc in MR; pull the tail firmly closed afterward so no hole remains at the centre of the round.
- Simultaneous single crochet joining Used in the final assembly to join Chest and Back Panel while catching the Head and all four legs in the same stitches; keep limbs positioned exactly before the hook passes through both layers.
Troubleshooting
The Head's folded seam puckers or does not lie flat.
This usually comes from closing the fold too tightly or not matching stitches exactly across both layers; redo the closure stitch-for-stitch along the fold, keeping tension even and consistent.
The Chest and Back Panel do not line up
This happens when the edges aren't matched before the joining round begins; lay the Chest wrong-side up on the Back Panel, align both edges evenly, and recheck placement before working the single crochet that joins them.
Fiberfill shows through the stitches
This is caused by tension that's too loose for the plush chenille yarn, which is already looser in structure than smooth worsted; tighten stitches throughout and stuff in smaller amounts, checking against the light before closing.
Substituting yarn
- Smooth acrylic, worsted weight
- Swapping from plush chenille to a standard smooth worsted sharpens stitch definition and firms up the drape; the hook may need to go slightly smaller than 3.5 mm since smooth worsted is thinner than chenille of the same nominal weight.
- Cotton, DK or light worsted weight
- Produces a firmer, less squashy turtle with crisp, visible increases; less fiberfill is needed since cotton holds its own shape, and a hook smaller than E-4 is likely needed to keep stitches tight.
- Bulky-weight chenille or velvet-style yarn
- Keeps the plush look but produces a noticeably larger turtle than 15 cm; a hook larger than E-4 (3.5 mm) is needed, and slightly more fiberfill is needed to fill the bigger cavity.
Washing and care
- Hand wash the finished turtle in cool water with a gentle detergent, and avoid wringing the chenille-style fibre, which crushes the plush pile; press out excess water in a towel instead.
- Lay the piece flat to dry away from direct heat, reshaping the Head and legs by hand while still damp, then store away from direct sunlight to stop the plush fibre flattening or discolouring over time.
The photographs taken while this was being made
Every one was taken by whoever published the pattern, in the order the source listed them.
FAQs
Questions
What size does the finished turtle end up?
The pattern is designed to produce an amigurumi turtle of about 15 cm, based on the chenille/plush weight yarn and E-4 (3.5 mm) hook named in the materials list. Changing either the yarn or hook will change this finished size.
Can the Chest and Back Panel be made in the same colour?
Yes; the materials list allows Colour A and Colour B to be the same colour, so a single-tone turtle is just as valid as a two-tone one. The choice is entirely a matter of preference.
Why is the pattern worked in continuous spiral rounds instead of joined rounds?
Continuous spiral rounds avoid the visible seam and colour jog that a joined round creates, which matters on a piece this small. A stitch marker is the only way to track where each round begins, since there is no join to mark it.
Is every piece stuffed with fiberfill?
No; the Head is folded flat and closed with a single crochet seam through both layers without any stuffing. The other pieces are stuffed as part of the construction before assembly.
What are the 10 mm pieces listed in the materials for?
They are the pair of safety eyes attached to the Head. Working with plush chenille yarn, keep tension tight around the eye placement area so the posts sit securely in the fabric.
These answers came from whoever first published the pattern, kept word for word.