 EVERY CROCHET
Accessories 8 rounds No account, no download
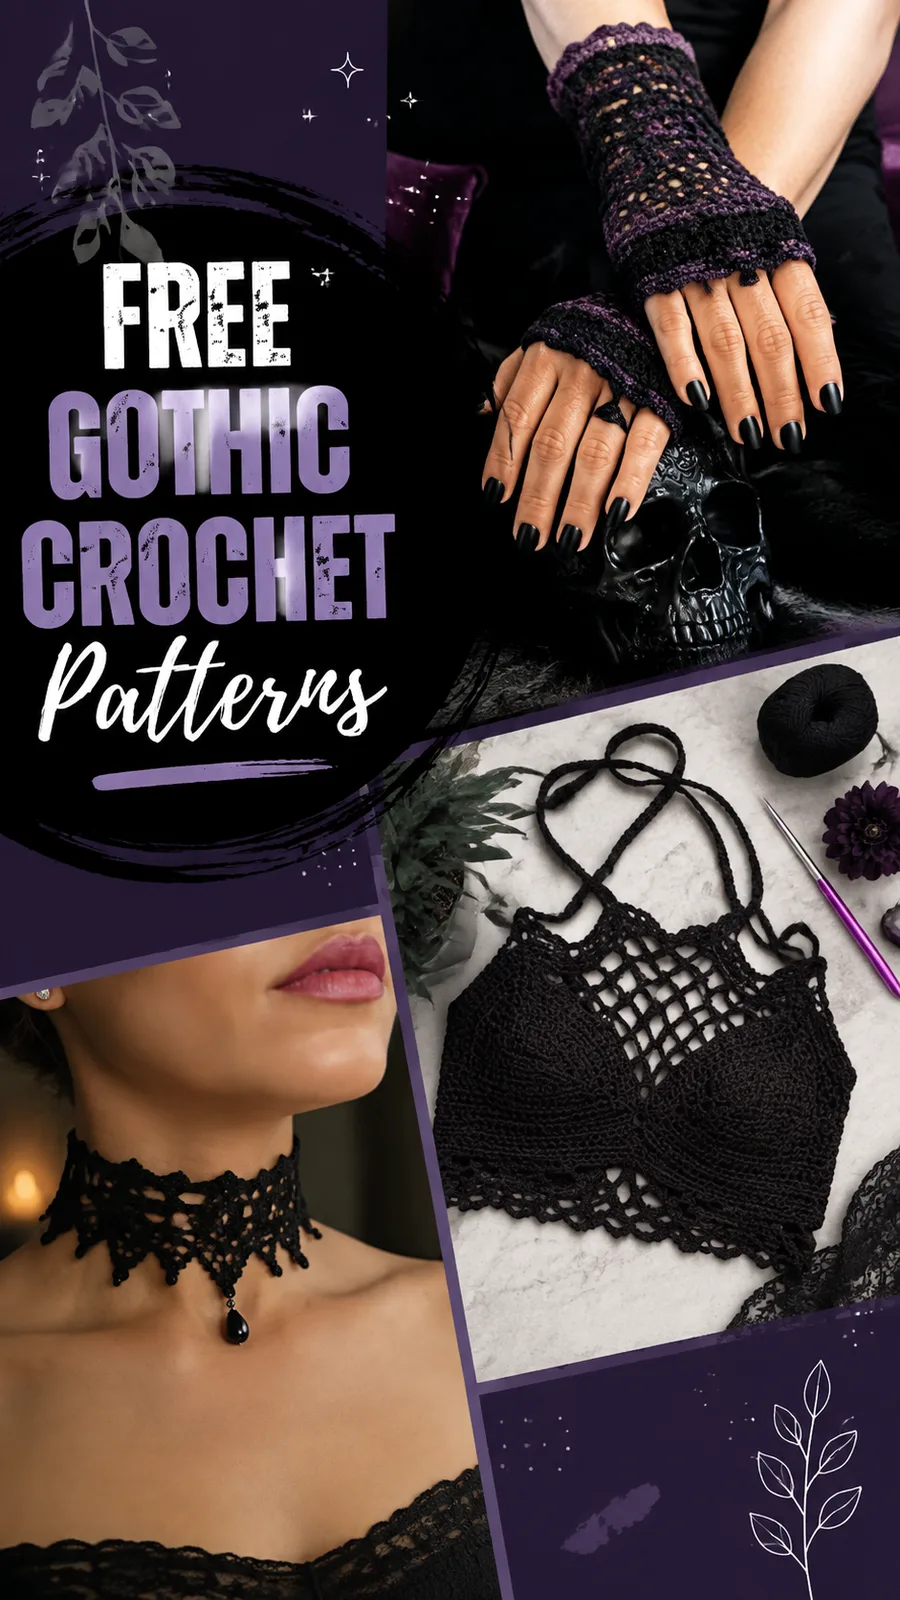
Gothic lace choker pattern with adjustable ties
Lightweight lace choker crochet pattern with a shell-stitch border and adjustable tie straps, written in US crochet terms.
- Skill
- Confident Beginner
- Time
- 4-6 hours
- Yarn weight
- Lightweight (DK/Sport)
- Hook
- 3.0 mm

Confident Beginner
What the original write-up called it. Nothing here is graded again.

Lightweight (DK/Sport)
What the sample was worked in. Any weight works; the size moves with it.

4-6 hours
What the original page reckoned. Your own pace is the one that matters.
About this pattern
This is a gothic-styled choker worked flat in single crochet and double crochet rows, with a lace panel, a shell-stitch border, and two chained ties for an adjustable fit. It uses roughly 80 yards of lightweight cotton yarn and a 3.0 mm hook, finishes at approximately 12 to 14 inches circumference before tying, and suits a confident beginner comfortable with basic stitches, chain spaces, and consistent tension.
This piece is a lace choker built from single crochet stitches, worked in US crochet terms throughout. Single crochet gives the main band its dense, even fabric, while open chain spaces create the lace panels that sit between solid sections, giving the band its structured-yet-airy look. A shell-stitch border along the lower edge adds the scalloped, cobweb-like finish associated with gothic and grunge styling.
The band is worked flat in rows rather than joined in the round, which keeps the piece easy to lay flat for shaping and blocking. A foundation chain of 65 stitches sets the width, and the first rows build a plain base before the lace row opens three-chain spaces across the fabric. Once the main section is complete, the decorative border is worked separately along the bottom edge, and two chained tie straps are attached at the top corners so the circumference can be adjusted after the band is finished.
Materials
- 80 yards (73 meters) lightweight cotton yarn
- 3.0 mm crochet hook (US C/2)
- Yarn needle for weaving ends
- Scissors
- Stitch markers (optional)
The list is the pattern's own wording.
Instructions
Every round is printed as the pattern wrote it, brackets and all. Open the key beside a round to see only the short forms that round uses.
Main Choker Band
Foundation Row: Ch 65.
- Row 1
Sc in 2nd ch from hook and each ch across. Turn. (64 sc)
Key2
- ch
- chain
- sc
- single crochet
- Row 2
Ch 1, sc in each stitch across. Turn. (64 sc)
Key2
- ch
- chain
- sc
- single crochet
- Row 3
Ch 1, sc in first 8 sts, ch 3, sk 3 sts, sc in next 8 sts, ch 3, sk 3 sts, sc in next 8 sts, ch 3, sk 3 sts, sc across remaining stitches. Turn. (64 sts including chain spaces)
Key3
- ch
- chain
- sc
- single crochet
- sk
- skip
- Row 4
Ch 1, sc in each sc stitch and work 3 sc into each ch-3 space across. Turn. (64 sts)
Key2
- ch
- chain
- sc
- single crochet
- Rows 5–10
Ch 1, sc in each stitch across. Turn. (64 sc) The band should measure approximately 2 inches (5 cm) tall. Add additional rows if a wider choker is preferred.
Key2
- ch
- chain
- sc
- single crochet
Decorative Lace Border
Attach yarn to the bottom edge of the band.
- Border Row
Ch 1, sc in first stitch, sk 2 sts, 5 dc in next stitch, sk 2 sts, sc in next stitch. Repeat this sequence across. Sl st to finish. Fasten off.
Key6
- sl st
- slip stitch
- ch
- chain
- sc
- single crochet
- dc
- double crochet
- sk
- skip
- st
- stitch
You should have approximately 10 to 11 shell sections depending on your tension.
Tie Straps
Attach yarn to one top corner.
- Strap 1
Ch 35. Sl st back along the chain. Fasten off.
Key3
- sl st
- slip stitch
- ch
- chain
- st
- stitch
- Strap 2
Repeat on the opposite corner for Strap 2.
For longer ties, increase the chain length by adding 5 chains at a time until the desired length is reached.
Making up
- Step 1Weave in all loose yarn ends using a yarn needle.
- Step 2Lightly block the choker to open the lace spaces.
- Step 3Shape the scalloped edge while damp and allow it to dry completely.
- Step 4Tie the straps securely around the neck when wearing.
- Step 5Blocking is especially helpful for crochet lace accessories because it defines the open spaces and smooths the fabric. Pin the choker gently into shape on a towel or blocking surface and allow it to dry naturally.
- Step 6For care, hand washing with mild soap is recommended for lightweight cotton crochet pieces. Avoid harsh stretching when wet and store the accessory flat to maintain the shape.
Notes from the pattern
- Use a 3.0 mm hook (US C/2) as a starting point; swapping hook size changes how open the lace panel and shell border sit against the neck.
- Stitch markers are optional but useful for flagging the start and end of each shell repeat in the border row, since miscounting skipped stitches is easy on a long, narrow piece.
- Tension matters more on a choker than on a larger accessory, since even a slightly tight or loose gauge changes the finished band from a comfortable fit to one that is too snug or too slack.
- The turning chain is never counted as a stitch in this pattern, so the work must be turned after every row to keep the 64-stitch count accurate across rows.
- Approx. 12 to 14 inches (30.5 to 35.5 cm) circumference, adjustable with ties.
- Approx. 22 single crochet stitches x 24 rows = 4 x 4 inches (10 x 10 cm). Check gauge on a small swatch before starting to confirm the hook is giving the expected stitch definition.
- This pattern is written in US crochet terms throughout.
The essentials
- Rounds
- 8
- Parts
- 3
- Level
- Confident Beginner
- Time
- 4-6 hours
- Hook
- 3.0 mm
- Yarn
- Lightweight (DK/Sport)
Stitches you will use
- Reading chain-space lace rows Row 3 of the main band skips three stitches at a time to open the lace; miscounting the skip throws off the whole row, so count stitches before and after each gap.
- Working shell-stitch clusters The border row places five double crochet into a single stitch between skipped pairs; keeping the skip count even along the bottom edge keeps the roughly 10 to 11 shells matched in size.
- Attaching and lengthening chain ties Each tie is a slip-stitched chain anchored at a top corner; chain tension needs to stay relaxed so the strap lies flat rather than curling, and extra length is added in multiples of five chains.
Troubleshooting
The lace panel puckers or pulls the
This usually means the three skipped stitches in Row 3 were not matched exactly on each repeat; recount the eight-stitch sections and three-chain gaps before continuing, and block the finished piece to help the spaces settle open.
The shell border looks uneven
Uneven shells come from skipping more or fewer than two stitches between repeats; count stitches along the bottom edge before starting the border row so the shells land evenly across the width.
The finished choker feels noticeably
This points to a gauge difference rather than a pattern error; check tension against the stated hook and yarn, and adjust hook size slightly up or down rather than changing the 65-chain foundation. Adding longer tie straps or increasing the starting chain can also improve the fit.
The band edges curl instead of lying flat.
Try blocking the piece flat, or add one extra row of single crochet before starting the decorative edging to help the band hold its shape.
Substituting yarn
- Mercerised cotton, lightweight/DK
- Gives a crisper sheen and holds the shell border firmly open; the same 3.0 mm hook generally still works well.
- Cotton-linen blend, fingering weight
- Produces a lighter, slightly stiffer drape with crisp lace edges; a smaller hook, closer to 2.5 mm, may be needed to keep stitches dense enough to hold shape.
- Bamboo or rayon blend, lightweight
- Adds a silkier drape and softer feel against the neck, but the fibre is more slippery to work with, so stitch markers become more useful for tracking the skip-stitch repeats.
Washing and care
- Hand wash the finished choker in cool water with a mild soap, since lightweight cotton holds its shape better without machine agitation or hot water.
- Reshape and dry flat on a towel, pinning gently to keep the lace panel and shell border open; store flat rather than hanging to avoid stretching the cotton fibres out of shape.
FAQs
Questions
Can the choker be made longer or shorter?
The foundation chain and row counts set the band length, so length changes are best made through the tie straps rather than the body. Adding chains to the ties in groups of five, as the pattern suggests, is the simplest way to adjust overall fit.
What hook size does this pattern need?
A 3.0 mm hook (US C/2) is recommended for the lightweight cotton yarn used throughout. Checking gauge on a small swatch before starting helps confirm the hook is giving the expected stitch definition.
How much yarn is needed to complete the project?
Around 80 yards (73 metres) of lightweight cotton yarn covers the main band, border, and standard-length ties. Extending the ties beyond the suggested chain length will use a little more yarn.
Does the choker have to be black?
Black gives the classic gothic look, but the same pattern works in deep purple, burgundy, charcoal, forest green, or cream for a different mood. The stitch structure and shell border stay identical regardless of shade.
Why is blocking recommended for this piece?
Blocking opens up the chain-space lace panel and smooths the scalloped shell border so both read clearly once worn. Pinning the piece gently while damp and letting it dry flat gives the most even result.
These answers came from whoever first published the pattern, kept word for word.