 EVERY CROCHET
 Accessories 15 rounds No account, no download
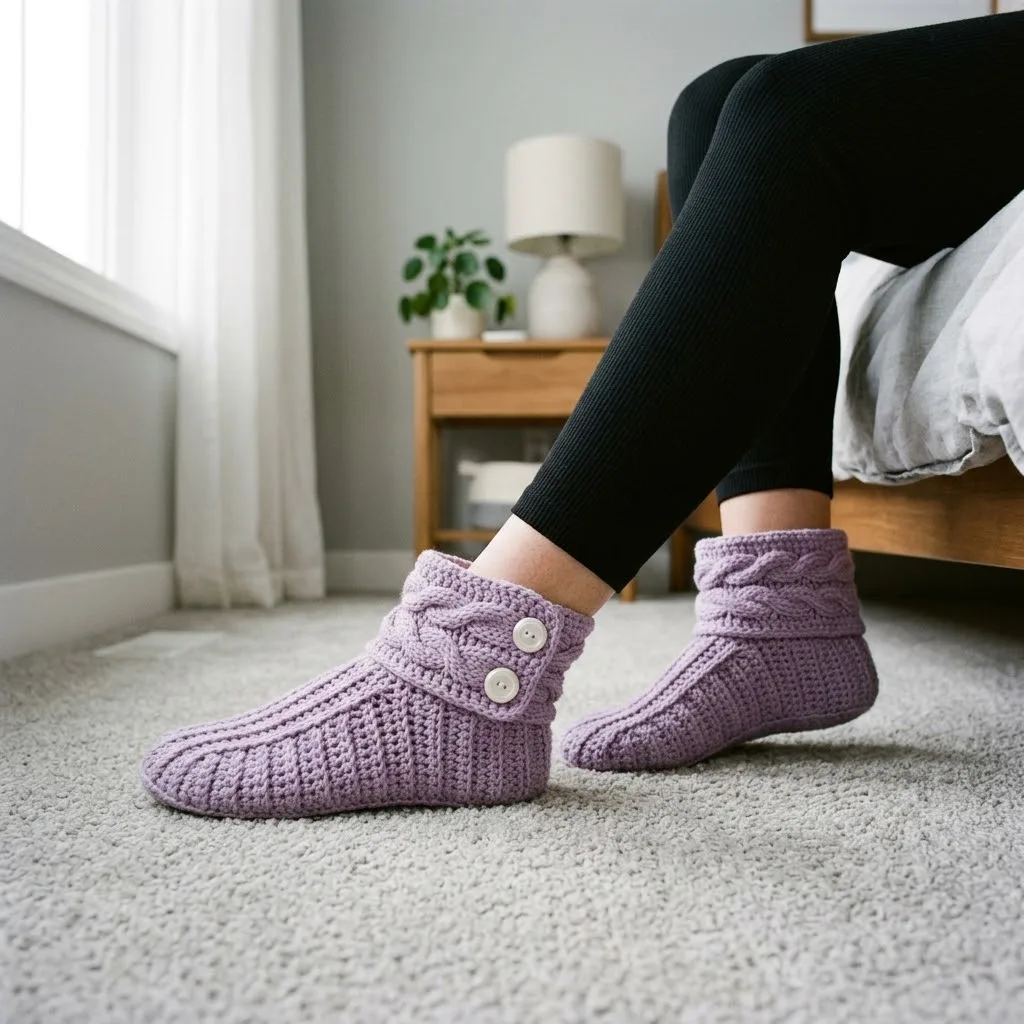
Cosy lavender crochet slipper boots with cable cuff
Crochet slipper boots in single crochet (UK double crochet), with a cabled double crochet cuff. US and UK terms given.
- Skill
- Intermediate
- Time
- 4-6 hours
- Yarn weight
- Worsted
- Hook
- 5.0 mm

Intermediate
What the original write-up called it. Nothing here is graded again.

Worsted
What the sample was worked in. Any weight works; the size moves with it.

4-6 hours
What the original page reckoned. Your own pace is the one that matters.
About this pattern
Soft Lavender Dream Slipper Boots are worked-flat ankle boots combining a shaped single crochet sole and foot section with a separately made cable cuff in double crochet. The pattern calls for worsted weight yarn, a 5.0mm hook (5.5mm if tension runs tight on the cuff), gauge of 14 stitches and 16 rows to 4 inches, and four decorative buttons. It is rated intermediate because of the post-stitch cable crosses.
These slipper boots build from the single crochet stitch family (UK: double crochet), worked first as a flat, shaped sole before continuing in rounds for the foot. The sample uses a dusty lavender worsted weight yarn and a 5.0mm hook, with gauge set at 14 stitches and 16 rows per 4 inches in single crochet. A separate cable-patterned cuff, worked in US double crochet (UK treble crochet), finishes the boot at the ankle.
Construction starts with a shaped foundation of nine single crochet rows that increase at each end to form the sole, then continues in joined rounds: the first round works in the back loop only to create a ridge at the base of the foot, followed by plain single crochet rounds to build the upper. The cable cuff is worked separately as a flat panel using front post and back post double crochet crosses, then folded over the ankle and secured with four buttons once both pieces are joined.
Materials
Yarn
- Approximately 200-250 yards of worsted weight yarn (weight category 4)
- The sample shown uses a beautiful dusty lavender shade
Hook
- 5.0mm (US H/8) crochet hook for main construction
- 5.5mm (US I/9) hook for the cable cuff if you crochet tightly
Notions
- 4 decorative buttons (approximately 3/4 inch diameter)
- Yarn needle for weaving ends and seaming
- Stitch markers
- Scissors
Gauge
- 14 stitches and 16 rows = 4 inches in single crochet
- *Always check your gauge! This pattern fits best when gauge is accurate.*
- Skill Level
- Intermediate
- Finished Measurements
- I’ll include notes throughout for adjusting the size up or down.
- Stitch Abbreviations and Definitions
- Let me break down every stitch you’ll need for this crochet tutorial.
The list is the pattern's own wording.
Instructions
Every round is printed as the pattern wrote it, brackets and all. Open the key beside a round to see only the short forms that round uses.
Foundation
- Round 1
Sc in 2nd ch from hook and in each ch across. (5 sc)
Key2
- ch
- chain
- sc
- single crochet
- Round 2
Ch 1, turn. 2 sc in first st, sc in each st across to last st, 2 sc in last st. (7 sc)
Key3
- ch
- chain
- st
- stitch
- sc
- single crochet
- Round 3
Ch 1, turn. 2 sc in first st, sc in each st across to last st, 2 sc in last st. (9 sc)
Key3
- ch
- chain
- st
- stitch
- sc
- single crochet
- Rounds 4–6
Ch 1, turn. Sc in each st across. (9 sc)
Key3
- ch
- chain
- st
- stitch
- sc
- single crochet
- Round 7
Ch 1, turn. 2 sc in first st, sc in each st across to last st, 2 sc in last st. (11 sc)
Key3
- ch
- chain
- st
- stitch
- sc
- single crochet
- Rounds 8–24
Ch 1, turn. Sc in each st across. (11 sc) *At this point, your sole should measure approximately 6.5 inches. For a larger size, add 2-4 more rows here.*
Key3
- ch
- chain
- st
- stitch
- sc
- single crochet
- Round 25
Ch 1, turn. Sc2tog, sc in each st across to last 2 sts, sc2tog. (9 sc)
Key5
- sc2tog
- single crochet 2 stitches together (decrease)
- sts
- stitches
- ch
- chain
- st
- stitch
- sc
- single crochet
- Round 26
Ch 1, turn. Sc2tog, sc in each st across to last 2 sts, sc2tog. (7 sc)
Key5
- sc2tog
- single crochet 2 stitches together (decrease)
- sts
- stitches
- ch
- chain
- st
- stitch
- sc
- single crochet
- Round 27
Ch 1, turn. Sc2tog, sc in each st across to last 2 sts, sc2tog. (5 sc) Do not fasten off. We’re going to build directly up from the sole.
Key5
- sc2tog
- single crochet 2 stitches together (decrease)
- sts
- stitches
- ch
- chain
- st
- stitch
- sc
- single crochet
Setup Round
*Don’t stress about the exact count here. Just make sure your stitches are evenly spaced and the sole lies flat.*
- Round 1
Ch 1, working in BLO (back loop only) for this round, sc in each st around. Sl st to join.*Working in the back loop only creates that nice ridge at the base of the foot section. It’s a small detail that makes a big difference!*
Key5
- sl st
- slip stitch
- blo
- back loops only
- ch
- chain
- st
- stitch
- sc
- single crochet
- Round 2
Ch 1, sc in each st around. Sl st to join.Rounds 3-8: Repeat Round 2.
Key4
- sl st
- slip stitch
- ch
- chain
- st
- stitch
- sc
- single crochet
Foundation
- Round 1
Wrong Side Dc in 4th ch from hook and in each ch across. (12 dc)
Key2
- ch
- chain
- dc
- double crochet
- Round 2
Right Side Ch 2, turn. Skip first st, FPdc around next st, BPdc around next st, FPdc around each of next 2 sts, BPdc around next st, FPdc around each of next 2 sts, BPdc around next st, FPdc around each of next 2 sts, BPdc around next st, dc in top of turning ch. (12 sts)
Key6
- FPdc
- front post double crochet
- BPdc
- back post double crochet
- sts
- stitches
- ch
- chain
- st
- stitch
- dc
- double crochet
- Round 3
Ch 2, turn. Skip first st, BPdc around next st, FPdc around next st, BPdc around each of next 2 sts, FPdc around next st, BPdc around each of next 2 sts, FPdc around next st, BPdc around each of next 2 sts, FPdc around next st, dc in top of turning ch. (12 sts)
Key6
- FPdc
- front post double crochet
- BPdc
- back post double crochet
- sts
- stitches
- ch
- chain
- st
- stitch
- dc
- double crochet
- Round 4
Cable Row Ch 2, turn. Skip first st, FPdc around next st, BPdc around next st. *Now for the cable cross: Skip next 2 sts, FPdc around each of the following 2 sts, working in front of the sts you just made, FPdc around each of the 2 skipped sts.* BPdc around next st, repeat cable cross once more, BPdc around next st, dc in top of turning ch. (12 sts)*The cable cross might feel awkward the first time. Go slowly! You’re essentially making stitches out of order, then doubling back. The twist creates that beautiful braided look.*Rows 5-7: Repeat Rows 2-3, then Row 2 again.Row 8: Repeat Row 4 (Cable Row).Rows 9-24: Continue repeating the 4-row pattern (Rows 2, 3, 2, then 4) until your cuff measures approximately 11-12 inches long, or long enough to wrap around your ankle with a 1-inch overlap.
Key6
- FPdc
- front post double crochet
- BPdc
- back post double crochet
- sts
- stitches
- ch
- chain
- st
- stitch
- dc
- double crochet
Hook
5.0mm (US H/8) crochet hook for main construction 5.5mm (US I/9) hook for the cable cuff if you crochet tightly
Notions
4 decorative buttons (approximately 3/4 inch diameter)
Yarn needle for weaving ends and seaming Stitch markers Scissors
Gauge
14 stitches and 16 rows = 4 inches in single crochet *Always check your gauge! This pattern fits best when gauge is accurate.*
Attaching the Cuff
1. Lay your slipper body flat with the opening facing up.
2. Position the cable cuff band around the ankle opening, with the cables facing outward.
3. The cuff should overlap by about 1 inch at the outer side of the ankle.
4. Using your yarn needle and matching yarn, whip stitch the bottom edge of the cuff to the top round of the ankle section. Work around the entire circumference, securing the cuff in place.
Adding Buttons
1. Position 2 buttons evenly spaced on the overlapping section of the cuff.
2. The buttons are decorative in this design, sewn through both layers of the overlap to hold everything secure.
3. Sew buttons firmly using matching thread or yarn.
Folding the Cuff
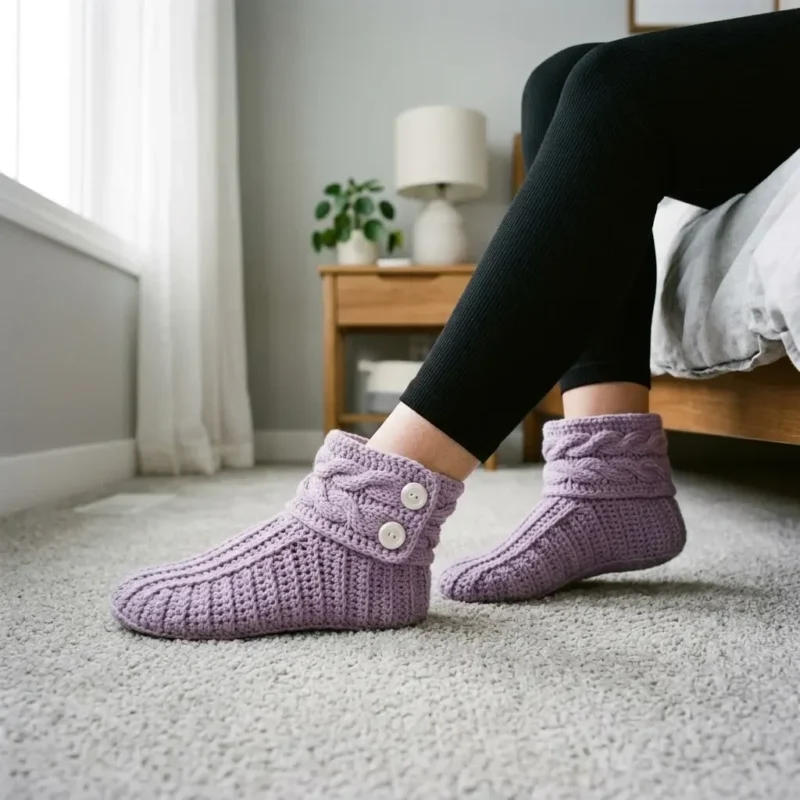
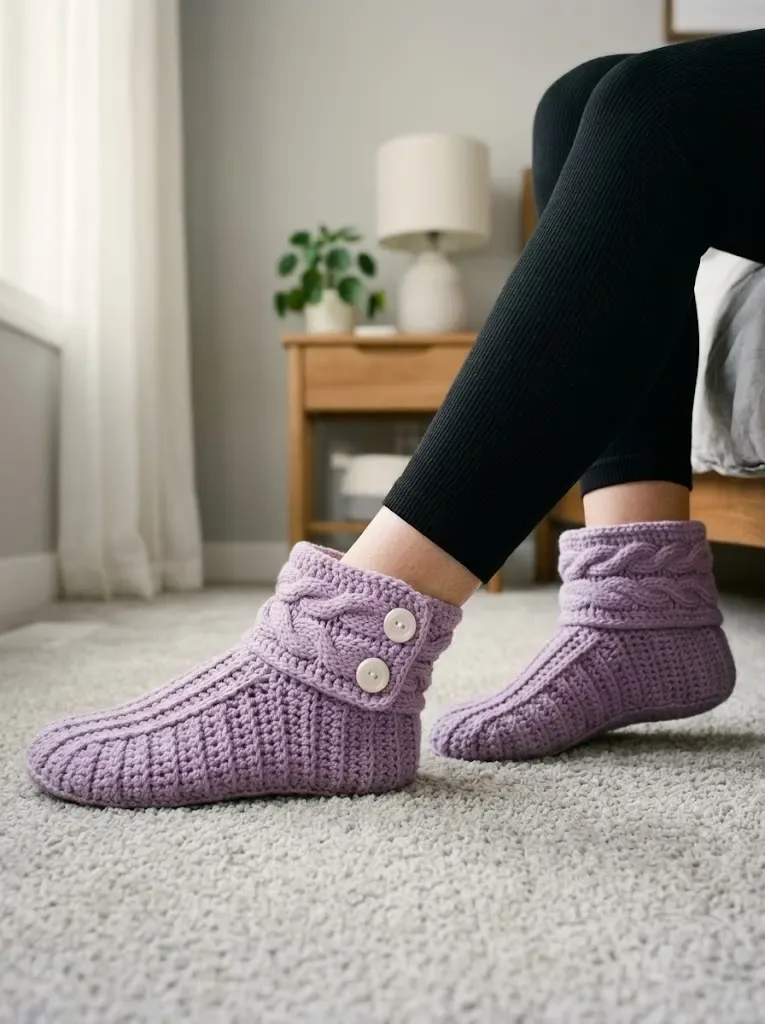
Fold the top portion of the cuff down to show off those gorgeous cables. The fold should hit about mid-cuff, creating that cozy boot look you see in the photos.
Final Touches
Weave in all remaining ends securely. I like to weave through several stitches in different directions so nothing comes loose with wear.
For Smaller Sizes
Non-Slip Option:
Consider adding fabric paint dots or purchasing non-slip sole material to apply to the bottom. Safety first, especially on hardwood or tile floors!
Yarn Substitutions:
This pattern works beautifully in any worsted weight yarn. For extra warmth, try a wool blend. For easy care gifting, acrylic is perfect and machine washable.
Notes from the pattern
- The main body uses a 5.0mm (US H/8) hook; the 5.5mm (US I/9) hook is offered only for the cuff, and only if tension runs tight on the cable crosses.
- Checking gauge against 14 stitches and 16 rows per 4 inches in single crochet before starting the sole avoids a finished boot that runs small or large against the stated 200-250 yards of yarn.
- Stitch markers are useful for tracking the start of each round through the Setup Round's repeated rounds, since the join point can be hard to spot once increases taper off.
- The four buttons, roughly 3/4 inch in diameter, are a closure detail for the folded cuff rather than a structural part of the boot, so similarly sized substitutes will not affect fit.
The essentials
- Rounds
- 15
- Parts
- 11
- Level
- Intermediate
- Time
- 4-6 hours
- Hook
- 5.0 mm
- Yarn
- Worsted
Stitches you will use
- Increase shaping in single crochet Used across the nine sole foundation rows (2 sc in first and last stitch); watch that increases land exactly at the row edges so counts match the bracketed totals of 5, 7, 9 and 11 sc.
- Working in the back loop only (BLO) Appears in Round 1 of the Setup Round to form the ridge where sole meets upper; watch for consistently picking up only the back loop or the ridge will look uneven.
- Front post and back post double crochet cable crosses Used throughout the cuff's Cable Row, where two stitches are skipped, worked, then crossed in front of the skipped pair; watch the stitch order, as it is easy to lose track working them out of sequence.
Troubleshooting
The sole cups or curls instead of lying flat.
This usually means the increase rows in the Foundation section were not placed evenly at both ends, or a stitch was missed; recount the bracketed totals (5, 7, 9, 11 sc) row by row before moving into the Setup Round.
The cable crosses on the cuff don't line up into a neat braid.
This happens when the two skipped stitches in the cable cross are worked in the wrong order, or a front post stitch is mistaken for a back post one; slow down on the Cable Row and check each FPdc and BPdc against the instructions.
Substituting yarn
- Pure wool, worsted weight
- Gives the sole more structure and the cable cuff crisper definition, but felts if machine washed warm; gauge may run tighter, making the 5.5mm hook option for the cuff more likely to be needed.
- Cotton or cotton-blend, worsted weight
- Produces a firmer, less elastic fabric with crisp stitch definition on the cable crosses but less give at the ankle; sizing up a hook may be needed to keep the boot easy to pull on.
- Acrylic or acrylic-microfibre, worsted weight
- Keeps the soft, lightweight drape of the sample and stays fully washable; the 5.0mm hook as given should suit most acrylic blends without adjustment.
Washing and care
- an acrylic or acrylic blend as used in the sample, machine wash on a cool, gentle cycle and lay flat to dry away from direct heat; reshape the sole while still slightly damp so it keeps its flat profile.
- If a wool blend is substituted, hand wash in cool water with a wool-safe detergent, press out excess water in a towel rather than wringing, and store flat so the folded cuff holds its shape.
The photographs taken while this was being made
Every one was taken by whoever published the pattern, in the order the source listed them.
FAQs
Questions
Why does Round 1 of the Setup Round work in the back loop only?
Working in BLO (back loop only) at that single round creates a visible ridge where the sole joins the upper of the foot. It is a styling detail rather than a structural requirement, so skipping it will not affect fit, only the look of that seam line.
When is the 5.5mm hook actually needed?
The 5.5mm (US I/9) hook is offered only as an alternative for the cable cuff, and only for crocheters whose tension runs tight on the front post and back post stitches. The sole and foot sections are worked on the 5.0mm (US H/8) hook throughout.
How many rows make up the sole before the Setup Round begins?
The Foundation section for the sole runs to nine rows, increasing from 5 stitches up through 7, 9 and 11 single crochet at the marked rows. Rows without an increase even out the shape between the increase rows.
Can the slippers be made without the buttons?
Yes; the four buttons are a closure detail for the folded cuff rather than a structural part of the boot. Leaving them off, or swapping them for a different fastening, will not change how the sole or cuff are constructed.
Is this pattern suitable for a confident beginner, or does it need intermediate experience?
The sole and foot sections use straightforward single crochet increases that a confident beginner could manage. The cable cuff's front post and back post crosses are the reason the pattern is rated intermediate overall.
These answers came from whoever first published the pattern, kept word for word.