 EVERY CROCHET
 Amigurumi 4 rounds No account, no download
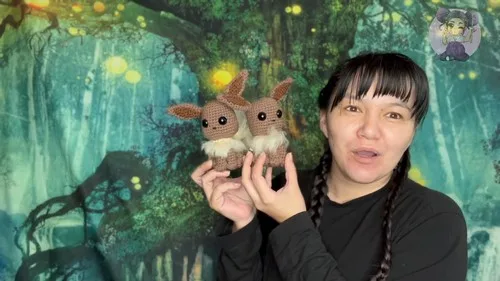
Fox-eared amigurumi crochet pattern for beginners
An amigurumi made with single crochet (UK double crochet), with both US and UK terms given throughout.
- Skill
- Intermediate
- Time
- 4-6 hours
- Yarn weight
- Worsted

Intermediate
What the original write-up called it. Nothing here is graded again.

Worsted
What the sample was worked in. Any weight works; the size moves with it.

4-6 hours
What the original page reckoned. Your own pace is the one that matters.
About this pattern
This is a single crochet (UK double crochet) amigurumi animal made from a magic-ring body that increases, holds steady, then shapes the head with front-and-back-loop rounds and decreases. Arms, legs, ears, and a separately worked tail are added to complete the figure. Safety eyes are placed at marked stitches on the head, and the finished piece is stuffed firmly before optional brushed-fibre or sewn-on fur details are added.
This design is a small stuffed figure built entirely from single crochet (UK double crochet), the dense, tightly packed stitch family that gives amigurumi its firm, sculptural surface. The body, head, and separately worked tail all rely on this one stitch throughout, so the finished toy holds its shape without a liner or wire armature, and any stitch-count shifts show up clearly round by round.
Construction starts at the centre of the body with a magic ring, then grows outward through a sequence of increase rounds before settling into straight single crochet for the main column of the torso. The head is worked as a continuation of this shaping logic: increases widen it, a stretch of even rounds holds the width, and decreases close the top, with some rounds worked into the front and back loops separately to create a visible ridge for definition. Arms, legs, ears, and a separately worked tail are added afterward to complete the figure.
Materials
- Yarn
- Crochet Hook
- Safety Eyes
- Polyester Fiberfill (Stuffing)
- Stitch Markers
- Yarn Needle
- Scissors
The list is the pattern's own wording.
Instructions
Every round is printed as the pattern wrote it, brackets and all. Open the key beside a round to see only the short forms that round uses.
Getting Started
Begin with a magic ring or a chain two method.
- Round 1
Crochet 8 single crochets into the ring or the 2nd chain from hook.
Body Pattern:
- Round 2
Do a single crochet increase in each stitch around.
- Round 3
(Single crochet, single crochet increase) repeat around.
- Rounds 5–10
Single crochet in each stitch around.Rounds 11-19: Continue following the pattern where increases and decreases shape the body. The description involves sequences of single crochets and decreases to gradually shape the figure. Specific details for these rounds refer to discreetly increasing and decreasing to form the shape properly.
Head Pattern:
After completing the body, transition to crafting the head with single crochet rounds, including increases to widen and then decreases to form the top of the head. Instructions include working in both the front and back loops for shaping.
Eye placement: After detailing the head, you are guided to place the eyes at specified stitches for the correct positioning.
Limbs and Details
Arms and Legs Detailed steps for creating arms include starting with a certain number of stitches, creating a tube, and then closing off these appendages. Legs follow a similar pattern but include additional shaping instructions to reflect the character's anatomy more accurately.
Ears and Tail Both feature increases and decreases for shaping, with the ears having additional guidance on how to crochet inner ear details before sewing them to the head.
Making up
- Step 1The tail is crocheted separately and then attached.
- Step 2Final details include brushing out parts of the yarn to create fur-like textures and sewing on additional yarn for aesthetic features like hair or fur collars.
Notes from the pattern
- Match hook size to yarn weight closely enough that single crochet stitches sit tight with no visible gaps, since stuffing will show through loose fabric.
- Use a stitch marker on the first stitch of every round from Round 1 onward; with no slip stitch join, it is easy to lose track of where a round starts.
- Keep tension even and slightly firm throughout the body and head rounds listed, as looser tension lets fiberfill (UK toy stuffing) push through between stitches.
- Stuff the head and body gradually as rounds are completed rather than all at once at the end, so the fill distributes evenly before the decrease rounds close the openings.
The essentials
- Rounds
- 4
- Parts
- 2
- Level
- Intermediate
- Time
- 4-6 hours
- Yarn
- Worsted
Stitches you will use
- Magic ring start Used to begin the body in Round 1; keep the centre pulled snug so no gap shows once stuffing is added.
- Front and back loop shaping Used during head shaping to create a defined ridge; work only the stated loop on those rounds or the ridge will disappear.
- Single crochet increase and decrease Used throughout body and head rounds to control width; place increases and decreases evenly or the shape will skew to one side.
Troubleshooting
The base of the body cups or curls
This usually means increases in the opening rounds were missed or miscounted; count stitches after each increase round against the pattern before continuing.
A visible seam or ridge line appears where none is intended.
This happens when front-loop or back-loop instructions are applied on rounds meant to use both loops; check which rounds call for loop-only work before starting the head.
The head looks lumpy or the stuffing
This is usually uneven stuffing added too late; remove some rounds if needed, restuff in small amounts as the head is worked, and firm it up before the final decrease rounds close the top.
Substituting yarn
- Acrylic, worsted weight
- Closest match to the original; keeps stitch size and hook as stated, holds shape well, and is easy to brush for the fur-like finishing detail.
- Cotton, worsted weight
- Produces a slightly firmer, less fuzzy fabric with crisper stitch definition; drape is stiffer, so sizing may come out marginally smaller for the same hook.
- Acrylic or wool blend, DK weight
- Makes a noticeably smaller finished toy on the same hook, or requires sizing down the hook to keep stitches tight; uses less stuffing overall.
Washing and care
- Hand wash the finished toy in cool water if the yarn is acrylic or an acrylic blend, then reshape while damp and lay flat to dry away from direct heat.
- Store away from direct sunlight to prevent colour fading, and keep safety eyes and any brushed fibre details away from damp conditions that can mat the texture.
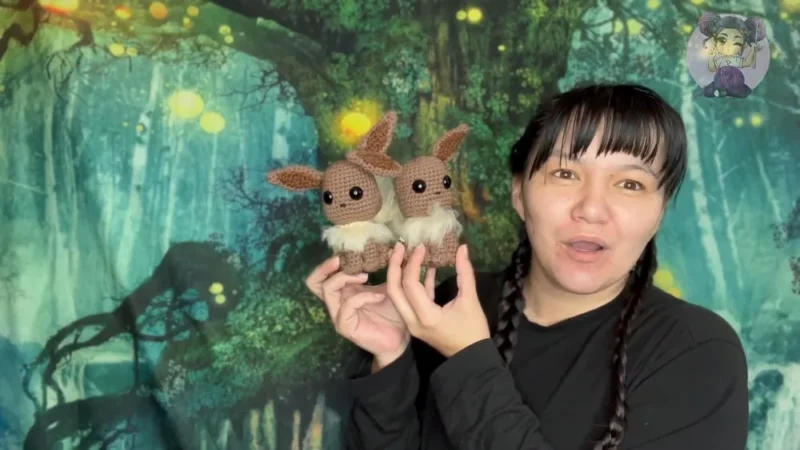
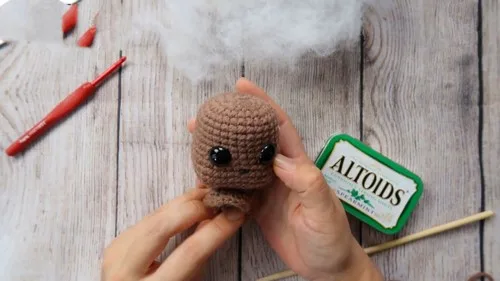
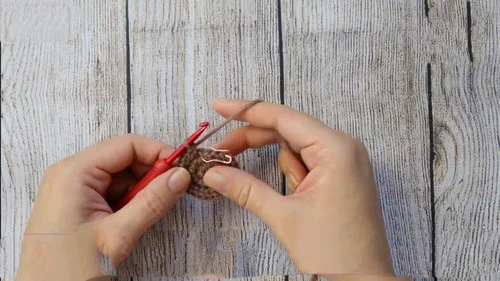
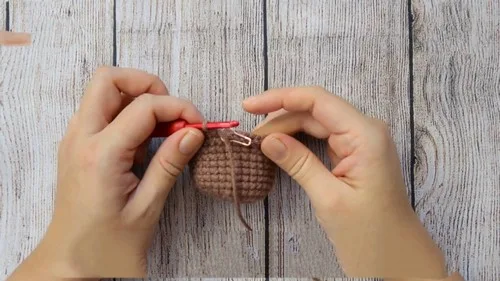
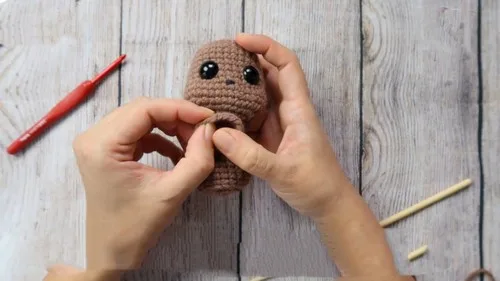
The photographs taken while this was being made
Every one was taken by whoever published the pattern, in the order the source listed them.
FAQs
Questions
Can this pattern be made without safety eyes?
Safety eyes can be substituted with embroidered features worked after the head is stuffed and closed. Mark the same stitch positions given for the safety eyes so the face stays proportional.
Why is the tail worked separately instead of in the round with the body?
Working the tail as its own piece keeps the body's stitch count clean through its increase and decrease rounds and lets the tail be positioned and sewn on exactly where wanted. It also makes it easier to stuff the tail to a firmness different from the body.
What causes gaps around the eye placement?
Gaps usually come from inserting the eye posts between stitches rather than through a single stitch at the marked position. Count rounds and stitches carefully from the notes before pushing the posts through.
How is the brushed fur texture achieved?
A wire brush or slicker brush is drawn gently across the single crochet surface to loosen the fibres, working in short strokes. This works best on single-ply or lightly plied yarn, since tightly plied yarn resists brushing.
Is this pattern suitable for a first amigurumi project?
The single crochet base is beginner-friendly, but the front-and-back-loop head shaping and separate tail attachment make it better suited to someone who has finished at least one simple amigurumi already. The stitch count management across many rounds without a join is the main added challenge.
These answers came from whoever first published the pattern, kept word for word.