 EVERY CROCHET
Bags and Accessories 11 rounds No account, no download
Dense single crochet bag pattern with a chunky integrated handle
Dense single crochet (UK double crochet) purse pattern with hook and tension notes, US and UK terms given.
- Skill
- Easy to Intermediate
- Time
- 4-6 hours
- Yarn weight
- Bulky (#5)
- Hook
- 5.5 mm
Easy to Intermediate
What the original write-up called it. Nothing here is graded again.
Bulky (#5)
What the sample was worked in. Any weight works; the size moves with it.
4-6 hours
What the original page reckoned. Your own pace is the one that matters.
About this pattern
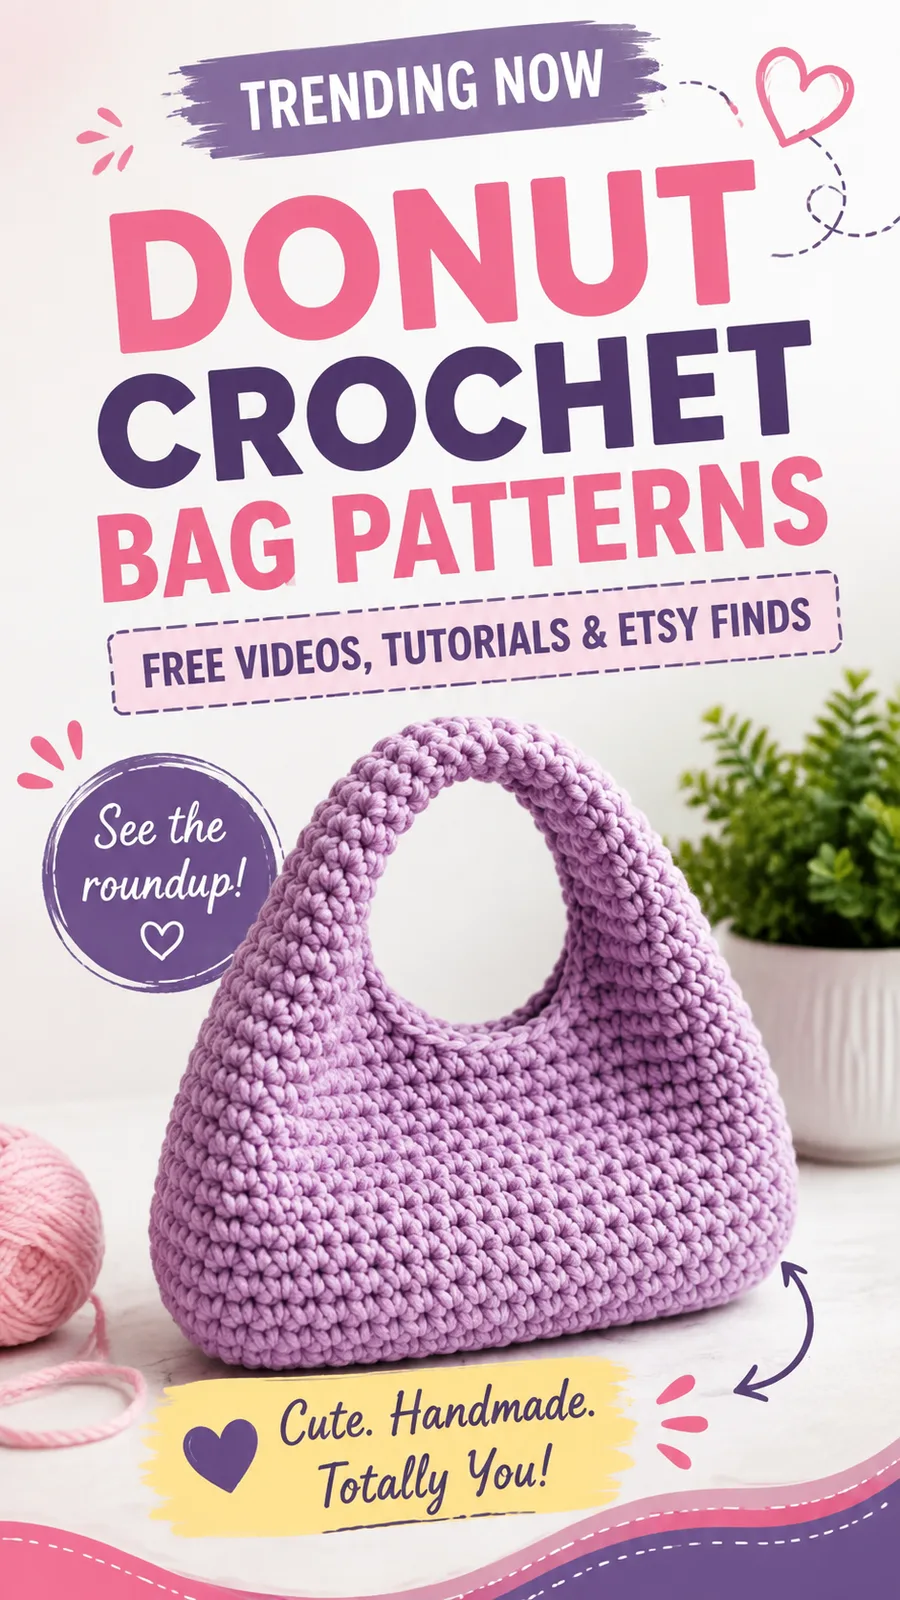
This pattern makes a small, structured crochet handbag worked entirely in single crochet, using bulky weight yarn and a 5.5 mm hook sized down for a firm fabric. Two panels are built from a flat base with increases for rounded corners, then worked straight upward before the top is shaped; a separate handle strip is seamed on afterward. A tension swatch determines whether the finished bag stands upright or sags.
This bag is worked in single crochet (UK double crochet), the dense stitch family that produces the firmest plain crochet fabric. Worked in bulky yarn with a hook a size or two below the usual recommendation, the stitches pack tightly together, closing the gaps that would otherwise let the fabric flop. The result is a soft but structured texture across both body panels, giving the finished purse a rounded, sculptural look rather than the looser drape typical of lightweight market bags.
Construction begins with a flat base, increasing evenly on either side to turn the rectangle into a rounded-corner shape before the main body continues upward in straight rows to build height. The top opening is shaped separately, and two identical body panels are joined together along the sides and base. A long, firmly worked handle strip is crocheted on its own and sewn to the top edge once both panels are seamed, giving the bag its wide, integrated carry handle.
Materials
- Bulky weight (#5) yarn: approximately 250 yards (229 meters)
- 5.5 mm (US I-9) crochet hook
- Yarn needle for sewing and weaving ends
- Stitch markers
- Scissors
Optional
- fabric lining, magnetic snap, or zipper closure
The list is the pattern's own wording.
Instructions
Every round is printed as the pattern wrote it, brackets and all. Open the key beside a round to see only the short forms that round uses.
Main Pattern
- Round 1
Ch 21. Sc in 2nd ch from hook and across. Turn. (20 sts)
Key2
- ch
- chain
- sc
- single crochet
- Round 2
Ch 1, sc in each stitch across. Turn. (20 sts)
Key2
- ch
- chain
- sc
- single crochet
- Round 3
Ch 1, sc 1, inc in next stitch, sc across until last 2 sts, inc in next stitch, sc last stitch. Turn. (22 sts)
Key3
- inc
- increase, work 2 sc into one stitch
- ch
- chain
- sc
- single crochet
- Round 4
Ch 1, sc across. Turn. (22 sts)
Key2
- ch
- chain
- sc
- single crochet
- Round 5
Ch 1, sc 1, inc in next stitch, sc across until last 2 sts, inc in next stitch, sc last stitch. Turn. (24 sts)
Key3
- inc
- increase, work 2 sc into one stitch
- ch
- chain
- sc
- single crochet
- (24)Rounds 6–22
Ch 1, sc across. Turn. (24 sts each row)
Key2
- ch
- chain
- sc
- single crochet
- Round 23
Ch 1, sc 1, dec, sc across until last 3 sts, dec, sc last stitch. Turn. (22 sts)
Key3
- dec
- decrease, single crochet two stitches together
- ch
- chain
- sc
- single crochet
- Round 24
Ch 1, sc across. Turn. (22 sts)
Key2
- ch
- chain
- sc
- single crochet
- Round 25
Ch 1, sc 1, dec, sc across until last 3 sts, dec, sc last stitch. Fasten off. (20 sts)Make two identical body panels.
Key3
- dec
- decrease, single crochet two stitches together
- ch
- chain
- sc
- single crochet
Main Pattern
- Round 1
Sc in 2nd ch from hook and across. Turn. (8 sts)
Key2
- ch
- chain
- sc
- single crochet
- Round 2
28 Ch 1, sc across. Turn. (8 sts) Fasten off, leaving a long sewing tail. The handle should measure approximately 10 inches (25 cm) before attachment. Adjust the number of rows if you prefer a shorter or longer handle.
Key2
- ch
- chain
- sc
- single crochet
Special Stitch Explanation
Single Crochet Increase: Work two single crochet stitches into the same stitch to create shaping.
Single Crochet Decrease: Insert hook into the next stitch, yarn over and pull up a loop. Insert hook into the following stitch, yarn over and pull up a loop. Yarn over and pull through all loops on hook.
Optional Border
For a polished edge, attach yarn at the top opening and work one round of single crochet evenly around the opening. Join with a slip stitch and fasten off.
Making up
- Step 1After assembly, gently shape the bag by hand and lightly steam block if your yarn fiber allows it. Avoid pressing directly on textured stitches.
- Step 2Hand wash or follow the yarn label care instructions.
- Step 3Allow the bag to dry flat to maintain its shape.
- Step 4Store with tissue paper inside to preserve the rounded form.
- Step 5Avoid overfilling to protect the handle and seams.
Notes from the pattern
- The 5.5 mm (US I-9) hook is markedly smaller than bulky yarn usually calls for; this is deliberate, since the tighter stitches are what let the bag hold its shape.
- Stitch markers are listed in the materials and are most useful for flagging the start of each row or round during the increase sequence, where it's easy to lose track of the stitch count.
- The tension swatch matters more here than on most bags: a loose gauge produces a floppy purse, while the correct tight gauge produces the structured, upright look the design is going for.
- Lining fabric, a magnetic snap or a zipper are optional rather than essential, since the single crochet fabric alone holds its shape without fully closing or stiffening the opening.
The essentials
- Rounds
- 11
- Parts
- 4
- Level
- Easy to Intermediate
- Time
- 4-6 hours
- Hook
- 5.5 mm
- Yarn
- Bulky (#5)
Stitches you will use
- Single crochet increase Worked at both ends of the increase rows that widen the base into rounded corners; keep the added stitches symmetrical on each side so the panel doesn't skew.
- Gauge and tension checking Needed before casting on the main pattern, since the whole design depends on tight stitches; swatch with the 5.5 mm hook and bulky yarn before starting the first panel.
- Panel seaming and handle attachment Used once both body panels and the handle strip are finished; keep the long sewing tail from the handle for attaching it cleanly to the top edge.
Troubleshooting
The base corners look pointed rather than rounded.
The increases likely weren't spaced evenly on both ends of the row; check that each increase row adds stitches symmetrically at both edges rather than only on one side.
The finished bag feels floppy and doesn't stand upright.
This points to a gauge that's too loose; drop to a smaller hook or work stitches more tightly, and re-check against the tension swatch before continuing the full panel.
The handle feels thinner or weaker than the body.
The handle strip is only 8 stitches wide, so looseness shows immediately; work it at the same firm tension as the panels and avoid stretching it while sewing it into place.
Substituting yarn
- Worsted weight (#4) cotton
- Produces a smaller, crisper bag with less loft; drop to around a 4-4.5 mm hook to keep the fabric dense, and expect a flatter texture than the original bulky version.
- Acrylic bulky (#5)
- Keeps the size and hook close to the original specification but gives a lighter, slightly less substantial drape than wool, so firmer tension may be needed to compensate.
- Wool-blend bulky (#5) or super bulky (#6)
- Adds more structure and warmth but increases the finished size; super bulky yarn needs a hook larger than 5.5 mm, so panel and handle dimensions will grow unless row counts are reduced.
Washing and care
- Hand wash gently or follow the yarn label, since bulky fibres can felt or lose shape under machine agitation; avoid wringing the fabric.
- Dry flat rather than hanging, reshape the rounded base and sides by hand while still damp, and store with tissue paper inside to keep the rounded form once dry.
FAQs
Questions
Can this bag be made without a fabric lining?
Yes; the lining, magnetic snap and zipper are listed as optional. The dense single crochet fabric holds its shape on its own, though a lining helps the opening close more neatly and protects items inside.
Why does the pattern use a smaller hook than usual for bulky yarn?
The 5.5 mm hook is sized down from what bulky yarn normally calls for so the stitches pack tightly together. This firmness is what lets the bag stand upright instead of collapsing.
How long should the handle be before attaching it?
The handle strip is worked to roughly 10 inches (25 cm) before it's sewn on, over 28 rows of 8 stitches. The number of rows can be adjusted up or down for a shorter or longer handle.
Is this a good size for everyday use or just a gift project?
The bag is designed as a small everyday purse rather than a large tote, suited to carrying a phone, wallet, keys or sunglasses. Its compact size also makes it a practical handmade gift.
These answers came from whoever first published the pattern, kept word for word.