 EVERY CROCHET
 Hats 10 rounds No account, no download
Colour sprinkle ribbed baby hat in single crochet
A ribbed baby hat in single crochet (UK double crochet), giving both US and UK stitch names throughout.
- Skill
- Beginner
- Time
- 3-5 hours
- Yarn weight
- DK
- Hook
- 3.5 mm

Beginner
What the original write-up called it. Nothing here is graded again.

DK
What the sample was worked in. Any weight works; the size moves with it.

3-5 hours
What the original page reckoned. Your own pace is the one that matters.
About this pattern
This pattern makes a ribbed baby hat worked first as a flat band in single crochet (UK double crochet), turned and joined into a loop, then built up into a textured crown using clusters that decrease over three rounds. It uses a 3.5 mm hook and DK (8-ply) yarn, needs a sewing needle to close the top, and finishes with an optional pom-pom.
This hat is built from single crochet (UK: double crochet), the stitch family responsible for the ribbed, stretchy band that gives the piece its fit. Worked flat in rows and then joined into a loop, the band forms the foundation for a crown finished in clustered decrease rounds that give the pattern its sprinkled texture. The result is a snug baby hat with a defined brim and a raised, textured crown rather than a flat one.
Construction begins with a chain of 12, worked back and forth in rows until the band measures 16 inches, with every row worked in the back loop only to create the ribbed lines. The two ends are then joined with a slip stitch to form a loop, and stitches are picked up evenly around that edge, roughly two per rib section, to begin the crown. Three rounds of clusters decrease the crown to a close, which is then gathered and finished off at the top.
This pattern is designed for babies aged 6 to 12 months and uses the cluster stitch to create a soft, textured design. It can be customized by changing the yarn colour, adding a pom-pom, or adjusting the size for smaller or larger babies.
Materials
- 3.5 mm crochet hook
- Double knit (8-ply) yarn
- Scissors and sewing needle
- Stitch marker (optional)
- Pom-pom (optional)
The list is the pattern's own wording.
Instructions
Every round is printed as the pattern wrote it, brackets and all. Open the key beside a round to see only the short forms that round uses.
The Ribbed Band
The project starts with a ribbed band worked in single crochet, followed by rows of clusters that give the hat its cozy, fluffy look.
- Row 1
Make a slip knot and chain 12.
- Row 2
Starting in the second chain from the hook, single crochet (SC) across.
Key1
- sc
- single crochet
- Rows 3+
Chain 1 and turn, working SC in the back loop only in each stitch. Continue until the band measures 16 inches long.
Key1
- sc
- single crochet
- Join
Both ends with a slip stitch to form a loop.
Preparation for the Hat Body
- Setup Round
Chain 1 to begin. Work single crochet stitches evenly around the band edge, about two stitches per rib section. Continue until you reach the starting point.
The Cluster Stitch Pattern
Cluster Stitch (Definition) Chain 1, then yarn over (YO), insert the hook into the same stitch, pull up a loop (3 loops on hook). YO, insert the hook into the next stitch, pull up a loop (5 loops on hook). YO, insert the hook into the next stitch, pull up a loop (7 loops on hook). YO and pull through all 7 loops, then chain 1 to close the cluster.
- Round 1
Begin the next cluster in the same stitch where the previous one finished. Continue around the row, joining with a slip stitch at the end.
- Rounds 2+
For following rows, chain 1 and work the first cluster with one leg in the previous join, one leg in the top chain of the cluster below, and the last leg in the next stitch.Repeat the cluster rows until the hat measures 6.75 inches in height.
Decreasing the Crown
- Row 1
Alternate Decrease Work one normal cluster, then one decrease cluster by skipping the chain-one spaces. Continue alternating one decrease cluster and two normal clusters.
- Row 2
Work a normal cluster row.
- Row 3
Work a continuous decrease row by skipping all chain-one spaces in every cluster.Repeat the continuous decrease row one more time.
Making up
- Step 1Fasten off, leaving a long yarn tail.
- Step 2Thread the tail through a needle and weave in and out around the top opening. Pull tightly to close.
- Step 3Secure and weave in the ends neatly.
- Step 4Add a pom-pom on top if desired.
Notes from the pattern
- The 3.5 mm hook is matched to DK (8-ply) yarn; swapping either without the other may stop the band reaching 16 inches at the stated tension.
- A stitch marker, while optional, is useful once stitches are picked up around the band, since the crown rounds have no turning chain to mark where each round starts.
- Keep tension even along the back-loop-only rib rows; a tight stitch pulls the band narrower than the stated 16 inches and shortens the finished circumference.
- The hat is sized for babies aged 6 to 12 months; the yarn colour, pom-pom, and overall size can be adjusted to suit smaller or larger babies.
The essentials
- Rounds
- 10
- Parts
- 4
- Level
- Beginner
- Time
- 3-5 hours
- Hook
- 3.5 mm
- Yarn
- DK
Stitches you will use
- Back loop only ribbing Used throughout the band rows; keep every stitch in the back loop only or the vertical rib lines blur and the brim loses its stretch.
- Picking up stitches around an edge Done once, around the joined band, to start the crown; space the pick-ups evenly, about two per rib, so the crown sits flat rather than puckering.
- Cluster decrease shaping Used across the three crown rounds; skipping the chain-one space correctly is what turns a normal cluster into a decrease cluster, so count clusters carefully as each round is worked.
Troubleshooting
The crown cups upward instead of lying flat.
This usually means the alternate decrease row bunched too many decrease clusters together; check that only one decrease cluster falls between each pair of normal clusters, as described in that row.
The rib brim curls or won't lie in neat ridges.
A stitch worked through both loops rather than the back loop only flattens the ridge; unpick back to the error and continue working in the back loop only.
The top opening leaves a visible hole after closing.
The gathering tail wasn't pulled tight enough when woven around the opening stitches; thread it back through the same stitches and pull firmly before securing.
Substituting yarn
- Aran-weight cotton
- Produces a firmer, less stretchy band than DK; the hook may need to go up slightly from 3.5 mm, and a 16 inch band will sit looser around the head.
- 4-ply (fingering) wool
- Gives a finer, more drapey fabric; a smaller hook than 3.5 mm keeps the rib dense, but more rows are needed to reach the same 16 inch band length.
- Acrylic DK
- Behaves close to the original DK yarn at the same 3.5 mm hook, with no change to stitch counts, though the rib comes out slightly flatter and less springy.
Washing and care
- Check the yarn band for fibre-specific washing advice, since the materials list calls only for a DK (8-ply) yarn without naming the fibre content.
- Hand wash in cool water where possible, reshape the rib and crown while still damp, and dry flat rather than on a radiator or in direct sun.
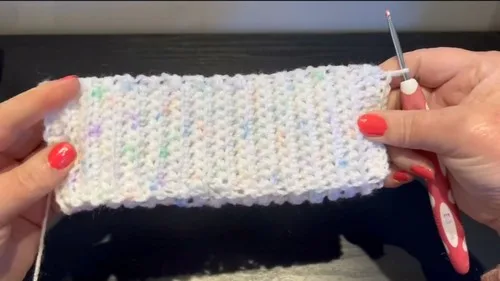
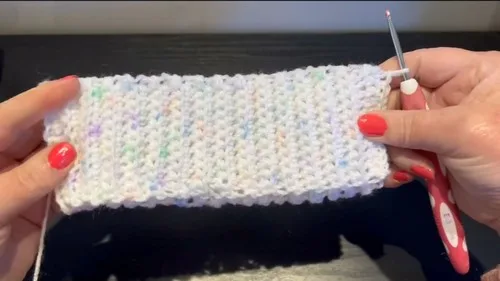
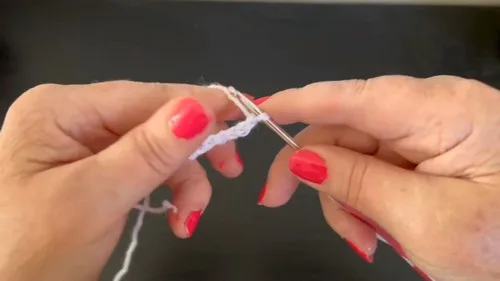
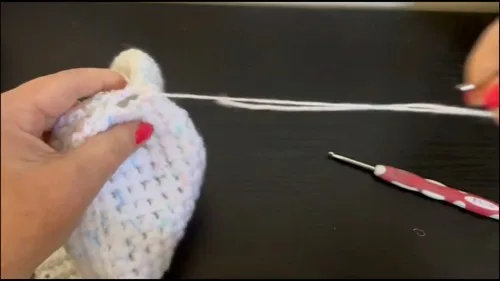
The photographs taken while this was being made
Every one was taken by whoever published the pattern, in the order the source listed them.
FAQs
Questions
How long should the band be before joining it into a loop?
The band is worked until it measures 16 inches long before the two ends are joined with a slip stitch. This length sets the finished head circumference, so check it against the intended wearer before joining.
Is the stitch marker necessary?
It is listed as optional, but it helps once the band is joined and the clusters begin, since there is no turning chain to show where a round starts. Dropping a marker into the first stitch of each round keeps the three decrease rounds accurate.
What creates the sprinkle texture mentioned in the title?
It comes from the clusters worked across the crown rounds, not from changing yarn colour. The normal and decrease clusters sit at slightly different heights, giving the surface its sprinkled appearance.
Can the hat be made larger by changing the chain length?
The starting chain of 12 sets the depth of the band, not its circumference, so size is adjusted through the 16 inch band measurement instead. A longer or shorter band before joining changes the fit without altering the starting chain.
Is the pom-pom essential to the pattern?
No, it is listed as optional in both the materials and the final assembly step. The hat is complete once the top opening is closed and the ends are woven in, with or without it.
These answers came from whoever first published the pattern, kept word for word.